Table of Contents
Advertisement
Advertisement
Table of Contents

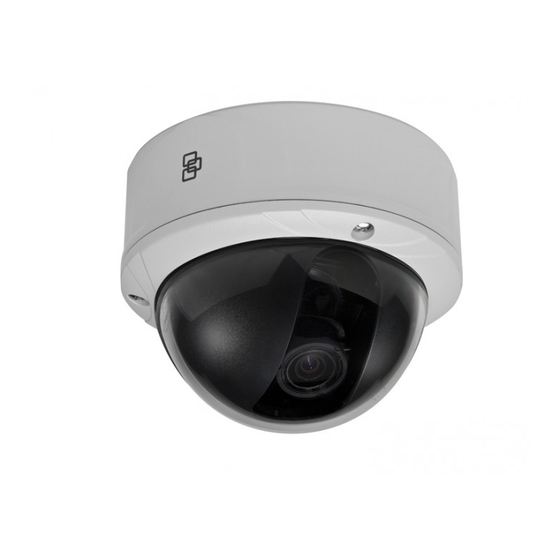
Summary of Contents for Interlogix VD-IP-XP4DNP
- Page 1 UVD-IP-XP4DNR(-P) Camera User Manual P/N 1072545A-EN • REV 1.0• ISS 18JUN12...
- Page 2 © 2012 UTC Fire & Security. All rights reserved. Copyright The Interlogix and UltraView names and logos are trademarks of Trademarks and UTC Fire & Security. patents Other trade names used in this document may be trademarks or registered trademarks of the manufacturers or vendors of the respective products.
-
Page 3: Table Of Contents
Contents Introduction 2 Product description 2 Features 2 User guidelines 2 Package contents 3 Plenum-compliant cabling 3 Installation 4 Viewing the camera via a digital (IP) connection 4 Software requirements 4 ... -
Page 4: Introduction
Introduction This user manual provides basic information on setting up and using the UVD-IP-XP4DNR(-P) Camera. Product description The UVD-IP-XP4DNR(-P) color video camera uses a digital signal processor (DSP) to process video signals. The video camera includes a microcontroller to provide high-quality images in changing lighting environments with high-color reproduction and sharp pictures. -
Page 5: Package Contents
• If the light source where the camera is installed experiences rapid, wide-variations in lighting, the camera may not operate as intended. WARNING: To reduce the risk of fire or electronic shock, do not expose the camera to rain or moisture and do not remove the cover or back. -
Page 6: Installation
the air space must be specifically marked for that purpose or enclosed in a conduit. Re-route the leads from the camera so they exit from the threaded knockout on the side of the camera (see Figure 2 below.) Move the plug from the side threaded knockout and place it on the knockout on the base of the camera. - Page 7 A VLC player ActiveX plug-in is required to play video when Internet Explorer is used to monitor the camera. Figure 3: ActiveX plug-in option To configure the camera: 1. Configure the UVD-IP camera with a default IP address: 10.1.2.11 2.
-
Page 8: Connecting Analog Cables
Connecting analog cables To connect the cables: 1. Connect a coaxial cable from the camera’s BNC connector to a CCTV monitor or video recording device. 2. Connect a PoE switch, a 12 VDC or 24 VAC power supply to the power input. -
Page 9: Zoom And Focus Adjustment
Figure 4: Camera adjustment Platform horizontal adjustment Platform vertical adjustment Rotor horizontal adjustment Zoom and focus adjustment See Figure 5 below for the location of the zoom and focus ring thumbscrews. Figure 5: Zoom and focus adjustment Zoom ring thumbscrew for Focus ring thumbscrew for VA2 and focus ring for VA2 and zooming ring for... -
Page 10: Connecting An Analog Monitor To Set Camera Functions
Connecting an analog monitor to set camera functions Connect a standard video monitor to the system to adjust the quality of the video image using the DIP switches. The DIP switches can also be adjusted when connected to the IP system. To connect a video monitor: 1. -
Page 11: Day/Night
Day/Night This function controls whether the camera is in automatic day/night mode or forced into night mode. When set to Auto Day/Night mode, the camera produces high-quality color video during the day or when light levels are high. It then switches to monochrome and removes the infrared filter to improve IR sensitivity at night or when light levels are low. -
Page 12: Reset To Factory Default Settings
Switch Description Backlight Compensation ON: BLC on; OFF: BLC off Exposure AI/AE ON: Auto Exposure (AE) mode; OFF: Auto Iris (AI) mode Day/Night Setting ON: Black and white mode; OFF: Auto Day/Night mode High/Normal Resolution ON: High resolution; OFF: Normal resolution Flickerless Control ON: Flickerless enabled;...


Need help?
Do you have a question about the VD-IP-XP4DNP and is the answer not in the manual?
Questions and answers