
Related Manuals for Nacecare ST575


Summary of Contents for Nacecare ST575
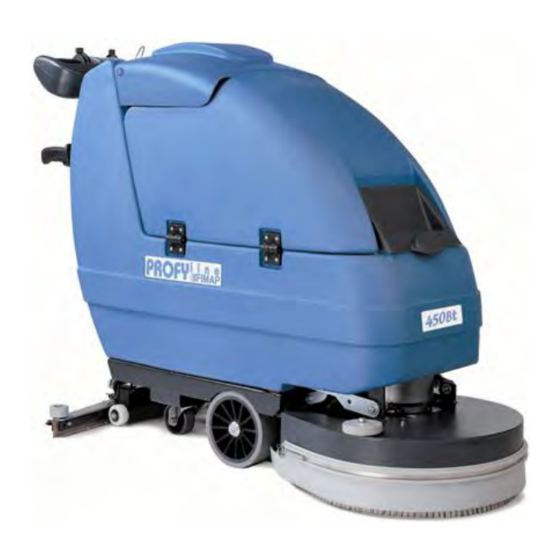
- Page 1 OWNERS MANUAL ST575/580 1205 Britannia Road East, Mississauga, ON L4W 1C7 Phone: 1-800-387-3210 Fax: 1-800-709-2896...
-
Page 2: Receiving The Machine
Read this instruction booklet carefully and consult it every time problems arise with machine operation. Remember that, if necessary, our service organization, in collaboration with our agents, is always available for helpful hints or direct intervention. ST575 ST580... - Page 3 • Water symbol indicates the water valve open signal lamp. • Battery charge level symbol. • Brush symbol indicates the brush motor switch. • Vacuum motor symbol indicates the vacuum motor switch. • Brake symbol indicates the hand brake engaged signal lamp. Used over the emergency brake lever.
-
Page 4: Moving The Packaged Machine
MOVING THE PACKAGED MACHINE The machine is contained in specific packing with a platform so that a forklift can move it. No more than two packing crates can be stacked on each other. The total weight is 187 kg. for the machine. Packing dimensions are: A: 1140 mm B: 580 mm C: 1400 mm... - Page 5 PUTTING THE BATTERIES IN THE MACHINE The batteries must be housed in the battery compartment below the recovery tank. Specialists must carry out all installation and maintenance procedures. CONNECTING THE DRIVE MOTOR CABLE This job must be done by a service technician. CONNECTING THE BATTERY CONNECTOR The battery connector (1) should be connected to the machine connector (2).
-
Page 6: Battery Charge Level Gauge
BATTERY CHARGE LEVEL GAUGE The battery charge level gauge works with a microprocessor. The led display indicates the charge level: 4= maximum charge, 3= 3/4 charge, 2= 2/4charge,1= 1/4 charge, 0 = batteries discharged (flashing). IMPORTANT: the brush motor automatically turns off a few seconds after the flashing "0"appears. -
Page 7: Recovery Tank
MANUAL BUSH INSTALLATION •Use lever (1) to lift the base (lever downwards). •Turn key (2) to OFF and remove it from the control panel (installing the brushes with power on may cause injury to the hands). •With the base raised thread the brushes into the seat on the plate below the base, turning them until the three buttons enter the holes on the plate. -
Page 8: General Rules Of Safety
Follow these regulations carefully to avoid harm to the operator and damage to the machine. • Read the labels on the machine with attention. • Never cover them for any reason and always immediately replace them if they are damaged. •... -
Page 9: Overflow Device
•Set the machine up for operation. •Check that the parking brake is released (1). •Connect the connector to the batteries (2). •Turn the main switch key (3) a quarter turn clockwise. The battery led display immediately comes on. •Press brush switch (1). •Press vacuum motor switch (2). - Page 10 TRACTION (Only machines with traction motor) These machines are equipped with electronically commanded traction, and continuous speed variation. To move the machine, it is necessary to act upon the key (1), wait for 3 seconds and then rotate forwards (forward movement) or backwards (rear movement) the lever (2) on the handle bar. In reverse motion, the speed movement is reduced.
-
Page 11: Cleaning The Recovery Tank Filter
CLEANING THE RECOVERY TANK •Open the hood (1). •Remove the drain tube (2) from its seat. Empty the tank through the drain tube by turning the knob a few turns and then pulling out the plug. •Remove plug (1) from the recovery tank. •Pull out the filter with its foam-protection unit. -
Page 12: Cleaning The Squeegee
CLEANING THE SQUEEGEE The squeegee must be in perfect working condition to achieve a good drying process: it must be clean and its rubbers must be in good condition. Proceed as follows to clean the squeegee: •Remove it from the machine by pulling pin (1) out from column (2). Clean the interior with a jet of water. - Page 13 DISASSEMBLY OF THE BRUSHES (Only cylindrical brush models) •Pull the handle (4) as illustrated and release the side bar. •Unscrew the wing nut (1). •Rotate the spring (2) •Take off the pins (3). •Lift the machine and remove the brushes. •Reassemble everything again repeating the above-mentioned operations inversely.
- Page 14 POLYPROPYLENE BRUSHES (PPL)These are used on all types of floors and offer good resistance to wear and to hot water (not more than 60°C). PPL is not hygroscopic and preserves its characteristics even when wet. NYLON BRUSHES These are used on all types of floors and offer good resistance to wear and to hot water (even more than 60°C).
Need help?
Do you have a question about the ST575 and is the answer not in the manual?
Questions and answers