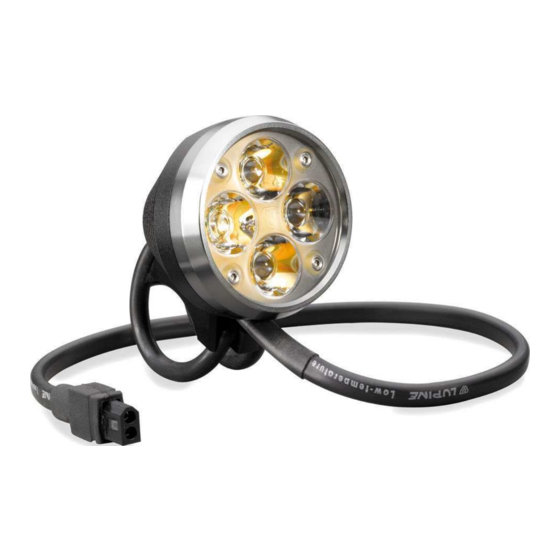
Summary of Contents for Lupine Wilma 6
- Page 1 Wilma Lampenkopf/Head Unit Wilma 6/9/12 Wilma X6/X9/X12 BEDIENUNGSANLEITUNG / OWNERS MANUAL Wilma...
-
Page 2: Read This Manual Before Using
Index Read this manual before using General: The light and charger are ready for use when delivered. All you have to do is charge the battery English Read this manual before using before using the product. See charger manual Mounting 28–32 Operation 33–37... - Page 3 Uni Fit bracket: Helmet bracket: Mounting the light on bicycle handlebars and The Lupine helmet bracket can be attached to virtually similarly shaped objects, or on Lupine bicycle any helmet that has ventilation slits. The bracket is easy helmet brackets or headbands, is quick and to mount.
- Page 4 The headbelt hd is the irst choice for Headlight: orienteering and other fast runners. Mount the light on a headband using Have a look at www.lupine.de the same procedure as for handlebars. (Art. No. 188) The Uniit bracket O-ring holds the lamp in place on the headband.
-
Page 5: Operation
Mounting Operation Capacity Indicator: Hardcase-Batteries: Audible: To check the capacity, simply press the Your battery is supplied with = 100 % touch-pad once. At irst an audible sig- both a short and a long Velcro = 80 % nal will sound, which is especially useful strap, coated with an anti-slip = 60 % while using the battery mounted on... - Page 6 Operation Switching on/ Changing levels: Initialization; voltage display: Press the power switch once to turn the light on; two blue LEDs will glow, indicating the When you connect the light to the battery, the software runs a self-test, during which all ive status LEDs 14W dimming level.
-
Page 7: Reserve Power
The remaining capacity will be shown in detail on any Lupine Smartcore battery (see long as possible. The red 5 LEDs slowly lash when reservepower mode page. -
Page 8: Default Setting
Customizing the brightness levels You have the option to setup to 4 brightness levels, in any sequence Default setting Press and hold the button (for approx. 4 seconds) until one green lights up. 1. brightness level 14 W release the button 2. -
Page 9: Micro Charger
Micro Charger Micro Charger Charger/ Wiesel Li-Ion Li-Ion Connecting: Plugging in the device: Plug the included power supply into an outlet and Plug the included Wiesel charger into an outlet and connect it to the battery. connect the power supply to the Micro Charger. Plug the battery into the charger when the orange Charging: LED begins lashing. -
Page 10: Special Functions
Special Functions Additional beams for special applications Alternative Capacity Indicator (lamp-head) Changing the factory-set SOS function see page 35 Before activating the alternative capacity indicator, 2 Ah It is possible to change the factory-set SOS signal to your battery must be fully charged. - Page 11 Special Functions Adjusting the lamp-head's low-battery warning LEDs Recover factory settings: Use this program to adjust the onset of the low-battery warning. Press and hold the button for 8 seconds, until 5 red LEDs turn on. release the button. Press and hold the button for 7 seconds, until 4 green LEDs light up.
-
Page 12: Product Care And Storage
Faulty charger. Replace charger. Unsuitable battery. Use original Lupine battery. screw down the housing cover. Important note: if the thread runs smooth, the cap is in the right position. Otherwise please stop and screw back the cover and try again, otherwise you might damage the thread. -
Page 13: Technical Data
Input voltage: 100 – 240 V~, 50 – 60 Hz Input voltage: 12 – 14 V =,>= 2 A from power Wilma 6 with battery: 360 g Charging current: up to 1.2 A supply or or 12 V charging cable...


Need help?
Do you have a question about the Wilma 6 and is the answer not in the manual?
Questions and answers