Fujitsu ScanSnap iX500 Quick Setup Manual
High speed duplex scanner
Hide thumbs
Also See for ScanSnap iX500:
- Operator's manual (480 pages) ,
- Advanced operation manual (153 pages) ,
- Operating instructions manual (143 pages)
Advertisement
ScanSnap iX500 Quick Setup Guide
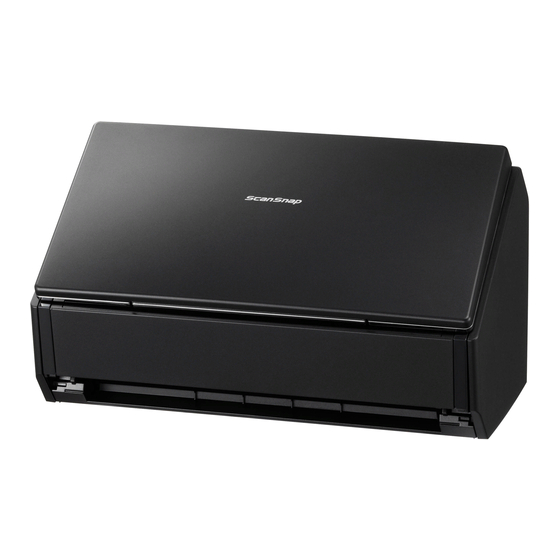
The Fujitsu ScanSnap iX500 is a high speed duplex scanner, meaning it scans both the front and back of a
document or photo at the same time at a rate of about 1 page every 1 to 2 seconds. It's ideal for
digitizing all of your family photos and important documents.
Setting up the Fujitsu ScanSnap scanning station
1: Turn on the laptop (for longer projects connect the power)
2: Plug the power cable into Fujitsu ScanSanp iX500
3: Plug the USB cable into the laptop then into the Fujitsu ScanSnap
4: Open the Fujitsu ScanSnap by lifting the top lid, this will become the paper feed (should hold 50
sheets of paper or 25 photos) Pull the next lid down, this will become a paper catch. This step isn't
necessary especially if you have thicker photos.
5: Once the laptop is turned on and the Fujitsu ScanSnap is connected to it you are ready to start
scanning.
Start scanning documents and photos with the Fujitsu Scansnap iX500
1: Spread the paper guide all the way to the edges of the page feeder if they are not already there.
2: Place documents or photos in the page feeder. A very helpful hint is to place the documents so the
back of the page is facing you and upside down in the page feeder, this will save you some work after
the pages are scanned.
3: Move the paper guide to fit snuggly next to the paper in the tray.
4: Press the Scan button on the Fujitsu ScanSnap iX500 (it should be lit in blue)
5: The documents or photos will start scanning.
While the documents or photos are scanning a window will appear on the laptop.
Advertisement
Table of Contents

Related Manuals for Fujitsu ScanSnap iX500


Summary of Contents for Fujitsu ScanSnap iX500
- Page 1 ScanSnap iX500 Quick Setup Guide The Fujitsu ScanSnap iX500 is a high speed duplex scanner, meaning it scans both the front and back of a document or photo at the same time at a rate of about 1 page every 1 to 2 seconds. It's ideal for digitizing all of your family photos and important documents.
- Page 2 When the documents or photos are finished scanning an "All Applications" window appears on the screen of the laptop. Here is where you choose what kind of file your document or photo will save as. Documents to PDF If you have a document and you want to save it as a PDF click on "Scan to Folder" The "Scan to Folder"...
- Page 3 Once the lid is open you will be able to remove the document or photo that caused the jam. Close the cover; reinsert the document of photo that caused the jam and try scanning again by clicking on "Continue Scanning" on the screen. Tips To save time scanning, sort all of your photos by size before scanning.
Need help?
Do you have a question about the ScanSnap iX500 and is the answer not in the manual?
Questions and answers