Vivotek NR8201 Quick Installation Manual
4-ch viewing & recording external e sata interface
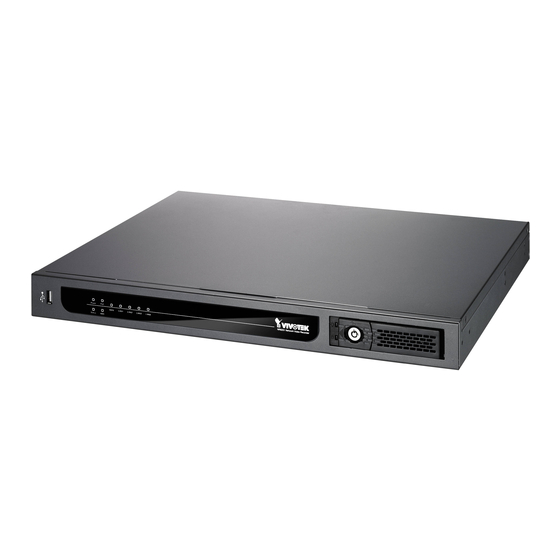
8-ch viewing & recording
raid0, 1 scalable storage
Hide thumbs
Also See for NR8201:
- User manual (64 pages) ,
- Quick installation manual (11 pages) ,
- Technical specifications (2 pages)
Table of Contents
Advertisement
Quick Links
Download this manual
See also:
User Manual
Advertisement
Table of Contents

Related Manuals for Vivotek NR8201


Summary of Contents for Vivotek NR8201
- Page 2 Warning Before Installation Power off the Network Video Recorder Keep the Network Video Recorder as soon as it is found smoking or away from water. If the Network smelt unusual. Camera is wet, power off immediately. Contact your distributor when such cases Contact your distributor when such cases happen.
- Page 3 Do not place the Network Video Do not touch the Network Video Recorder on unsteady surfaces. Recorder when it's lightening. Do not drop the Network Video Do not insert any object into the Recorder. Network Video Recorder, such as needles. EN - 2...
-
Page 4: Package Contents
Package Contents NR8201 (4CH) or NR8301 (8CH) Power Cord NR8201 NR8301 Software CD Rack Mount Kit NR8201: NR8301: Rack Mount Ear x 2 Rack Mount Ear x 2 Screws x 4 (Black) Screws x 4 (Black) Screws x 4 (Grey) -
Page 5: Physical Description
Recessed Reset Button General I/O Terminal Block NR8201 Status Indicator Removable & Lockable Hard Disk Tray x 1 Power NR8201 Network Video Recorder L A N 1 L A N 2 L A N 3 L A N 4 Status USB Socket Ethernet 10/100 RJ45 Socket x 4 (LAN);... -
Page 6: Hardware Installation
Hardware Installation Before using the Network Video Recorder, please prepare SATA hard disk(s) for recording video. 1. Make sure the power is off. 2. Secure the supplied rack mount ears if you want to use rack mount installation. 3. Loose the lock of the hard disk as shown below and take out the bracket. 4. -
Page 7: Network Deployment
If the Network Camera is PoE-compliant, it allows transmission of power and data via single Ethernet cable. (NR8201 supports 4-CH PoE; NR8301 supports 8-CH PoE) 4. If your want to access over the Internet, connect the Network Video Recorder to the In- ternet via WAN socket. -
Page 8: Assigning An Ip Address
There are three ways to get WAN IP address: DHCP (Dynamic IP), Static IP address, and PPPoE (DSL). If your network environment is DHCP, you can use VIVOTEK Installation Wizard 2 (IW2) to get an IP address easily. -
Page 9: Ready To Use
Ready to Use Following is the Homepage of the Network Video Recorder. Confi guration page Note If you want to record live video and playback the recorded video, you have to add devices to the Network Video Recorder on the Confi guration page. For further setup, please refer to user's manual on the software CD.
Need help?
Do you have a question about the NR8201 and is the answer not in the manual?
Questions and answers