Table of Contents
Advertisement
Quick Links
Download this manual
See also:
User Manual
Advertisement
Table of Contents

Related Manuals for Vivotek NR8401


Summary of Contents for Vivotek NR8401
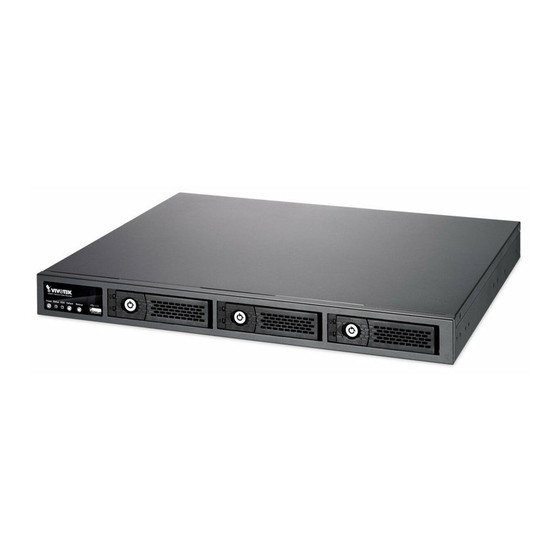
- Page 1 NR8401 Network Video Recorder Quick Installation Guide Rack Mount Design • Compatible with VAST • Full Integration with VIVOTEK Cameras...
-
Page 2: Package Contents
Recorder in high humidity environments. Do not attempt to remove or uninstall the software on the mounted flash memory. Package Contents NR8401 Power Cord Quick Installation Guide Software CD Warranty Card Screws, Chassis Ears, Bezel Keys, and Foot pads... -
Page 3: Physical Description
Physical Description Front View Disk 1 Disk 2 Disk 3 Power button and LED Disk 4 can be installed inside Status LED the chassis. 2 3 4 HDD activity LED Restore Default button Backup button Rear View LAN2 LAN1 Fan Outlet Fan Outlet GPIO Power Switch... -
Page 4: Hardware Installation
Hardware Installation SATA hard disk(s) are user-supplied. The network video recorder can readily accom- modate most of the off-the-shelf SATA hard drives. For a RAID volume configuration, it is recommended you use hard drives of the same model featuring the same capacity and rotation speed. - Page 5 3. Insert the hard drive into drive bay. 4. 4-1. Push the hard drive into bay until you feel the contact resistance. 4-2. Close the bezel lever to connect the hard drive to the back-end connector. 4-3. You should always lock the drive bezel when the drive bay is populated. This en- sures the hard drive is securely installed.
- Page 6 Interface Connections 1 & 2. Connect CAT5e or better-quality Ethernet cables to cameras via a local, switched network, or clients through the Internet. Refer to next page for more information. 3. Connect USB devices such as USB optical drive (formatted in FAT format) or UPS. 4.
-
Page 7: Network Deployment
Network Deployment 1. Connect network cameras to the NVR’s LAN ports. 2. Internet access to the NVR is made through the TCP port 80 and RTSP streaming via port 554. Clients Router Internet Router Switch Router / Wireless AP IMPORTANT: 1. -
Page 8: Initial Configuration
2. From a management computer, install the IW2 utility software included in the product CD. Follow the onscreen instructions to complete the installation. 3. Start the IW2 utility. The IW2 utility will discover the NR8401 located in the same subnet. 4. Double-click on the NR8401 entry to start a web session with the NVR system. - Page 9 6. The system will default to the Liveview page. Click on the Settings button on the upper right corner of the screen. 7. On the Settings page, click on Storage > Volume to access your storage volume configuration. 8. On the Storage settings page, check if your hard drives are present and identified by your system.
- Page 10 9. Depending on the number of hard drives you installed, a list of RAID volume configurations will be listed. Select a configuration's check circle and the disk members of a volume, and then click OK to continue. The initialization of a RAID volume will take several minutes.
- Page 11 12. Click on Camera > General on the menu tree to open the camera settings page. Click on the Search button to locate cameras installed in the subnet. 13. Cameras on the network will be listed. Click on the + button on the far left to enlist them into your configuration.
- Page 12 2050 Ringwood Avenue, San Jose, CA 95131 |T: +886-2-82455282| F: +886-2-82455532| E: sales@vivotek.com |T: 408-773-8686| F: 408-773-8298| E: salesusa@vivotek.com VIVOTEK Netherlands B.V. Busplein 36, 1315KV, Almere, The Netherlands |T: +31 (0)36 5389 149| F: +31 (0)36 5389 111| E: saleseurope@vivotek.com...
Need help?
Do you have a question about the NR8401 and is the answer not in the manual?
Questions and answers