Advertisement
Do you have a question about the HE-35 and is the answer not in the manual?
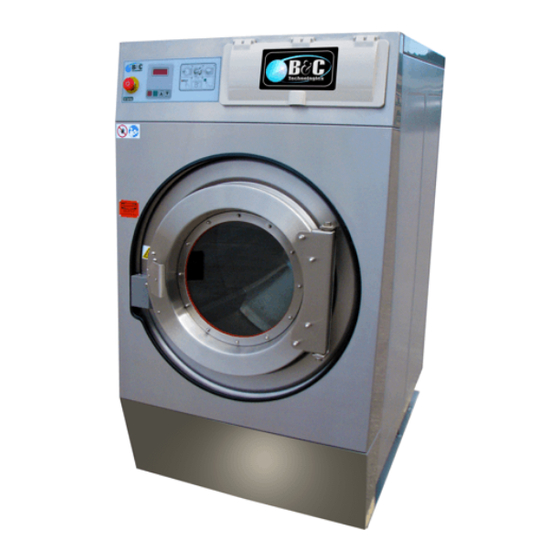
How do I open my washer door in the event of a power failure?
Where can I get a copy of the A or B Computer Programming Manual.


Need help?
Do you have a question about the HE-35 and is the answer not in the manual?
Questions and answers
How do I open my washer door in the event of a power failure?
Where can I get a copy of the A or B Computer Programming Manual.