
Related Manuals for Stewart Audio DSP100 series


Summary of Contents for Stewart Audio DSP100 series
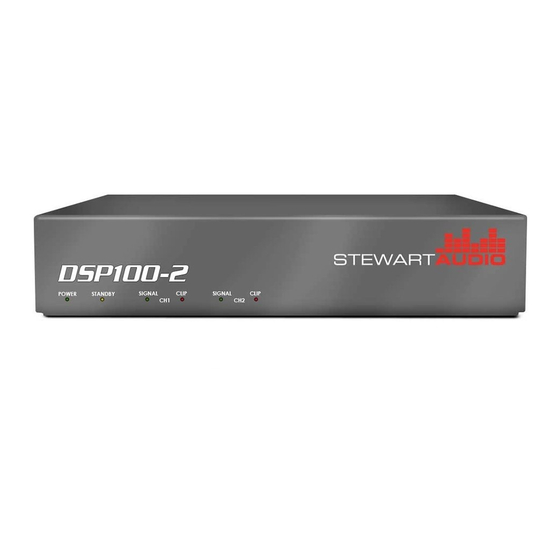
- Page 1 DSP100-1 POWER STANDBY SIGNAL CLIP DSP100-2 POWER STANDBY SIGNAL 1 CLIP 1 SIGNAL 2 CLIP 2 Owner’s Manual DSP100 Series October 2014 www.stewartaudio.com...
-
Page 2: Important Safety Instructions
Airflow through the ventilation openings should be Before using your Stewart Audio Inc. Power Amplifier, please read this unobstructed. Owner’s Manual carefully to ensure optimum trouble-free perfor- mance. -
Page 3: Table Of Contents
This manual provides you with the information necessary to safely in- stall and operate your new DSP100 Series amplifier in the most com- mon scenarios. If you find yourself requiring additional assistance,... -
Page 4: Setup
2.2 Amplifier Installation Two rack mounting options are available for the DSP100 Series amplifi- ers. A single rack-mount kit provides for installation of a single DSP100 Series amplifier on a 1RU rack. The dual rack-mount kit provides for the installation of two DSP100 Series amplifiers side-by-side on a single rack. -
Page 5: Proper Cooling Considerations
Be sure to provide plenty of air space to allow for convection cooling. Input Connector Male TRS Ground (Shield) 2.4.2 Unbalanced (Single-ended) Input Connections Your DSP100 Series amplifier is provided with two RCA stereo con- nectors for unbalanced inputs. -
Page 6: Output Connections
2.5 Output Connections Because the current flow in constant voltage systems and speakers is Output Connector much lower than in 8Ω systems, higher gauge (thinner diameter) wire can be used. Please refer to the following chart to choose the appro- 100V 70V 100V priate wire gauge for your installation. -
Page 7: Network Connector
1. Before use, your amplifier must be configured for proper operation, including input and output wiring hookup. Improper wiring can re- All network-enabled DSP100 Series amplifiers are shipped from the sult in damage to equipment or potentially harm to the operator. -
Page 8: Controls, Indicators, And Connectors
3.3 Controls, Indicators, and Connectors 3.3.1 Indicators DSP100 Series amplifiers have 2 front panel LED indicators which illu- minate to indicate when AC power is applied and the unit is operating (power), or when the amplifier is in “sleep” mode (standby). There is no power switch so the unit will remain on continuously when plugged in. -
Page 9: Dante
3.4 Dante Your network enabled DSP100 Series amplifier can act as a network break-in box, as well as an amplifier with local inputs and outputs. Au- dio signal routing and configuration is done using the Dante Controller software from Audinate at www.audinate.com. -
Page 10: Remote Volume Control
The amplifier can be remotely muted by making a connection between the GND pin and the MUTE pin. No power should be applied to these Q: I do not see the DSP100 Series amplifier showing up on the net- pins, simply a contact connection. -
Page 11: Troubleshooting
If problem still exists, contact your Authorized Dealer for ser- vice. Cooling Convection-Cooling Construction Aluminum Chassis Mounting Rack-mounted Dimensions (height, width, length) 1.75” x 8.4” x 10.7” Weight 4.5 lbs max (varies by model) Stewart Audio reserves the rate to change features and specifications without notice. -
Page 12: Warranty Information
3-year limited warranty on parts and labor from the data of purchase. In order to be eligible for warranty repairs, If Stewart Audio is unable to contact the sender in 14 days, the mer- the amplifiers and accessories must have been purchased through an chandise will be considered scrap and may be disposed of. -
Page 13: Accessories
The following accessories are available from Stewart Audio for your 1. Please write the RA number on three sides of the box. Include the amplifier. Stewart Audio RA number inside the box and a brief description of the problem. All part numbers shown are Stewart Audio Part Numbers.
Need help?
Do you have a question about the DSP100 series and is the answer not in the manual?
Questions and answers