Sign In
Upload
Download
Table of Contents
Contents
Add to my manuals
Delete from my manuals
Share
URL of this page:
HTML Link:
Bookmark this page
Add
Manual will be automatically added to "My Manuals"
Print this page
×
Bookmark added
×
Added to my manuals
Manuals
Brands
Nautel Manuals
Transmitter
NV15
Operation and maintenance manual
Nautel NV15 Operation And Maintenance Manual
Hide thumbs
1
2
3
4
Table Of Contents
5
6
7
8
9
10
11
12
13
14
15
16
17
18
19
20
21
22
23
24
25
26
27
28
29
30
31
32
33
34
35
36
37
38
39
40
41
42
43
44
45
46
47
48
49
50
51
52
53
54
55
56
57
58
59
60
61
62
63
64
65
66
67
68
69
70
71
72
73
74
75
76
77
78
79
80
81
82
83
84
85
86
87
88
89
90
91
92
93
94
95
96
97
98
99
100
101
102
103
104
105
106
107
108
109
110
111
112
113
114
115
116
117
118
119
120
121
122
123
124
125
126
127
128
129
130
131
132
133
134
135
136
137
138
139
140
141
142
143
144
145
146
147
148
149
150
151
152
153
154
155
156
157
158
159
160
161
162
163
164
165
166
page
of
166
Go
/
166
Contents
Table of Contents
Bookmarks
Table of Contents
Table of Contents
Release Control Record
About this Manual
About Safety
Electrical Hazards
Lightning Hazards
RF Hazards
Toxic Hazards
Other Hazards
Safety Precautions
Personal Safety
Site Safety
Equipment Safety
Description
Ac-DC Power Stage
Control/Monitor Stage
RF Drive Stage
RF Power Stage
Operating the Transmitter
Using the AUI
Home Page
Menu Page - Describing Transmitter Operations
Logs Page - Viewing Transmitter Log
Viewing Tool Menu Panels
Factory Settings
System Settings
User Accounts
Presets - Editing Operational Settings
Viewing Transmitter Status
Changeover Page
User Settings
Remote I/O Page
Routine Maintenance
Scheduled Maintenance
Replacing an Air Filter
Performing On-Air Checks
Replacing the Control/Interface PWB Battery
Replacing the NVE Exciter PWB Battery
Inspecting Lightning Protection Systems
Non-Standard Maintenance
Upgrading Software
Improving Transmitter Performance for IBOC Presets
Changing the RF Output Connector
Bypassing the UPS Interface Option
List of Terms
Issue 3.2 2013-10-01
Advertisement
Quick Links
1
Ac-DC Power Stage
Download this manual
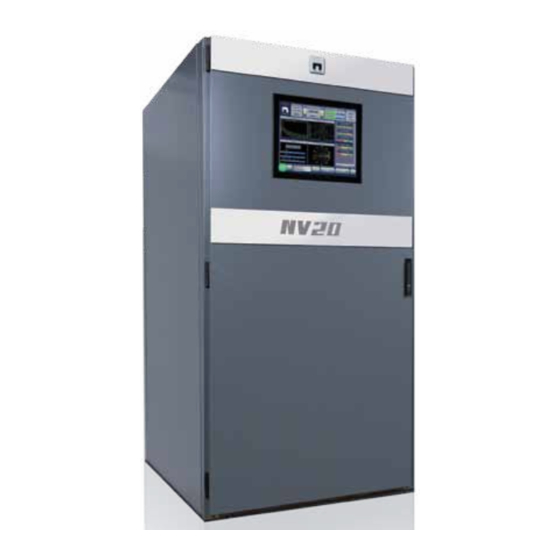
NV15/NV20 Transmitter
Operations and Maintenance
Manual
Document: NHB-NV15-NV20-OPS-3.2
Issue:
3.2 2013-10-01
Status:
Standard
Table of
Contents
Previous
Page
Next
Page
1
2
3
4
5
Advertisement
Table of Contents
Need help?
Do you have a question about the NV15 and is the answer not in the manual?
Ask a question
Questions and answers
Related Manuals for Nautel NV15
Transmitter Nautel NV30 Operation And Maintenance Manual
(152 pages)
Transmitter Nautel NV40 Troubleshooting Manual
(262 pages)
Transmitter Nautel NV20 Operation And Maintenance Manual
(166 pages)
Transmitter Nautel NV5LT Troubleshooting Manual
(324 pages)
Transmitter Nautel NV5 Troubleshooting Manual
(228 pages)
Transmitter Nautel NV30LT-N Operation & Maintenance Manual
(226 pages)
Transmitter Nautel NV20LT Installation Manual
(78 pages)
Transmitter Nautel NV Series Software Update Procedure
(10 pages)
Transmitter Nautel NV7.5 Operation And Maintenance Manual
(183 pages)
Transmitter Nautel NV10 Operation And Maintenance Manual
(183 pages)
Transmitter Nautel NV10LT Installation Manual
(70 pages)
Transmitter Nautel NX15 Manual
Replacing the single-board computer (19 pages)
Transmitter Nautel NX100 Preinstallation Manual
(99 pages)
Transmitter Nautel NX10 Installation Manual
Am transmitter (72 pages)
Transmitter Nautel NX Series Operation And Maintenance
(184 pages)
Transmitter Nautel NX50 Installation Manual
(74 pages)
This manual is also suitable for:
Nv20
Table of Contents
Print
Rename the bookmark
Delete bookmark?
Delete from my manuals?
Login
Sign In
OR
Sign in with Facebook
Sign in with Google
Upload manual
Upload from disk
Upload from URL


Need help?
Do you have a question about the NV15 and is the answer not in the manual?
Questions and answers