Advertisement
HEATRAE SADIA
HEATRAE SADIA
HEATRAE SADIA
HEATRAE SADIA
HEATRAE SADIA
The quality name in water heating
Installation and User Instructions
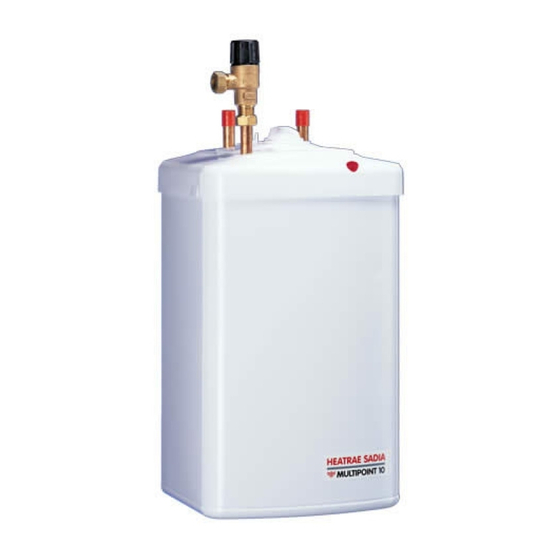
10 and 15 litre Unvented Water
Please read and understand these instructions before starting
Please leave this leaflet with the user following installation
for the
MULTIPOINT
Heaters
work.
36 00 5718 Issue 4
1
Advertisement
Table of Contents

Related Manuals for Heatrae Sadia MULTIPOINT 10


Summary of Contents for Heatrae Sadia MULTIPOINT 10
- Page 1 HEATRAE SADIA HEATRAE SADIA HEATRAE SADIA HEATRAE SADIA HEATRAE SADIA The quality name in water heating Installation and User Instructions for the MULTIPOINT 10 and 15 litre Unvented Water Heaters Please read and understand these instructions before starting work. Please leave this leaflet with the user following installation...
-
Page 2: Technical Specifications
Please read and understand these instructions prior to installing your Multipoint unvented water heater. Particular attention should be paid to the section headed IMPORTANT INSTALLATION POINTS. Following installation and commission- ing the operation of the heater should be explained to the customer and these instruc- tions left with them for future reference. - Page 3 WARNING: IF WATER FLOWS FROM THE PRESSURE RELIEF VALVE OR TEMPERATURE/PRESSURE RELIEF VALVE THE ELECTRICITY SUPPLY MUST BE SWITCHED OFF IMMEDI- ATELY. CONTACT THE HEATRAE SADIA SERVICE TEAM (Tel: 01603 420330) OR AN APPROVED INSTALLER. Diagram 1 For inlet pressures up to 4.1 bar (60 p.s.i.) Diagram 2 For inlet pressures up to 4.1 bar (60 p.s.i.) where expansion...
-
Page 4: Installation - General Requirements
2.0 INSTALLATION - GENERAL REQUIREMENTS: 2.1 National Wiring rules may contain restrictions concerning the installation of these units in bathrooms. 2.2 The unit should be vertically wall mounted using the wall bracket supplied. The water connections must always be to the top of the unit. 2.3 Enough space should be left at the top above the unit for pipe connections and access to the Temperature/Pressure Relief Valve. -
Page 5: Installation - Electrical Requirements
3.0 INSTALLATION - ELECTRICAL REQUIREMENTS WARNING: This appliance must be earthed. It is suitable for a.c. supply only. Disconnect the electrical supply before removing the terminal cover. Installation must be in accordance with the current I.E.E. Wiring Regulations. 3.1 The unit is supplied fitted with a 0.75m 3 core 1.5mm flexible cable on the 3kW model or a 0.75m 3 core 2.5mm cable on the... - Page 6 4.0 INSTALLATION - DISCHARGE PIPE REQUIREMENTS 4.1 The discharge outlet from the Pressure (expansion) Relief Valve and the Tem- perature/Pressure relief Valve must be connected to a discharge pipe. It is recom- mended that the tundish supplied be installed in the discharge pipe to give a visible indication that the valves are operating.
- Page 7 cover. Turn the backing disc over and refit to the knob ensuring the notch locates with the boss on the underside of the cover. Refit the terminal cover, the thermostat will now be locked in the “mid- range” position. 5.10 Setting the “hot” position: Rotate the thermostat knob to mid way through the hot graduated range (red graphic).
- Page 8 Diagram 5 Correct orientation of element plate (viewed from top of unit) 3kW models 4.5kW models 7.0 MAINTENANCE - SAFETY VALVES The Temperature/Pressure Relief Valve and, if fitted, the Pressure (expansion) Relief Valve should be regularly checked. Manually operate the valves by either twisting the cap or lifting the lever.
-
Page 9: Spare Parts
Multipoint water heater. Please refer to the Rating Label on the side of your heater before ordering to ensure the correct spare part is obtained. DO NOT REPLACE WITH PARTS NOT RECOMMENDED BY HEATRAE SADIA - THIS WILL INVALIDATE YOUR GUARANTEE AND MAY RENDER THE INSTALLATION DANGEROUS. DESCRIPTION CODE NO. -
Page 10: Fault Finding
The milkiness will disappear after a short while. NOTE: Use only Heatrae Sadia approved spare parts. Replacement of any parts with components not recommended by Heatrae Sadia will invalidate the guarantee and may render the installation dangerous. -
Page 11: Accessories
11.0 ACCESSORIES The heater can be used to supply several hot water outlets via conven- tional taps. It is not recommended for supplying a shower. Individual site demands should be considered when choosing capacity and the number of outlets to be served. A Thermostatic Blending Valve can be used in conjunction with this unit. - Page 12 1. The unit has been installed in accordance with these instructions and all necessary inlet controls and safety valves have been fitted correctly. 2. Any valves or controls are of Heatrae Sadia recommended type. 3. The unit has not been tampered with and has been regularly maintained as detailed in these instructions.
Need help?
Do you have a question about the MULTIPOINT 10 and is the answer not in the manual?
Questions and answers