Table of Contents
Advertisement
Advertisement
Table of Contents

Related Manuals for Merlin prolift 430R


Summary of Contents for Merlin prolift 430R
- Page 2 Garage doors are under great spring tension. Do not attempt to adjust spring tension. Do not loosen any brackets under spring tension. Do not remove springs from the door. Merlin does not accept responsibility for damage or injury resulting from installing this opener.
-
Page 3: Site Requirements
Check that it is possible to raise the door by hand through the full height of the opening. The door should operate smoothly, rolling up and down level to the floor without the door curtain binding, bulging or coning. The door must not jam in the tracks. If in doubt consult Merlin. Clearances This opener has been designed to fit most existing roller doors. - Page 4 Inner pair of holes WARNING Roller doors are under great spring tension. It is important to secure the door curtain before loosening the brackets holding the door. Merlin does not accept responsibility for damage or injury resulting from installing this opener. Please read...
- Page 5 Preparing the roller door WARNING Do not loosen both door support brackets or clamps. Loosening both door shaft clamps will expose you to the risk of serious personal injury. STEP 1. Check that there is a power point available and that there is adequate clearance to mount the opener onto the door in your preferred location.
- Page 6 To reconnect take care to engage the clutch stator pin on the lower right hand corner of the drive bracket. Contact Merlin if you have any doubts about this. STEP 2.
- Page 7 STEP 3. 15mm Tighten Re-check all mounting bolts to ensure door, opener and supporting wall brackets are all securely fas- tened. STEP 4. With the door in the open position fit the Stop Bracket onto the door shaft at the opposite end from the garage door opener.
- Page 8 Setting the door travel limits Travel limit actuator arms Limit-switch Micro cover panel switches Fine adjusting Manual release screws Control panel cover The procedure for setting the door travel limits differs depending on which side of the garage door the opener has been fitted. STEP 1: Remove the black limit-switch cover panel remove...
- Page 9 Setting door travel limits for right-hand mounting only STEP 1: Inspect the option switches on the control panel. The switch marked ‘Roller L:R’ should be moved to the R position. STEP 2: Set the bottom limit of travel. Connect the mains power to the opener and switch the power on. Pull the manual release to disengage the door from the opener.
- Page 10 WARNING: The door is not safe for unsupervised operation until the force sensi- tivity has been set. NOTE Repeated operation of the opener in a short period of time during the setting of force sensitivity may trigger the thermal cutout of the motor. In this case you will have to wait for approximately five minutes for the motor to cool sufficiently to continue the installation process.
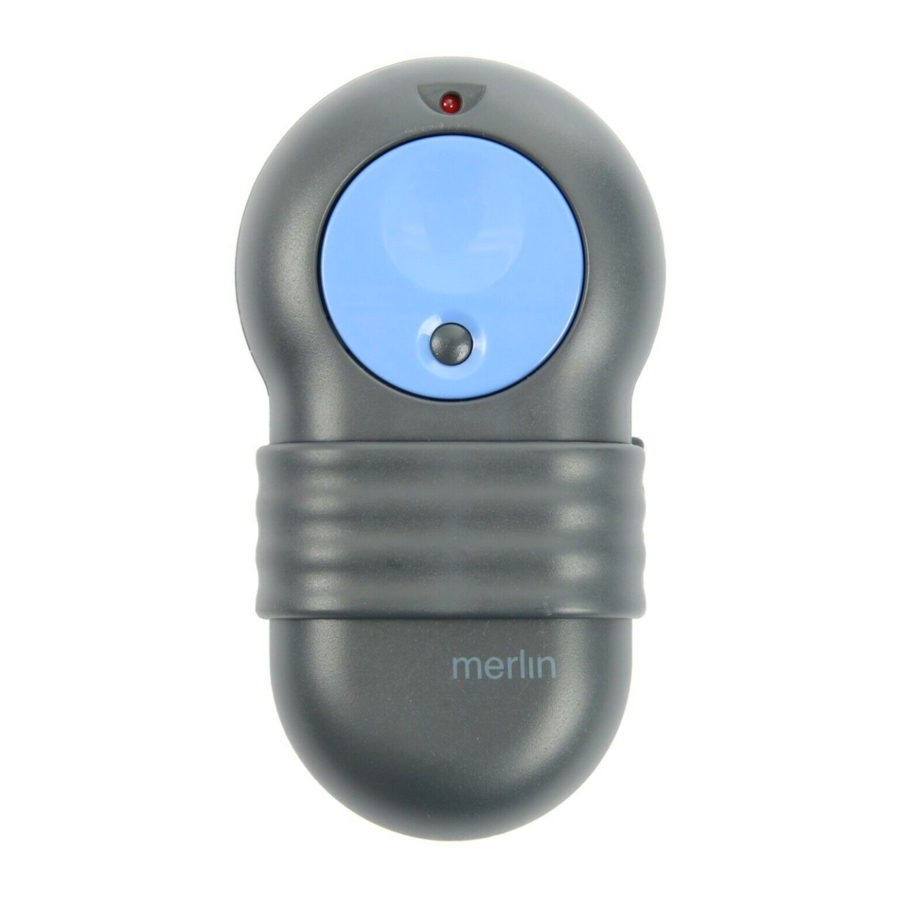
- Page 11 Wireless controls can be hand-held or fixed to walls, such as a wireless keypad, or a wireless wall- switch. Up to 20 Merlin wireless controls can be learned by the opener. After this, the 20th wireless control is over-written in the opener’s memory.
- Page 12 Four flashes confirms that RTL is now disabled. To place the opener in learn mode using RTL: Select any two or four button Merlin hand held remote control that is already learned in to the opener. Call this the master remote.
- Page 13 If the beam is interrupted the door will not close unless the manual pushbutton is held for more than two seconds. There is no guarantee given by Merlin that the beam will always protect property and persons from accidental injury or damage from unsupervised operation of the opener.
- Page 14 Non-contact Near-Infra-Red beam sensors are optional but may be required in EC countries. Merlin strongly suggests they be fitted for increased levels of safety. If sensors are fitted the opener will only close when the sensors are fully functional and where their beam is unobstructed.
-
Page 15: Specifications
Specifications Replacement light bulb E27 45mm Round, 40W maximum, RC preferred Mains power required 220V to 240 V, 50 Hz, single phase AC, earthed Suitable for domestic roller doors only. Not rated for shutter doors Curtain edge speed dependent on drum size - approximately 7-10 seconds per drum revolution Maximum rated torque 70Nm... - Page 16 Fax toll free 01709 514 534 www.merlingo.com Merlin does not accept responsibility for damage or injury resulting from installing this opener. Merlin reserves the right to change the design and specification without prior notification. Some features or accessories may not be available in certain markets or areas. Please check with your...
Need help?
Do you have a question about the prolift 430R and is the answer not in the manual?
Questions and answers
How do you change code on a Merlin 340R motor so if people have a opener it won’t work
To change the code on a Merlin ProLift 430R motor and prevent other openers from working, you need to reprogram the wireless controls. The opener can learn up to 20 wireless controls, and once this limit is reached, the 20th control overwrites the oldest one. To ensure that only your desired remotes work, you can reset and reprogram the wireless controls. The manual does not provide specific reset instructions, but typically, this involves pressing and holding a programming or learn button on the opener until the memory is cleared, then reprogramming only the remotes you wish to use.
This answer is automatically generated