Table of Contents
Advertisement
Quick Links
Advertisement
Table of Contents

Related Manuals for IC Realtime AVS Series


Summary of Contents for IC Realtime AVS Series
-
Page 1: Quick Start Guide
HD AVS Series DVR Quick Start Guide Version 2.0.0... -
Page 2: Important Safeguard And Warning
Welcome Thank you for purchasing our DVR! This quick start guide will help you become familiar with our DVR in a very short time. Before installation and operation, please read the following safeguard and warning carefully! Important Safeguard and Warning ... -
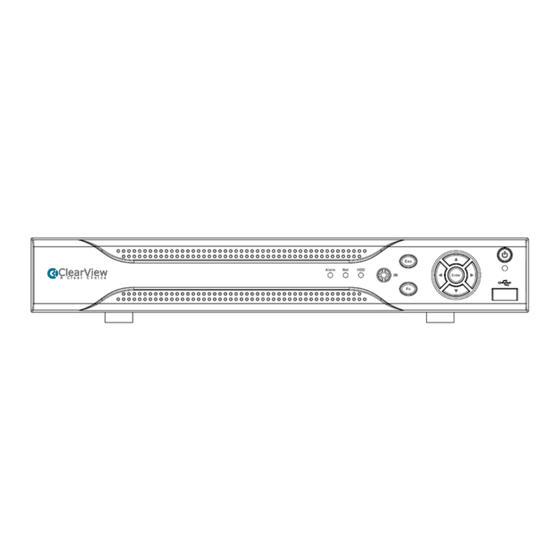
Page 3: Front Panel
4. Turn the device upside down 6. Connect the HDD cable and Fix the HDD firmly. and then turn the screws in power cable. firmly. in the chassis. 7. Put the cover in accordance 8. Secure the screws in the with the clip and then place the rear panel and the side panel. -
Page 4: Rear Panel
Go to previous menu, or cancel current operation. When playback, click it to restore real-time monitor mode. Confirm current operation Enter ENTER Go to default button Go to menu One-window monitor mode, click this button to display assistant function: PTZ control and image color. Backspace function: in numeral control or text control, press it for 1.5seconds to delete the previous character before the cursor. - Page 5 Figure 0-2 The Panther-8E series rear panel is shown as below. See Figure 0-3. Figure 0-3 Please refer to the following sheet for detailed information. Icon Name Note Power on-off button Power on/off button. VGA video output VGA video output port. Output port analog video signal.
-
Page 6: Local Login
HDMI High definition High definition audio and video media interface signal output port. transmits uncompressed high definition video and multiple-channel data to the HDMI port of the display device. AUDIO OUT Audio output port Connect to video output device such as sound box. - Page 7 Figure 5 For detailed operation information, please refer to the User’s Manual included in the resources...
-
Page 8: Appendix Toxic Or Hazardous Materials Or Elements
Appendix Toxic or Hazardous Materials or Elements Toxic or Hazardous Materials or Elements Component Name Cr VI PBDE Sheet ○ ○ ○ ○ ○ ○ Metal(Case) Plastic Parts ○ ○ ○ ○ ○ ○ (Panel) ○ ○ ○ ○ ○ ○...
Need help?
Do you have a question about the AVS Series and is the answer not in the manual?
Questions and answers