Table of Contents
Advertisement
Quick Links
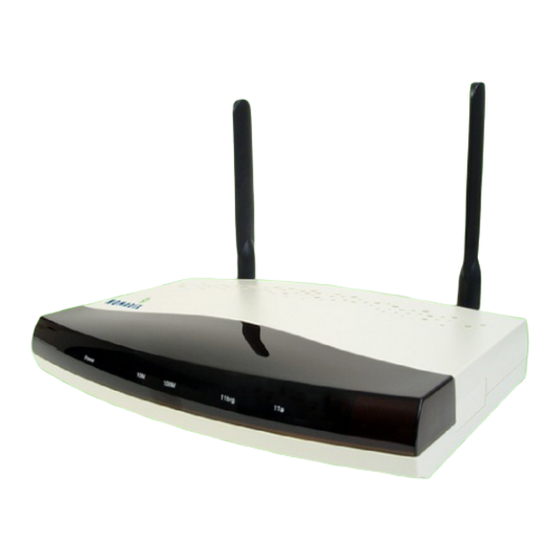
AG-2000w+™
Introduction
This document provides instructions and reference material for getting started with the Nomadix
wireless Access Gateway (AG-2000w+™) product line. If you have any problems, please
contact our technical support team at +1.818.575.2590, or email: support@nomadix.com.
The AG-2000w+™ can be configured by providing it a static IP address or enabling it to receive
a DHCP IP address from a DHCP server. By default, the AG-2000w+™ configured to obtain a
DHCP IP address from a DHCP server.
Requirement Checklist
You will need the following items to configure the AG-2000w+
•
Laptop or PC
•
Hub
•
Three (3) Ethernet cables
Start Here
1. Unpack the AG-2000w+ and place the product on a flat and stable work surface.
2. Setup a configuration network as shown in Figure 1 below.
Note: The AG-2000w+ must be connected to a live network that can access the
Internet or it will not be able to receive the License Key from Nomadix as
explained in step 4 below.
P/N 300-1235-001-A
Copyright © 2003 Nomadix, Inc.
Quick Start
| 1 |
Advertisement
Table of Contents

Related Manuals for Nomadix AG-2000W+


Summary of Contents for Nomadix AG-2000W+
- Page 1 2. Setup a configuration network as shown in Figure 1 below. Note: The AG-2000w+ must be connected to a live network that can access the Internet or it will not be able to receive the License Key from Nomadix as explained in step 4 below.
- Page 2 AG-2000w/w+ Quick Start (cont’d) 3. Connect the power cord to turn on the AG-2000w+. 4. Configure the Laptop with the following parameters: IP: 172.30.30.173, Subnet: 255.255.0.0, Gateway: 172.30.30.172 5. Wait for the AG-2000w+ to finish initializing (which is when the power light stops blinking) and start a Telnet session to communicate with the AG-2000w+ using the default management IP address: 172.30.30.172 Note: The AG-2000w+ may take up to 5 minutes to power up for the first time as...
- Page 3 Subnet Mask 255.255.255.0 Default Gateway 100.100.100.1 Step 2: Entering your DNS Information DNS Parameter Your Settings Examples Domain Name nomadix.com Host Name (no spaces) ag-2000w+ Primary DNS Server (mandatory) 100.100.100.4 Secondary DNS Server (optional) 0.0.0.0 Tertiary DNS Server (optional) 0.0.0.0 You will be asked to reboot after you enter the DNS information.
- Page 4 Step 3: Entering Your Location Information When the system powers up, you will be asked to input location information. Location Information Your Settings Examples Company Name (mandatory) Nomadix, Inc. Site Name (mandatory) Headquarters Address (2 lines) 31355 Agoura Road City (mandatory)
- Page 5 Agreement (EULA). You must accept the terms of the EULA before the AG-2000w+ can retrieve your License Key. To retrieve your License Key, enter y[es] at the prompt. The AG-2000W+ will retrieve License Key from the Nomadix License Key Server and will reboot. Step 5: Creating AG-2000w+ DHCP Server settings DHCP Server is enabled by default.
- Page 6 AG-2000w/w+ Quick Start (cont’d) Based on your country’s radio frequency laws, set the wireless regulatory domain type to the appropriate setting. Telnet into the AG-2000w+ and go to System->Wireless- >domain to change the default setting. Step 7: Additional configuration of the System using WMI You can log in to the AG-2000w+ and use the graphical Web Management Interface (WMI) (http://ag_ip) to configure the product’s features.
Need help?
Do you have a question about the AG-2000W+ and is the answer not in the manual?
Questions and answers