Advertisement
Quick Links
Download this manual
See also:
User Manual
AG 2100 Quick Start
Introduction
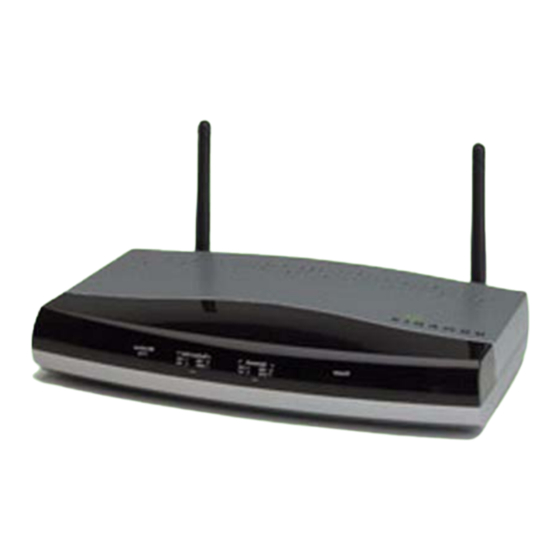
This document provides instructions for getting started with the Nomadix Wireless Access
Gateway 2100 (AG 2100) product. If you have any problems, please contact our technical
support team at +1.818.575.2590, or email: support@nomadix.com.
The AG 2100 has three network interface configuration modes:
1) Static
2) DHCP Client
3) PPPoE Client
By default, the 'DHCP Client' configuration mode is enabled.
There are two ways to configure the Nomadix Wireless Access Gateways:
1) Network side as shown in Figure 1.
2) Subscriber side as shown in Figure 2.
By default, only the SSH interface is available on the subscriber-side. All interfaces are available
on the network-side.
Requirement Checklist
You will need the following items to configure the AG 2100
•
Laptop or PC
•
Hub
•
Three (3) Ethernet cables
•
Wireless card (optional)
•
SSH client
Start Here
1. Unpack the Access Gateway and place it on a flat and stable work surface.
2. Select the side on which to access the management interface of the NSE gateway.
P/N 300-1235-001-A
Copyright © 2005 Nomadix, Inc.
|Page 1 of 10 |
Advertisement

Summary of Contents for Nomadix AG 2100
- Page 1 Introduction This document provides instructions for getting started with the Nomadix Wireless Access Gateway 2100 (AG 2100) product. If you have any problems, please contact our technical support team at +1.818.575.2590, or email: support@nomadix.com. The AG 2100 has three network interface configuration modes:...
- Page 2 AG 2100 Quick Start (cont’d) a. To configure the Access Gateway from the network-side, setup a configuration network as shown in Figure 1 below. b. To configure the Access Gateway from the subscriber-side, setup a configuration network as shown in Figure 2 below.
- Page 3 License Key from Nomadix as explained in step 3 below. 3. Connect the power cord to turn on the AG 2100. You can also use PoE to power the AG 2100 4.
- Page 4 Step 1: Configuring IP and DNS information Static IP Configuration For AG 2100 with Static IP address, enter IP address and DNS information as shown in steps 1a and 1b. In case of AG 2100 configured with DHCP Client, skip to Step 2: Entering location information, since the AG 2100 has already received the IP and DNS settings from the DHCP server.
-
Page 5: Pppoe Client Configuration
IP and DNS Parameters PPPoE Client Configuration For AG 2100 with network configuration set to PPPoE client, enter DNS information as shown in step 1a and PPPoE client configuration information as shown in step 1b. Please note that in case of PPPoE client, only the tertiary DNS server is configurable. It is assumed that the Primary and Secondary DNS servers are provided by the PPPoE server. - Page 6 AG 2100 Quick Start (cont’d) Step 1a: Entering your DNS Information DNS Parameter Your Settings Examples Domain Name nomadix.com Host Name (no spaces) Primary DNS Server (not configurable) Secondary DNS Server (not configurable) Tertiary DNS Server (optional) 198.6.1.2 Step 1b: Entering your PPPoE Information...
- Page 7 AG 2100 Quick Start (cont’d) Sample Screen Responses DNS Parameters and PPPoE Configuration You will be asked to reboot after you enter this information. Please enter (y)es when prompted to reboot. | Page 7 of 10 |...
-
Page 8: Step 2: Entering Your Location Information
When the IP Addresses, DNS and Location information are configured, the system will prompt you to accept or decline the terms of the End User License Agreement (EULA). You must accept the terms of the EULA before the AG 2100 can retrieve its License Key. - Page 9 Step 5: Configuring the Regulatory Domain Base on your country’s radio frequency laws, set the wireless regulatory domain type to the appropriate setting. Telnet into the AG 2100 and go to System->Wireless->domain to change the default setting. | Page 9 of 10 |...
- Page 10 AG 2100 Quick Start (cont’d) Step 6: Additional configuration of the System using WMI You can log in to the AG 2100 and use the graphical Web Management Interface (WMI) (http://nse_ip) to configure the product’s features. You have now established a basic configuration for the AG 2100.


Need help?
Do you have a question about the AG 2100 and is the answer not in the manual?
Questions and answers