Table of Contents
Advertisement
Advertisement
Table of Contents

Subscribe to Our Youtube Channel
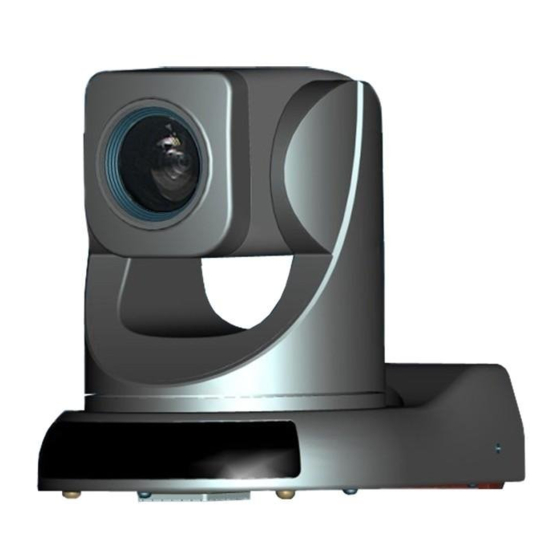
Summary of Contents for minrray uv83
- Page 1 Minrray UV83 Video Conference Camera User Manual www.Minrray.com (800) 486-5276 ...
- Page 2 Forward Thank you very much for buying our cameras, please contact us if there is any doubts anytime. This manual may have technical error, product functions may not conform to actual operation or may have wrong printings. The content of this manual ...
-
Page 3: Table Of Contents
【Contents】 1、NOTE....................................3 2、MAIN FEATURES: ..............................4 3、SUPPLIED A CCESSORIES ............................4 4、CAMERA INTERFACE EXPLANATION........................5 8、CONNECTION ................................9 9、CAMERA INTERFACE EXPLANATION : .........................9 10、RS485,RS422 INTERFACE PIN A SSIGNMENT .................... 11 11、SVIDEO INTERFACE PIN ... -
Page 4: Note
1、Note Electrical Safety The installation of this product must be completely according to the national or regional electric specification. ... -
Page 5: Main Features
2、Main Features: Standard Definition Video 1/4 inch high quality EXVIEW HAD CCD sensor。 18x optical zoom F1.4--3.0 Fast, accurate and stable auto focus lens, 18 x optical zoom;; F1.4~3.0, mechanical shutter。 ... -
Page 6: Camera Interface Explanation
4、Camera Interface Explanation 1. - Page 7 5、Remote controller instruction 1、Number key Setting or locating presets 2、* key Key combination use ...
- Page 8 6、Camera Basic Function 18X optical zoom With 18x optical zoom lens and wide angle lens, absolutely meet all sizes meeting room ‘s needs. Can be controlled by IR remote controller and VISCA command by RS232 interface. ...
- Page 9 Note: SW1 dial switch position 4、 5、 6、 7、 8 are corresponding to the setting of B aud rate , IR remoter (on/off) and software update model /normal working mode switching . ...
-
Page 10: Connection
8、Connection 9、Camera Interface explanation : Control Interface RS-232 RS232 series interface , wiring is standard VISCA cable , one of the linker is 8pin mini DIN(1), the other ... - Page 11 9.1、VISCA RS-232 pin assignment Camera Windows DB-9 1.DTR 1.CD 2.DSR ...
-
Page 12: Rs485,Rs422 Interface Pin A Ssignment
9.2、VISCA OUT output cable interface pin assignment VISCA OUT Definition: NO. Function 1 2 3 RXD 4 GND ... -
Page 13: Svideo Interface Pin Assignment
11、SVIDEO interface pin assignment SVIDEO Definition: No. Function 1 Y-GND ... - Page 14 Step 2: install the lower base Stamp insulation pads on the installation holes and make sure the holes are aligned. Put the pins in locating hole, and then fix the base at the baseboard of the camera with 1/4 inch screw. ...
- Page 15 S tep 3:Install the camera B uckle the clasps to the fixed installation board and fix it by 3 M3 screws. Notice Do not install the camera on shaking object Do not install the camera obliquely ...
-
Page 16: Operation
13、Operation Boot-strap 1、 C heck if the wire connection is right before powering on. 2、 T urn on the switch at the back of camera and the indicator light on ( RED) 3、... - Page 17 3. Zoom Operation ZOOM OUT: press “ZOOM -“ key ZOOM IN: press “ZOOM +” key Press and hold the key, the camera will keep zooming in or zooming out and stops as soon as the key is released.
- Page 18 8、Run Presets Press a number key 0-9 directly run to a set preset. It will be invalidated if with no preset set. 9. Menu setting Press MENU key to open or close menu ...
- Page 19 changes with the version Camera module 90 50 00 20 04 This Return command represent 81 09 00 02 FF query 4C 01 00 02 FF the camera module ...
-
Page 20: Menu Control
Output video setting Reset the pan/tilt and the camera,The pan/tilt System reset command 81 01 06 05 FF self-inspection 。 Lens parameter setting Function ... - Page 21 14.1 Operation explanation The basic menu control includes change the menu bar,enter the next level menu, return to the menu、exit the menu,select the menu, Change set data, confirm changes and cancel the change Keyboard control(P/D/VISCA protocol) : ...
- Page 22 14.3 sub menu 14.3.1 system information SYSTEM INFORMATION -------------------------- TYPE X18 COMM 4800.N.8.1 PROTOCOL P/D ADDRESS 002/001 VERSION V1.0 AUTO EXIT TIME BACK EXIT TYPE ...
- Page 23 IRIS Default setting: AUTO Two Iris modes: ...
- Page 24 MOUNT MODE Default setting:UP Two mount modes: UP / DOWN.
-
Page 25: Maintenance And Troubleshooting
15. Maintenance and Troubleshooting Camera Maintains ● If camera is not used for long time, please turn off power switch, adapter switch and A C plug. ● Use soft cloth or tissue to clean the camera cover. ●... - Page 26 ● Rotation Feature Pan Rotation: ±360 degree Manual Control Speed: upright method -30~+90degree;; inverted method -90~+22 degree Pan speed: 0.2-80°/sec Tilt speed: ...
-
Page 27: Dimension
17. Dimension AppendixⅠ P control protocol ⑴ Command format BYTE VALUE FUNCTION 1 $A0 STX(start transmission) 2 $00 to $FF Address 3 ... - Page 28 COMMAND DATA BYTE1 DATA BYTE2 DATA BYTE3 DATA BYTE4 Go to preset. xx 00 07 00 01 to FF Zero pan position 00 07 00 22 ...
- Page 29 DATA DATA BYTE2 DATA BYTE3 DATA BYTE4 COMMAND BYTE1 Query Tilt Response 00 5B Tilt Tilt 00 5D Zoom Zoom ...


Need help?
Do you have a question about the uv83 and is the answer not in the manual?
Questions and answers