Table of Contents
Advertisement
Advertisement
Table of Contents

Subscribe to Our Youtube Channel
Related Manuals for La Crosse Technology WS-6003U


Summary of Contents for La Crosse Technology WS-6003U
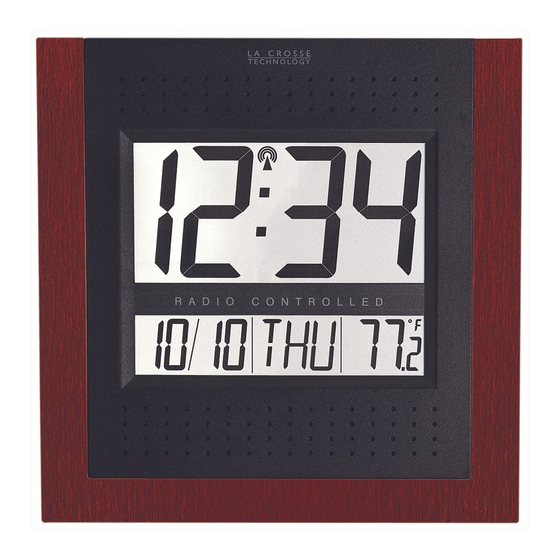
- Page 1 WS-6003U Atomic Clock Instruction Manual...
-
Page 2: Table Of Contents
TABLE OF CONTENTS Topic Inventory of Contents/ Additional Equipment About WWVB Quick Set-Up Guide Detailed Set-Up Guide Battery Installation Program Mode Function Buttons Time Zone Setting DST (Daylight Saving Time) Setting Language Selection Time Setting Calendar Setting 12/24-Hour Setting Selecting °F or °C Features &... -
Page 3: Inventory Of Contents/ Additional Equipment
3) If there is no WWVB reception, manually set the time and date (instructions in the Program Mode). 4) Program the settings. 5) Mount the WS-6003U in a suitable location, where WWVB signals can be received. DETAILED SET-UP GUIDE BATTERY INSTALLATION... -
Page 4: Program Mode
The numbers “0”, “1”, or “8” will appear in the hour position and the seconds will appear in the minute display. The Atomic Clock will either display the WWVB time, or discontinue the search after 10 minutes if the time is not found. When the search is cancelled “-:--”will appear in the time LCD. -
Page 5: Function Buttons
Atomic Clock. Complete programming is usually done for the initial set-up, and will require you to skip step 1 of programming sections III through VIII. Wait approximately 15 seconds for the Atomic Clock to automatically return to normal operation. -
Page 6: Language Selection
3) Press and release the “SET” button to confirm the DST setting, and to advance to select the language for the weekday. IV) LANGUAGE SELECTION FOR THE WEEKDAY 1) Hold down the “SET” button for 2 seconds (the selected time zone will flash), press the “SET”... -
Page 7: 12/24-Hour Setting
4) The default month “1” will flash. Press and release the “+” button to select the appropriate month. 5) Press and release the “SET” button to confirm the month, and to set the date. 6) The default date “1” will flash. Press and release the “+” button to select the appropriate date. -
Page 8: Indoor Temperature
The hinge is towards the center of the atomic clock, and the end (with no hinge) needs to be folded in towards the center. Once the foldout table stand is extended, place the atomic clock in an appropriate location. II) WALL MOUNTING 1) Using a straightedge, horizontally space at 3-15/16 of an inch (100.58mm) three screw positions on a wall. -
Page 9: Maintenance & Care
1) Be sure correct time zone and daylight saving time are selected. Note: For any questions not answered, contact La Crosse Technology with the contact information found at the end of this instructional manual. the general direction of Ft. Collins, Colorado. -
Page 10: Specifications
SPECIFICATIONS Temperature: Measuring range: Outside range: Checking intervals: Power source: Battery type: Battery life: Dimensions (L x W x H): 32°F to 122°F with 0.2°F resolution (0°C to 50°C with 0.1°C resolution) “OFL” will be displayed Every 10 seconds 2 x AA, IEC LR6, 1.5V (Alkaline) Approximately 12 months 8.3 x 1.2 x 8.4 in (211.8 x 30.5 x 214.4mm) -
Page 11: Warranty Information
La Crosse Technology immediately upon discovery of any defects covered by this warranty. Before sending the Atomic Clock in for repairs, contact La Crosse Technology. The Atomic Clock will be repaired or replaced with the same or similar model. This warranty does not cover any defects resulting from improper use, unauthorized repairs, faulty batteries, or the Clocks inability to receive a signal due to any source of interference.
Need help?
Do you have a question about the WS-6003U and is the answer not in the manual?
Questions and answers