
Related Manuals for moon Eclipse


Summary of Contents for moon Eclipse
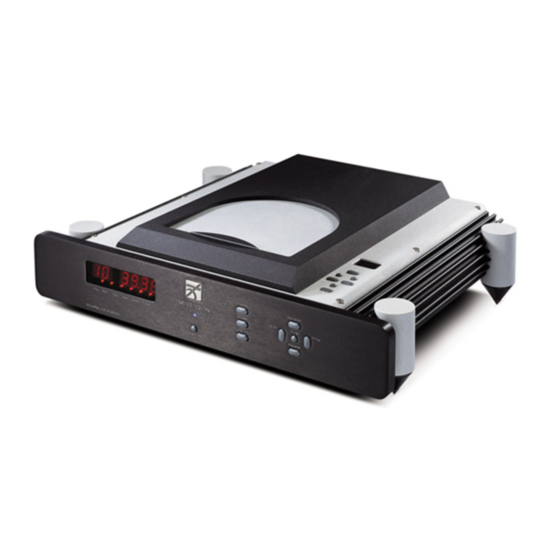
- Page 1 ECLIPSE CD Player ___________________________________________________________________________ Owner’s Manual...
-
Page 2: Table Of Contents
Introduction ..........4 Unpacking and Warnings ......5 CD Drive Locking Mechanism ...... 6 Installation Tips ........7 Connecting the Eclipse Power Supply .... 8 Loading A Compact Disc ......9 Top Panel Controls ........10 Front Panel Controls ......... 11 Rear Panel Connections...... -
Page 3: Congratulations
Please read this manual thoroughly to acquaint yourself with this product’s features prior to using it. We hope you enjoy listening to the MOON Eclipse CD Player as much as the pride we have taken in creating this fine audio product. -
Page 4: Introduction
MOON Eclipse CD Player Introduction Your MOON Eclipse CD Player incorporates many significant design features to achieve its “world class” level of performance. This is an abbreviated list of the more important features: A custom proprietary toroidal transformer design with lower magnetic, electrical and thermal loss, yielding an improved power transfer and lower regulation factor, resulting in increased current speed and better dynamics. -
Page 5: Unpacking And Warnings
MOON Eclipse CD Player Unpacking and Warning! The MOON Eclipse CD Player and the accompanying external power supply should both be removed from their box with care. The following accessories should be included inside the box with your cd player:... -
Page 6: Cd Drive Locking Mechanism
Unlocking the transport Place the MOON Eclipse CD Player on a soft surface (i.e. carpet) and carefully turn it so that it rests on its side. Locate the two (2) locking screws, the heads of which will be immediately apparent. Using your fingers, unscrew the heads in a counter-clockwise motion and remove them. -
Page 7: Installation Tips
CD Player chassis. These tips will easily scratch most surfaces, therefore it’s advisable to follow these instructions: 1) Place your Eclipse on a soft surface (i.e. carpet) and carefully turn it so that it rests on its side. 2) Screw one tip onto each of the four cones. -
Page 8: Connecting The Eclipse Power Supply
Figure 1: Connecting the Moon Eclipse (top) to its Power Supply (bottom) 1. There is one connection that must be made between the MOON Eclipse CD Player and its separate power supply as shown above in Figure 1; Using the supplied DB15 cable, connect the end, with the male pin socket, to the plug labeled “DC Output”... -
Page 9: Loading A Compact Disc
The clamp design on the Eclipse is optimized through the use of both a strong magnet and special damping material. The combination of these elements provides the right amount of force needed to... -
Page 10: Top Panel Controls
Located at the top of this control panel is a small display window which indicates the track currently being played. When a compact disc is first loaded into the Eclipse and its table of contents is read, the total number of tracks will appear in the display. -
Page 11: Front Panel Controls
(3) times displayed will depend of “Time” button which is described later in this section. When a compact disc is loaded into the Eclipse and its table of contents is read, the total number of tracks and total playing time will appear in this window. On the bottom of the display window, from left to right, are six (6) indicator LED’s that will illuminate as follows:... - Page 12 The “Prog” button allows you to program a selection of tracks in the order that you wish to listen them. After loading a compact disc into the Eclipse, select the first track you wish to listen to, using the top panel controls (discussed in the previous section) and press “Prog”.
-
Page 13: Rear Panel Connections
Eclipse will function as a digital-to-analog converter. The other labeled “S/PDIF out” is intended for use when Eclipse will function as a digital transport and digital signal processing will be handled externally by a surround processor like the MOON Attraction. -
Page 14: Operating The Eclipse
The blue LED on the front of the power supply will indicate that the power supply is on. 2) The blue LED on the front of the Eclipse indicates that it is correctly connected to the power supply. Press the push button labeled “Stand by” on the Eclipse, and the digital display will show ‘no disc’. -
Page 15: Remote Control Operation
MOON Eclipse CD Player Remote Control Operation The MOON Eclipse CD Player uses the ‘FRM’ full function, all aluminum remote control (figure 5). It operates on the Philips RC-5 communication protocol and is can be used with other Simaudio MOON components such as the P-5 and P-3 Preamplifiers, AIR FM Tuner and both the i-5 and i-5080 integrated amplifiers. -
Page 16: Specifications
MOON Eclipse CD Player Specifications Configuration ........... Fully Balanced Digital Power Supply Transformer ....75VA Analog Power Supply Transformer ..... 22.5VA Digital Power Supply Capacitance ..... 8,000µF Transport Mechanism ....... Philips CD-Pro 2 Analog Power Supply Capacitance ..... 20,000µF Digital Filter ..........BurrBrown DF1704 Digital-to-Analog Converters ..... -
Page 17: Service And Warranty
In order to prevent any damage during transport, the Eclipse must be packed with all of its original internal materials and shipped in the original box. Please keep your box and shipping materials.
Need help?
Do you have a question about the Eclipse and is the answer not in the manual?
Questions and answers