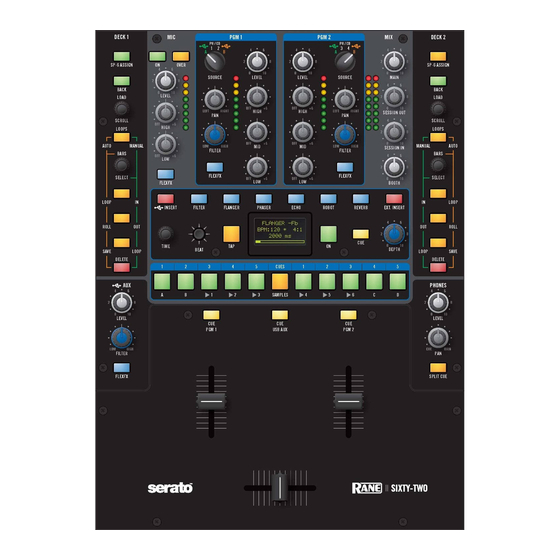
Rane Sixty-Two Operation Manual
Hide thumbs
Also See for Sixty-Two:
- Operator's manual (60 pages) ,
- Specification (4 pages) ,
- Owner's manual (44 pages)
Table of Contents
Advertisement
Advertisement
Table of Contents

Subscribe to Our Youtube Channel
Related Manuals for Rane Sixty-Two


Summary of Contents for Rane Sixty-Two
- Page 1 VirtualDJ 8 – Rane Sixty-Two...
-
Page 2: Table Of Contents
Auxiliary/Sampler......................12 Headphones ........................13 Front panel ........................13 K. Rear Panel ........................14 Advanced Audio Setups ....................... 15 Timecode (DVS) ........................15 Sampler Output ........................16 Back to back ......................... 17 Recording ..........................17 VirtualDJ 8 – Rane Sixty-Two... -
Page 3: Installation
Installation Connections Connect your computer to USB A (or B) port at the rear panel of Rane Sixty-Two. Connect your Left deck’s RCA cables to ANALOG INPUT 1. If it’s a CD player, select CD with the switch above the input jacks. -
Page 4: Drivers
Licenses, the controller will operate for 10 minutes each time you restart VirtualDJ. http://www.virtualdj.com/buy/index.html *For DVS Support an additional Timecode Plus license is required if the Rane 62 Plus license is purchased. A window will appear next, to verify the proper detection. -
Page 5: Advanced Setup
Timecode (DVS)* configuration pre- configured (see DVS Support for more details). requires Pro Infinity or Timecode License http://www.virtualdj.com/buy/index.html For further software settings please refer to the User Guides of VirtualDJ 8. http://www.virtualdj.com/wiki/PDFManuals.html VirtualDJ 8 – Rane Sixty-Two... -
Page 6: Virtualdj & Hardware Functionality
VirtualDJ & Hardware Functionality VirtualDJ 8 – Rane Sixty-Two... -
Page 7: Volume Mixer
CUE buttons at the same time. Notes The CUE buttons of the Sixty-Two will not control the PFL buttons of the VirtualDJ GUI (hardware operation), nor will the PFL buttons will define which channel is sent to the Phones channel of the Rane Sixty-Two. -
Page 8: Effects
Microphone and USB Aux input, using the blue FLEXFX buttons VirtualDJ will send to the Rane Sixty-Two the BPM values of both left and right decks if the corresponding FLEXFX buttons are engaged, in order the applied Effects to be synchronized on the selected beat pattern. -
Page 9: Equalizer, Filter & Effects
16. FLEXFX. Use this button to route the applied Hardware Effect on each mixer channel 17. LEVEL. Adjusts the input audio level (gain) up to +15db of the left and right mixer channel. No boost or cut is at 12 o’clock position. VirtualDJ 8 – Rane Sixty-Two... -
Page 10: Microphone & Video Software Controls
Microphone Input. Video mode The Microphone section of the Rane Sixty-Two is not controlling the Microphone section of the VirtualDJ GUI (Master panel) and vice versa. However, the entire Microphone section can be used as MIDI controls. If you do not use the MIC section you can independently bypass the controls of this section so that they do not affect audio and only output their MIDI assigned functions. -
Page 11: Master & Booth
Loop Out Wheel mode and then use the jogwheel on the VirtualDJ GUI or a MIDI controller to fine adjust the Loop Exit point (led will flash green). Press again to turn off this mode or the Loop button to exit. VirtualDJ 8 – Rane Sixty-Two... -
Page 12: Auxiliary/Sampler
38. SP-ASSIGN. When 2 computers are sharing the same mixer, define which of them will control/use the Sampler buttons. H. Auxiliary/Sampler This section controls the Output Channels 5 and 6 of the USB audio interface of the Rane Sixty-Two. By default VirtualDJ Sampler is routed to this Input VirtualDJ 8 – Rane Sixty-Two... -
Page 13: Headphones
(43) will pan between Mono Cue in the left ear and mono Main Mix in the right ear. J. Front panel 45. REVERSE. Flip switches for the Left, Right and Crossfader Faders for normal and reverse behavior. VirtualDJ 8 – Rane Sixty-Two... -
Page 14: Rear Panel
Timecode Inputs or for recording on USB stereo pair 5-6. See Timecode (DVS). Set any unused inputs to CD. Connect your turntable ground wires to the PHONO GOUND posts on the rear when using PH inputs. VirtualDJ 8 – Rane Sixty-Two... -
Page 15: Advanced Audio Setups
By default VirtualDJ has pre-configured Timecode to Inputs 1 for the left and Inputs 3 for the right deck. In case you need to use different Inputs for your Timecode units, open the Sixty-Two Audio Driver panel and change the USB-3 and USB-4 Record for Deck 1 and Deck 2 to the appropriate PH/CD inputs. -
Page 16: Sampler Output
Connect your Timecode devices at the rear panel of the Rane 62 to the Inputs 1 and 3 (or different if defined as above) Click on the ON buttons from the TIMECODE panels of the Default Skin to enable the Timecode control to the left and/or right deck. -
Page 17: Back To Back
Recording The Rane Sixty-Two has a dedicated Input to record your Main Mix (default setting) or the Microphone. VirtualDJ has pre-configured this input for recording, thus no special setting is required in order to record your mix (including analogue sources and Microphone). - Page 18 Rane Support Center: http://www.rane.com/tech.html Rane Sixty-Two product page: http://dj.rane.com/products/sixty-two Rane Sixty-Two manual: http://www.rane.com/pdf/sixtytwo_manual_dj.pdf Hardware Integration Department 2015 - ATOMIX PRODUCTIONS Reproduction of this manual in full or in part without written permission from Atomix Productions is prohibited. VirtualDJ 8 – Rane Sixty-Two...
Need help?
Do you have a question about the Sixty-Two and is the answer not in the manual?
Questions and answers