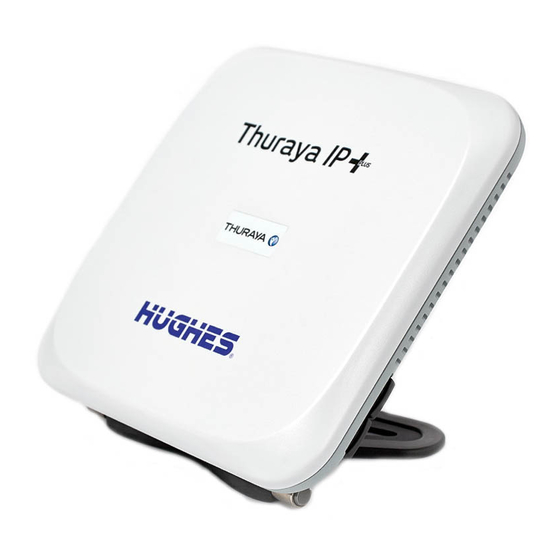
Summary of Contents for Thuraya IP+
- Page 1 Thuraya IP QUICK SETUP GUIDE...
- Page 2 Thuraya IP Quick Setup Guide www.thuraya.com...
- Page 3 Quick Setup Guide Prerequisites 1. Location readiness Readiness 2. Thuraya IP+ readiness 3. Computer readiness 1. Obtaining a GPS fix 2. Connecting to the computer Setting up 3. Pointing to the satellite 4. Connecting to the network...
- Page 4 Though the Thuraya IP+ is a battery operated device, please have enough power supply & sockets or power extension ready, just in case. Follow us on /thurayatelecom This map represents Thuraya expectations of coverage. For further information, please contact Thuraya Customer Care at customer.care@thuraya.com or visit www.thuraya.com...
- Page 5 5 - Appropriately provisioned and active Thuraya IP+ SIM card to be inserted into the SIM slot of the Thuraya IP+ terminal. 6 - Be aware of the details of the Thuraya IP+ terminal and the SIM Card (you shall need these for any troubleshooting).
- Page 6 Computer Readiness Ensure that the browser is Java-enabled and the proxy settings are disabled 1 - Desktop PC/laptop with any standard internet browser and Java installed 2 - Ensure the proxy server settings in your browser are disabled (If using Internet Explorer, select Tools > Internet Options > Connections > LAN Settings and uncheck the box labeled ‘Use a proxy server for your LAN’).
- Page 7 Setting up – Step-by-Step Guide Follow each step to obtain a fix on the satellite and connect to the network Obtaining a GPS fix Connecting to the computer Pointing to the satellite Connecting to the network...
-
Page 8: Obtaining A Gps Fix
Clear line of sight with no obstructions is essential to obtaining a GPS fix 1 - Place the Thuraya IP+ terminal outside on a flat surface with a clear view of the sky (avoid buildings, trees and other objects that may cause obstruction). -
Page 9: Connecting To The Computer
Connect Thuraya IP+ to a computer via Ethernet or WLAN 1 - Using Ethernet Connect the Ethernet cable to your laptop’s network interface and insert the other end of the cable into the Thuraya IP+ terminal as illustrated. 2 - Using WLAN Press and hold the WLAN button on the Thuraya IP+ terminal until the WLAN icon is displayed. - Page 10 Step 3 - Pointing to the Satellite Location with a clear line of sight is critical for a successful setup (Compass direction) 1 - Open the internet browser on your laptop/computer and enter http://192.168.128.100. The above is displayed in the browser (wMMI).
- Page 11 Location with a clear line of sight is critical for a successful demo 2 - You must have a valid GPS location for the compass direction and antenna angle to be displayed. If the GPS is not valid, go back to step 1 and allow Thuraya IP+ to obtain GPS fix.
- Page 12 Refer to the elevation angle as indicated on the wMMI home page. With the elevation angle correctly set, place the Thuraya IP+ on a flat surface with the antenna facing in the direction of the satellite as determined in step 1.
-
Page 13: Connecting To The Network
Once an optimal signal is obtained, automatic network connection follows 1 - Once the Thuraya IP+ terminal obtains sufficient signal strength from the satellite, it will automatically connect and establish a Standard IP data session. Check this on the wMMI home page by confirming that the “Network... -
Page 14: Troubleshooting
1 - If you are unable to successfully connect to the Internet, ensure that nothing but open sky is between the Thuraya IP+ terminal and the satellite. If the view is blocked by trees, mountains, buildings, metalized glass or similar objects, you must relocate the Thuraya IP+. - Page 15 Streaming IP Connection Thuraya IP+ by default will connect using Standard IP unless the default configuration is changed to Streaming IP 1 - Connecting to Streaming IP: On the wMMI, press the desired Symmetric Streaming IP connection speed. The network status changes to “Acquiring”...


Need help?
Do you have a question about the IP+ and is the answer not in the manual?
Questions and answers