Table of Contents
Advertisement
Installation Instructions
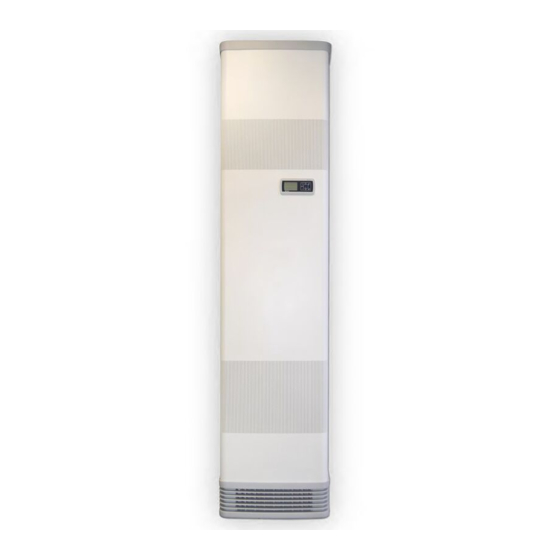
WFBL Deluxe Wall Furnace
4720001, 4720006, 4720011
Please read this important manual before commencing installation. It is the
responsibility of the installer that all statutory and regulator requirements are met in
conjunction with these installation instructions. Failure to do so will void all
guarantees and warranty beyond statutory and legal requirements.
Advertisement
Table of Contents

Summary of Contents for BONAIRE WFBL26
-
Page 1: Installation Instructions
Installation Instructions WFBL Deluxe Wall Furnace 4720001, 4720006, 4720011 Please read this important manual before commencing installation. It is the responsibility of the installer that all statutory and regulator requirements are met in conjunction with these installation instructions. Failure to do so will void all guarantees and warranty beyond statutory and legal requirements. -
Page 2: Table Of Contents
ELUXE URNACE Table of Contents ........................3 NTRODUCTION Conditions ............................. 3 Important notice to agents, installers and purchasers..............3 Incorrect commissioning ....................... 3 Safety & Accessibility Responsibility ..................... 3 Please read these safety precautions ................... 3 ........................4 OCATION Unit Types ............................. 4 Room Location .......................... -
Page 3: Introduction
ELUXE URNACE Introduction Introduction ONDITIONS Installation of the Wall Furnace must be & A AFETY CCESSIBILITY carried out by an authorised person in ESPONSIBILITY accordance with:- The manufacturer and its agents reserve • The manufacturer’s instruction. the right to refuse service unless the •... -
Page 4: Unit Location
ELUXE URNACE Unit Location Unit L ocation MPORTANT Do not install the heater in a location where combustible vapors from flammable or combustible liquids may be ignited. NOTE: NOT INTENDED FOR FIRE PLACE INSERT. YPES Consider the following when choosing location for the heater: There are 2 types of installation that may effect the heater location: •... -
Page 5: Room Location
ELUXE URNACE Unit Location OCATION • Face the heater down the room for maximum performance (fig.1) • Corner placement restricts air movement, allows cold spots (fig.2) • Long wall placement creates hot spot center and cold corners (fig.3) • Ensure drapes, doors, etc, cannot cross heater face. -
Page 6: Wall Preparation
ELUXE URNACE Wall Preparation Wall Preparation NBUILT NITS Mounting Brackets – Unit Upgrades IMPORTANT NOTE: If an existing wall furnace is being replaced, use the new mounting brackets provided with the unit. Preparation of Timer Framed / Brick Veneer Walls. See Fig.1 Minimum wall depth required including veneer is 90mm Establish datum line a minimum of 130mm from... -
Page 7: Console Units
ELUXE URNACE Wall Preparation ONSOLE NITS Mounting Brackets- Unit Upgrades IMPORTANT NOTE: If an existing wall furnace is being replaced, use the new mounting brackets provided with the unit. Preparation of Timer Framed Walls - see Fig.1 1. Establish datum line a minimum of 100mm from the floor or 65mm above the skirt board if the skirting board is greater than 65mm. -
Page 8: Gas & Electrical
ELUXE URNACE Gas & Electrical Gas & Electr ical LECTRICAL 1. Have a licensed Electrician install a 10 Important note (general-purpose When connecting the gas supply inlet outlet). pipe valve, hold Note: Ensure the polarity of the connection nipple on the valve with a outlet is correct otherwise the flame spanner while tightening the inlet pipe can’t be sustained and the heater... - Page 9 ELUXE URNACE Gas & Electrical Page 9...
-
Page 10: Flue Installation
ELUXE URNACE Flue Installation Flue Instal lation OCATION OF ESIDENTIAL ERMINALS The termination of a natural draught flue must be located in relation to neighboring constructions so that wind from any direction will not create down draught in the flue. See diagrams this page. Down-Draught Reverse flow (down-draught) in the flue occurs when pressure at the flue outlet is... - Page 11 ELUXE URNACE Flue Installation 5. Fit the flue adaptor to the inside inner of the twin skin flue. 6. Fit the 100mm galvanized flue pipe and fix the flue cowl to the flue pipe. 7. Install flue cowl with a minimum height of 500mm above the roof for an angled roof and 1 metre for a flat roof.
-
Page 12: Unit Installation
ELUXE URNACE Unit Installation Unit Installation NSTALLING THE ONSOLE EATER Install the heater assembly: 1.1. Fit flue insulation over flue spigot before inserting into the header plate. 1.2. Insert the flue spigot of the heater assembly into the header plate flue access / twin skin inner flue. - Page 13 ELUXE URNACE Unit Installation Page 13...
-
Page 14: Installing The Inbuilt Heater
ELUXE URNACE Unit Installation NSTALLING THE NBUILT EATER Install the heater assembly: 1.1. Fit flue insulation over flue spigot before inserting into the header plate 1.2. Insert the flue spigot of the heater assembly into the header plate flue access / twin skin inner flue. 1.3. - Page 15 ELUXE URNACE Unit Installation Page 15...
-
Page 16: Unit Commissioning
ELUXE URNACE Unit Commissioning Unit Comm issioning EFORE TARTING • Check the unit is correctly and securely located in the header and base brackets. • Check the flue connections are complete and confirm flue integrity & effectiveness. See section “Confirming flue integrity and effectiveness”. •... -
Page 17: Setting Gas Pressures
ELUXE URNACE Unit Commissioning ETTING RESSURES Checking the Dynamic Gas Pressure To check dynamic gas pressure 1. Loosen the test point screw “P IN” 2. Fit the manometer tube and check the reading against the stated supply pressure on the customer’s supply regulator. -
Page 18: Confirming Flue Integrity And Effectiveness
ELUXE URNACE Unit Commissioning ONFIRMING NTEGRITY AND EFFECTIVENESS Open flued gas appliances and natural draught flue systems This information provides Gasfitters with a Testing the effectiveness of the flue procedure for confirming the integrity and the Testing the flue system will confirm the safe effectiveness of flues. -
Page 19: Service
ELUXE URNACE Unit Commissioning NOTE: Should the unit fail to operate correctly after all adjustments have been made, turn off the unit and contact an authorized Climate Technologies service provider. For Metro Service only ring the numbers below. ERVICE For Metro Service Only Ring the Number Below South Australia/ (08) 8307 5230 Northern Territory... -
Page 20: Technical Specifications
ELUXE URNACE Technical Specifications Technical Specifications DESCRIPTION WFBL26 WFBL30 WFBL40 Product Weight & Dimensions Weight (Kg) Height (mm) 2010 2010 2010 Width (mm) Depth (mm) Cabinet from Wall - Inbuilt Depth (mm) Cabinet from Wall - Console Gas / Output Specifications Capacity Output –...
Need help?
Do you have a question about the WFBL26 and is the answer not in the manual?
Questions and answers