Table of Contents
Advertisement
Advertisement
Table of Contents

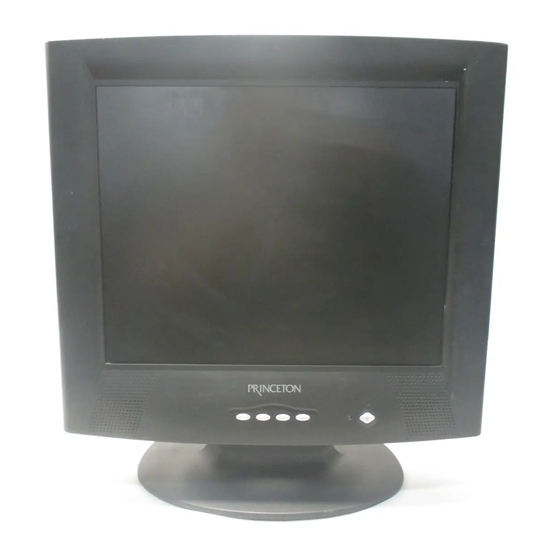
Summary of Contents for Princeton LCD17M
- Page 1 1 7 ” F L A T P A N E L D I S P L A Y 15” Flat Panel Display...
- Page 2 © 2001 Princeton Graphic Systems, Inc. All rights reserved. This manual may not be copied in whole or in part without the written consent of Princeton Graphic Systems, Inc. Princeton Graphic Systems, Inc. is not responsible for printing or clerical errors. Product designs and specifications are subject to change without notice.
-
Page 3: Table Of Contents
Table of Contents FCC Compliance Statement Safety Instructions Installation Controls & Functions Specifications Display Mode Troubleshooting... -
Page 4: Fcc Compliance Statement
FCC Compliance Statement This equipment has been tested and found to comply with the limits for a Class B digital device, Pursuant to part 15 of the Rules. These limits are designed to provide reasonable protection against harmful interference in a residential installation. This equipment generates, uses and can radiate radio frequency energy and, if not installed and used in accordance with the instructions, may cause harmful interference to radio communications. -
Page 5: Safety Instructions
Safety Instructions Power • Use the type of power indicated on the marking label. Plugs • Do not remove any parts of the Display’s three-pronged power plug. • Disconnect the power plug from the AC outlet when the Display will not be used for an indefinite period of time. -
Page 6: Installation
Installation The LCD17M display incorporates a 17” color active matrix thin-film-transistor (TFT) liquid crystal display to provide superior display performance. A maximum resolution of SXGA 1280x1024 is ideal for displaying graphics and images. Other outstanding features that enhance this LCD Display’s performance are Plug & Play compatibility*, and... -
Page 7: Power Button
Installation Taking a closer look (1) Increase [ - ] This button is used to decrease the value of the selected OSD function. (2) Decrease [ + ] This button is used to increase the value of the selected OSD function. (3) Select This button is used to select (“UP”... -
Page 8: Display Angle
Installation 19° Display Angle For viewing clarity, you can tilt the LCD forward (up to -4 degrees) or backward (up to 19 degrees) CAUTION: In order to protect the LCD, be sure to hold the base when you adjust the LCD. Do not touch the screen. - Page 9 Installation Connecting the LCD17M to your computer 1. Connect the Power cord with 2. Connect the appropriate cables the power supply as shown. to the designated connector shown. (see diagram 1) (see diagram 2) 3. Connect the Power cord to your power outlet.
- Page 10 Installation Removing the Base for VESA wall/arm mounting. 1. Tilt monitor down on its front face. Using a screw driver, unscrew one screwhead. (see diagram 1) 2. Pull the plastic piece off as shown. (see diagram 2) 3. Remove the 4 screws on as shown.
-
Page 11: Controls & Functions
Controls & Functions • CONTRAST Adjust the contrast using + and - buttons. • BRIGHTNESS Adjust the brightness using + and - buttons. • VOLUME Adjust the speaker volume using the + and - buttons. • AUTO ADJUST This function makes automatic adjustments to the hori- zontal and vertical size, horizontal and vertical posi- tions, clock frequency and phase for a quick and easy setup of the display. - Page 12 Controls & Functions • PIXEL CLOCK This item is used to decrease the vertical interference. 1. Select one display pattern from your computer. 2. Use + and - buttons on the LCD monitor to decrease the horizontal interference to get the optimal display. •...
- Page 13 Controls & Functions Power LED Display and Power Saving General Power Saving Mode When the LCD17M is on, the LED lights green. When the LCD17M is in Power Saving, the LED lights orange. (see below) Mode Power LED Color Power...
-
Page 14: Specifications
Specifications Model LCD17M LCD Display 17” TFT Active Matrix Panel, Anti-Glare, Hard Coated Display Size 337.9mm (H) x 270.3mm (V) Pixel Pitch 0.264mm (H) x 0.264mm (V) Max. Resolution SXGA 1280 x 1024 Contrast Ratio 400:1 (Typical) Brightness 250 cd/m²... -
Page 15: Display Mode
Display Modes Resolution Type H.Scan V.Scan Polarity (KHz) (Hz) 640x350 31.469 70.087 720x400 31.469 70.087 640x480 31.469 59.940 640x480 35.000 66.700 640x480 VESA72 37.861 72.809 640x480 VESA75 37.500 75.000 800x600 SVGA 35.156 56.250 800x600 SVGA 37.879 60.317 800x600 VESA72 48.077 72.200 800x600 VESA75... -
Page 16: Troubleshooting
Troubleshooting The LCD17M does not respond after I turn on the system. • Check if the Power Switch of the Display is turned on. • Turn off the power and check the Display’s power cord and signal cable for proper connection. - Page 17 Troubleshooting How to optimize image quality and reduce noise. (1) Press the “START” button on your computer, and select “SHUTDOWN.” You will be given the shutdown dialog. Picture 1 (see picture 2) STOP! DO NOT GO ANY FURTHER At this screen, use the Adjust control. This will help optimize picture quality and should reduce picture noise.
- Page 18 Access Princeton Graphic Systems website to down- load the latest drivers*, get latest news, view new and upcoming products. You can even register your product online! This monitor does not require any device driver to function. * You may purchase a driver CD by calling (714) 751-8405 Extension 4024 for Parts Department.
- Page 19 Princeton Graphic Systems (714) 751-8405 (714) 751-5736 Fax www.princetongraphics.com Ref No.: 11/14AP1702A0B part No.: 00300000297 Copyright © 2001 Princeton Graphic Systems, Inc. All right reserved.


Need help?
Do you have a question about the LCD17M and is the answer not in the manual?
Questions and answers