Table of Contents
Advertisement
Quick Links
TXRCL Temperature Transmitter with LCD
Installation Manual
Introduction
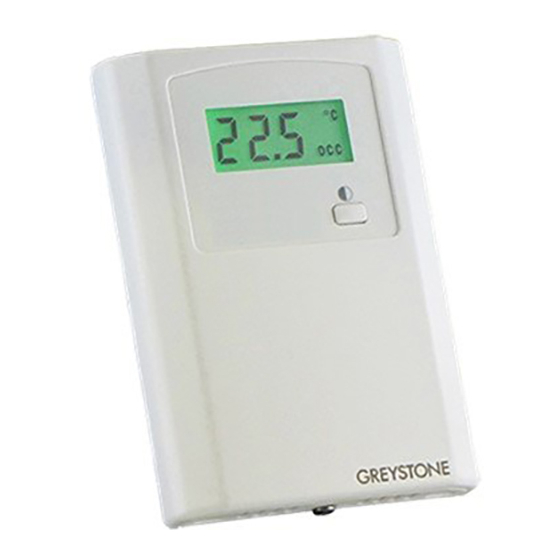
The TXRCL transmitter incorporates a temperature transmitter
in an attractive wall mount enclosure for the most efficient
environmental monitoring and control system. It uses a curve-
matched thermistor to measure temperature. The device may
also include an occupancy override button and an external
communication jack. The output is available as a linear 4-20
mA, 0-5 or 0-10 Vdc signal.
An LCD is included for configuration and local indication of all
parameters. Several operating parameters can be programmed using a keypad for specific applications including four
temperature ranges and C/F display.
Before Installation
Read these instructions carefully before installing and commissioning the device. Failure to follow these instructions may
result in product damage. Do not use in an explosive or hazardous environment, with combustible or flammable gases, as a
safety or emergency stop device or in any other application where failure of the product could result in personal injury. Take
electrostatic discharge precautions during installation and do not exceed the device ratings.
Mounting
The room type sensor installs directly on a standard electrical box and should be mounted about five feet from the floor of the
area to be controlled. Do not mount the sensor near doors, opening windows, supply air diffusers or other known air
disturbances.
The cover is hooked to the base at the top edge and must be removed from the bottom edge first. Use a small screwdriver to
carefully pry each bottom corner if necessary. If a security screw is installed on the bottom edge, then it may have to be
loosened or removed also. Tip the cover away from the base and sit it aside.
The pcb must be removed from the base to access the mounting holes. Follow usual anti-static procedures when handling the
pcb and be careful not to touch or bend the sensors. The pcb is removed by pressing the tab on the enclosure base to unsnap
the latch near the bottom edge, then the pcb can be lifted out of the base. Sit the pcb aside until the base is mounted on the
wall.
After the base is screwed to an electrical box or the wall using the appropriate holes, pull the wires through the wiring hole in
the center of the pcb and then gently reinstall it in the enclosure base. Ensure the pcb is snapped into the base securely and
correctly. The mounting hole locations are shown in the following drawing.
1
August 8, 2014
Advertisement
Table of Contents

Related Manuals for Greystone Energy Systems TXRCL


Summary of Contents for Greystone Energy Systems TXRCL
- Page 1 TXRCL Temperature Transmitter with LCD Installation Manual Introduction The TXRCL transmitter incorporates a temperature transmitter in an attractive wall mount enclosure for the most efficient environmental monitoring and control system. It uses a curve- matched thermistor to measure temperature. The device may also include an occupancy override button and an external communication jack.
- Page 2 TXRCL Temperature Transmitter with LCD Installation Manual Wiring Deactivate the 24 Vac/dc power supply until all connections are made to the device to prevent electrical shock or equipment damage. Follow proper electrostatic discharge (ESD) handling procedures when installing the device or equipment damage may occur.
- Page 3 TXRCL Temperature Transmitter with LCD Installation Manual Setup Menu The menu has several items as shown below and the device cover must be removed to access the menu. To enter the menu, press and release the <MENU> key while in normal operation. This will enter the Setup Menu step 1, pressing the <MENU>...
- Page 4 TXRCL Temperature Transmitter with LCD Installation Manual Specifications Temperature Sensor ....10K Ohm Type 7 Curve matched thermistor Accuracy ....0.2 C (0.4 C) Range .
- Page 5 TXRCL Temperature Transmitter with LCD Installation Manual Terminal Function POWER From +24 Vac/dc of controller or power supply COMMON To GND or COMMON of controller OCC IN From digital output of controller TEMP OUT Temperature output to analog input of controller...
Need help?
Do you have a question about the TXRCL and is the answer not in the manual?
Questions and answers