Bunn Smart Wave Series Installation & Operating Manual
Combo coffee/tea brewer
Hide thumbs
Also See for Smart Wave Series:
- Installation and operating manual (20 pages) ,
- Installation and operating manual (18 pages) ,
- Installation & operating manual (20 pages)
Table of Contents
Advertisement
Quick Links
®
Series
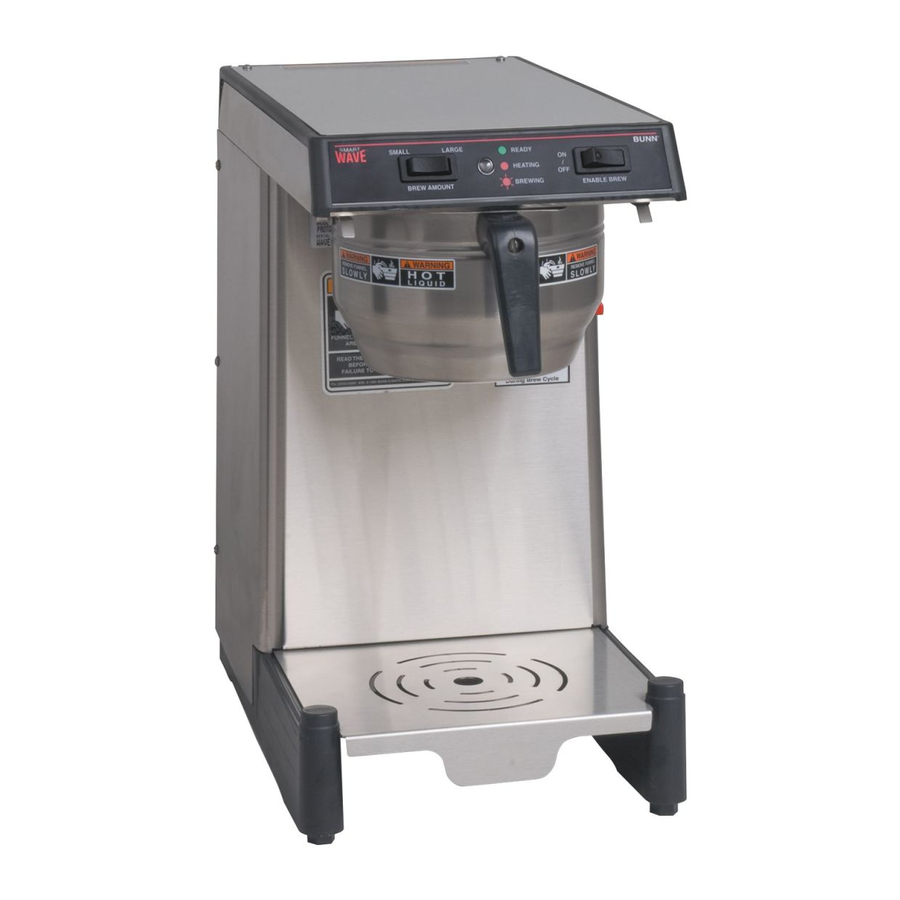
Smart Wave Series
Smart Wave Silver Series
Combo Coffee/Tea Brewer
INSTALLATION & OPERATING GUIDE
BUNN-O-MATIC CORPORATION
POST OFFICE BOX 3227
SPRINGFIELD, ILLINOIS 62708-3227
PHONE: (217) 529-6601
FAX: (217) 529-6644
To ensure you have the latest revision of the Operating Manual, or to view the Illustrated Parts
Catalog, Programming Manual, or Service Manual, please visit the Bunn-O-Matic website, at
www.bunn.com. This is absolutely FREE, and the quickest way to obtain the latest catalog and
manual updates. For Technical Service, contact Bunn-O-Matic Corporation at 1-800-286-6070.
40410.0000H 03/14 ©2007 Bunn-O-Matic Corporation
Advertisement
Table of Contents

Subscribe to Our Youtube Channel
Related Manuals for Bunn Smart Wave Series


Summary of Contents for Bunn Smart Wave Series
- Page 1 To ensure you have the latest revision of the Operating Manual, or to view the Illustrated Parts Catalog, Programming Manual, or Service Manual, please visit the Bunn-O-Matic website, at www.bunn.com. This is absolutely FREE, and the quickest way to obtain the latest catalog and manual updates. For Technical Service, contact Bunn-O-Matic Corporation at 1-800-286-6070.
- Page 2 AS SPECIFIED HEREIN, TO REPAIR, REPLACEMENT OR REFUND. In no event shall BUNN be liable for any other damage or loss, including, but not limited to, lost profits, lost sales, loss of use of equipment, claims of Buyer’s customers, cost of capital, cost of down time, cost of substitute equipment, facilities or services, or any other special, incidental or consequential damages.
-
Page 3: Table Of Contents
READ THE ENTIRE OPERATING MANUAL BEFORE USING THIS PRODUCT 00986.0000F 10/07 ©1994 Bunn-O-Matic Corporation #00986.0000 PN: 00658.0000G 02/08 © 1985 BUNN-O-MATIC CORPORATION #00658.0000 #42878.0000 As directed in the International Plumbing Code of the International Code Council and the Food Code... -
Page 4: Electrical Requirements
ELECTRICAL REQUIREMENTS CAUTION - The brewer must be disconnected from the power source until specified in Initial Set-Up. Refer to Data Plate on the Brewer, and local/national electrical codes to determine circuit requirements. WHITE GREEN NEUTRAL BLACK CHASSIS GROUND 208 or 240 100V &... -
Page 5: Plumbing Requirements
" water supply line. A tight coil of tubing in the water line will facilitate moving the brewer to clean the countertop. Bunn-O-Matic does not recommend the use of a saddle valve to install the brewer. The size and shape of the hole made in the supply line by this type of device may restrict water flow. -
Page 6: Initial Setup
INITIAL SET UP CAUTION - The brewer must be disconnected from the power source throughout the initial set-up, except when specified in the instructions. 1. Insert an empty funnel into the funnel rails. (FIG 6A) 2. Place an empty server (customer supplied) under the funnel. For taller servers, lift up on the front of the booster plate, and slide it back into the trunk housing. -
Page 7: Brewing
COFFEE BREWING 1. Begin each brew cycle with a clean empty brew funnel. 2. Insert a BUNN filter into the funnel. (FIG 7A) 3. Pour (or grind) fresh coffee into the filter and level the bed of grounds by gently shaking. - Page 8 TEA BREWING 1. Begin each brew cycle with a clean empty tea funnel. 2. Insert a BUNN filter into the tea funnel (FIG 8A). 3. Pour fresh tea into the filter and level by gently shaking. 4. Slide the funnel into the funnel rails until it stops.
- Page 9 OPERATING CONTROLS - SILVER SERIES FIG 9 Smart Wave Silver Series (A) ENABLE BREW ON/OFF SWITCH Pressing the "ENABLE BREW ON/OFF" switch (indicator on) enables the brew circuit, and energizes the tank refill circuit. Pressing the switch again (indicator off) stops tank refilling and brewing. Stopping a brew cycle after it has been started will not stop the flow of water into the server until the funnel is empty.
- Page 10 PROGRAMMING - SILVER SERIES BREW VOLUME SET-UP: NOTE: Set small and large batches separately. Maximum water on time is 5 minutes. Use the following steps when the setting is unknown. 1. Place an empty funnel in the funnel rails and an empty server beneath the funnel. 2.
- Page 11 OPERATING CONTROLS - SMART WAVE WITH DISPLAY FIG 11 Smart Wave Series (A) ENABLE BREW ON/OFF SWITCH Pressing the "ENABLE BREW ON/OFF" switch (indicator/display on) enables the brew circuit, and the tank refill circuit. Pressing the switch again (indicator/display off) stops tank refilling and brewing. Stopping a brew cycle after it has been started will not stop the flow of water into the server until the funnel is empty.
-
Page 12: Brew Volume Set-Up
PROGRAMMING - SMART WAVE WITH DISPLAY BREW VOLUME SET-UP: NOTE: Maximum water on time is 5 minutes. 1. Press the "HIDDEN" switch until display reads A1. This represents the adjust mode "Brew Time" for the "A" brew switch. The display will then change to (minutes-seconds). Press "BREW A" to decrease time (-) or "BREW B"... - Page 13 PROGRAMMING - SMART WAVE COMBO BREW VOLUME SET-UP: NOTE: Maximum water on time is 5 minutes. 1. Press the "HIDDEN" switch until display reads C1. This represents the adjust mode "Brew Time" for the "A" brew switch. The display will then change to (minutes-seconds). Press "BREW A" to decrease time (-) or "BREW B"...
-
Page 14: Deliming
DELIMING Bunn-O-Matic recommends deliming your coffee brewer periodically. The actual frequency of deliming de- pends on the mineral content of the water you use. NOTE: In hard water areas, this may need to be done daily. It will help prevent liming problems in the brewer and takes less than a minute. -
Page 15: Cleaning
CLEANING The use of a damp cloth rinsed in any mild, non-abrasive, liquid detergent is recommended for cleaning all surfaces on Bunn-O-Matic equipment. CLEANING OPTIONAL LARGE SPRAYHEAD 1. Remove the brew funnel. 2. Remove the sprayhead by turning it counterclockwise with your fingertips. -
Page 16: Cover Removal
COVER REMOVAL Unplug the brewer and let it cool down before proceeding. Front Wrap: 1. Remove the brew funnel. 2. Remove upper and lower screws on either side of front cover. 3. Loosen middle screw on either side of front cover. 4. -
Page 17: Draining Tank
DRAINING TANK 1. Unplug the brewer and let it cool down before proceeding. 2. Remove the brew funnel. 3. Remove the front cover. 4. Pinch fill hose. 5. Loosen clamp from fill solenoid.. 6. Remove hose from solenoid and drain into sink as shown (or 2 gallon bucket). 7. -
Page 18: Switch Settings
SWITCH SETTINGS Program Switches: 1. Unplug the brewer and let it cool down before proceeding. 3. Remove the left rear cover. 4. Flip the dip switches as needed. NOTE: All switches are turned OFF from factory. KEY # FUNCTION - OFF FUNCTION - ON 4. -
Page 19: Troubleshooting
TROUBLESHOOTING RED LED FLASHES DISPLAY DESCRIPTION ACTION ER 1 TEMP SENSOR SHORTED CALL SERVICE ER 2 TEMP SENSOR OPEN CALL SERVICE ER 3 HEATING TOO LONG CALL SERVICE ER 4 REFILL TOO LONG CHECK WATER SUPPLY ER 5 HIGH TANK LEVEL-DURING BREW DELIME ER 6 CHECK "ENABLE BREW ON/OFF"... -
Page 20: Schematic Wiring Diagrams
WAVE 15 APS DISPLAY BOARD BREW START SWITCH J1-1 WHI/BLK ENABLE BREW 230V AC 2 WIRE + GND WAVE 15 S APS SINGLE PHASE 40405.0001A 02/08 ©2008 BUNN-O-MATIC CORPORATION NOT A PURCHASED SCHEMATIC FOR REFERENCE ONLY Page 20 40410 022808... - Page 21 LEVEL PROBE J5-1 t° J1-1 J1-1 J1-5 WHI/RED -12V +12V WAVE APS DISPLAY BOARD BREW START SWITCH J1-1 WHI/BLK ENABLE BREW 120/240V AC 3 WIRE + GND WAVE SILVER APS SINGLE PHASE 40405.0002A 02/08 ©2008 BUNN-O-MATIC CORPORATION Page 21 40410 022808...
- Page 22 BREW START SWITCH J1-1 WHI/BLK ENABLE BREW 100/120V AC 2 WIRE + GND WAVE 15 S APS SINGLE PHASE 40405.0003A 04/10 ©2010 BUNN-O-MATIC CORPORATION White Strip-Tac Plus Black Ink Finished Size: 5.4" x 7.0" ~65% Reduction Page 22 40410 062510...
- Page 23 J1-5 J1-1 RELAY WHI/RED -12V +12V WAVE 15 APS DISPLAY BOARD 100/120V AC 2 WIRE + GND SINGLE PHASE 40405.0004B 03/14 ©2013 BUNN-O-MATIC CORPORATION White Strip-Tac Plus Black Ink Finished Size: 5.4" x 7.0" ~65% Reduction Page 23 40410 031914...
Need help?
Do you have a question about the Smart Wave Series and is the answer not in the manual?
Questions and answers