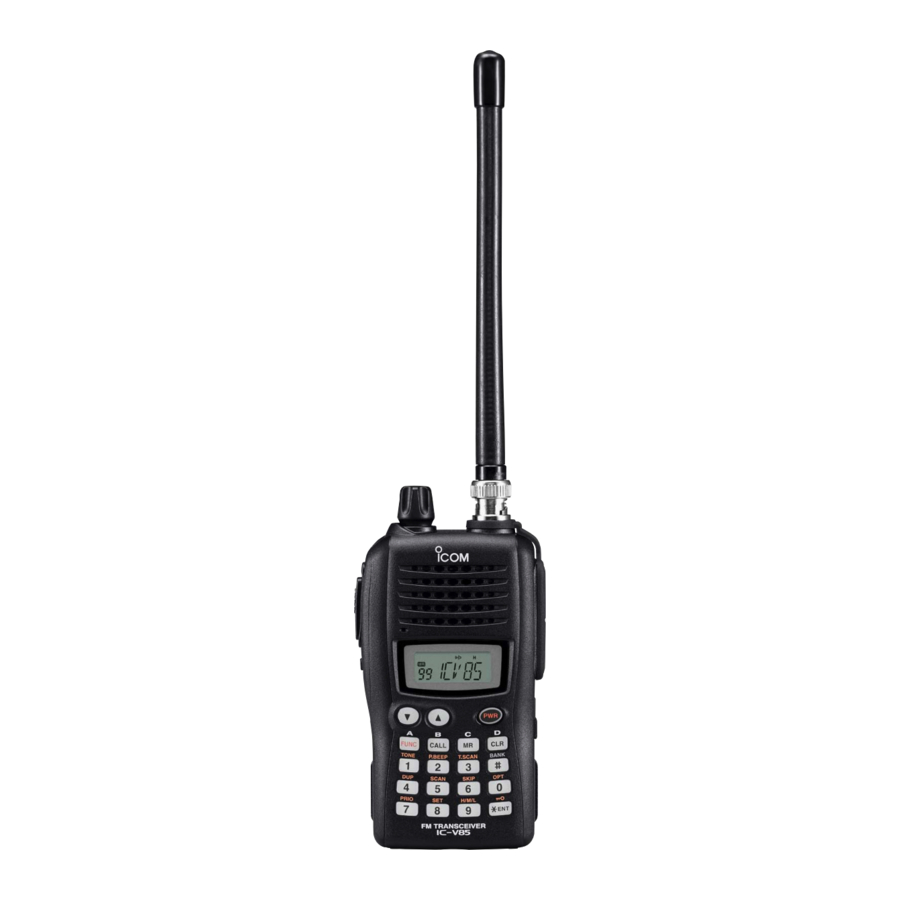
Icom IC-V85 Service Manual
Fm
Hide thumbs
Also See for IC-V85:
- Instruction manual (80 pages) ,
- Service manual (29 pages) ,
- Step-by-step programming manual (2 pages)
Table of Contents
Advertisement
Quick Links
Advertisement
Table of Contents

Subscribe to Our Youtube Channel
Related Manuals for Icom IC-V85


Summary of Contents for Icom IC-V85
- Page 1 FM TRANSCEVERS S-14315XZ-C1 Jan. 2007...
- Page 2 8. READ the instructions of test equipment thoroughly before connecting equipment to the transceiver. Icom, Icom Inc. and logo are registered trademarks of Icom Incorporated (Japan) in the United States, the United Kingdom, Germany, France, Spain, Russia and/or other countries.
-
Page 3: Table Of Contents
CONTENTS SECTION SPECIFICATIONS SECTION INSIDE VIEWS SECTION DISASSEMBLY INSTRUCTION SECTION CIRCUIT DESCRIPITON RECEIVER CIRCUITS............4-1 TRANSMITTER CIRCUITS . -
Page 4: Specifications
• Frequency stability : ±2.5 ppm ( –10˚C to +60˚C; +14˚F to +140˚F) • Power supply requirement : Specified Icom’s battery pack or 11.0 V ±15% external DC power (negative ground) • Current drain (at 7.2 V DC ; approx.) -
Page 5: Logic Unit
SECTION 2 INSIDE VIEWS • LOGIC UNIT REGULATOR (IC12: S-812C50AMC) AF POWER AMPLIFIER (IC23: TA7368F) LCD DRIVER (IC22: LC75834W) CPU CLOCK (X2: CR-836) EEPROM (IC7: S24CS64A) (IC8: M30620) TX/RX AF LPF (IC3: LMV324IPW) TX/RX AF SWITCH (IC4: CD4066BPWR) • RF UNIT (TOP VIEW) •... -
Page 6: Disassembly Instruction
SECTION 3 DISASSEMBLY INSTRUCTION 1. Removing the front panel 3. Removing shield plate q Remove the knob A and jack cap B. q Unscrew 2 screws A. w Unscrew the Antenna nut and 4 screws C and D. w Unsolder 2 points B, and remove the shield plate from e Disconnect the speaker connector. -
Page 7: Circuit Descripiton
SECTION 4 CIRCUIT DESCRIPTION (Q13) and converted into the fixed frequency of 1st IF signal 4-1 RECEIVER CIRCUITS by mixing with the 1st Local Oscillator (LO) signals from the • ANTENNA SWITCHING VCO (Q76, D59−D61). By changing the 1st LO frequency, The antenna switching circuit toggles the receive (RX) line and only the desired frequency will pass through a pair of transmit (TX) line. -
Page 8: Transmitter Circuits
SQUELCH CIRCUIT (RF AND LOGIC UNITS) The “NOIS” signal is applied to the CPU (LOGIC UNIT; IC8, • pin 17), and the CPU compares the “NOISE” signal and set - NOISE SQUELCH - reference level (squelch threshold level). When the input The noise squelch mutes the AF output when no RF signals “NOIS”... -
Page 9: Frequency Synthesizer Circuits
APC (Automatic Power Control) CIRCUIT (RF UNIT) The operational amplifier compares the rectified voltage • and reference voltage “T3,” and the difference of the voltage The APC (Automatic Power Control) circuit prevents the transition of the transmit output power level which is caused is output from the operational amplifier pin 1. -
Page 10: Power Supply Circuits
4-4 POWER SUPPLY CIRCUITS DC voltage from the battery or external DC power supply is routed to whole circuit of the transciever via regulators. • POWER SUPPLY CIRCUITS Q9, Q10, Q18, Q19 SW5V COMMON; Charger From the PLL IC (IC19), circuit ext. - Page 11 SECTION 5 ADJUSTMENT PROCEDURE ¤ REQUIRED TEST EQUIPMENTS When adjusting IC-V85/V85E/V85-T, following test equipments and JIG cables (see the illust below) are required. EQUIPMENT GRADE AND RANGE EQUIPMENT GRADE AND RANGE Measuring range : 0.1–10 W Frequency range : 0.1–300 MHz Frequency range : 100–300 MHz...
- Page 12 M ENTERING ADJUSTMENT MODE q Turn the power OFF. w Connect the JIG cable to the [SP] jack (see page 5-1). e While pushing [Y], [Z] and [CLR] keys, turn the power ON. During adjustment mode, the function display shows adjustment item and frequency as below. (While rotating [CONTROL DIAL], adjustment value is displayed instead of adjustment item.) Adjustment value Adjustment item...
- Page 13 ¤ ADJUSTMENT ADJUSTMENT ADJUSTMENT CONDITION OPERATION VALUE REFERENCE 1 • Connect a RF Power Meter or a dummy Rotate [CONTROL DIAL] during transmit to 146.00000 MHz FREQUENCY load to the antenna connector. adjust the frequency, then release the [PTT] and [Fr] •...
-
Page 14: Adjustment Procedures
¤ ADJUSTMENT (continued) ADJUSTMENT ADJUSTMENT CONDITION OPERATION VALUE S-meter NOTE: “RECEIVE SENSITIVITY” should be adjusted before “S-meter.” [Sr] Otherwise, “S-meter” will not be adjusted properly. 1 • Set the SSG as; Push [CLR] key to store the adjustment value and (automatic Frequency : Displayed frequency select the next adjustment item. -
Page 15: Logic Unit
SECTION 6 PARTS LIST [LOGIC UNIT] [LOGIC UNIT] ORDER ORDER DESCRIPTION DESCRIPTION LOCATION LOCATION 1110006470 S.IC LMV324IPWR 5.6/21.2 R123 7030005290 S.RES ERJ2GEJ 682 X (6.8 k) 40.4/78.7 1130011770 S.IC CD4066BPWR 14.1/18.2 R126 7030005050 S.RES ERJ2GEJ 103 X (10 k) 22.7/66.6 1130012430 S.IC S-24CS64A0I-T8T1G 5.5/36.7... -
Page 16: Rf Unit
[LOGIC UNIT] [LOGIC UNIT] ORDER ORDER DESCRIPTION DESCRIPTION LOCATION LOCATION 4030017460 S.CER ECJ0EB1E102K 33.9/39 6510021901 S.CNR BM02B-ASRS-TF (LF) (SN) 41.8/84.6 4030017460 S.CER ECJ0EB1E102K 34.4/37.8 6510023521 S.CNR 54104-3696 (3692) 19.6/8.2 4030017460 S.CER ECJ0EB1E102K 36.9/37.6 C124 4030016790 S.CER ECJ0EB1C103K 3.6/14.5 C125 4030017760 S.CER ECJ0EB1H222K 2.9/16.2 5010000160 S.LED LNJ310M6URA... - Page 17 [RF UNIT] [RF UNIT] ORDER ORDER DESCRIPTION DESCRIPTION LOCATION LOCATION 1750000940 S.DIO ISS400 TE61 32.7/26 R141 7030007290 S.RES ERJ2GEJ 222 X (2.2 k) 35.9/15.5 1790001250 S.DIO MA2S111-(TX) 3.8/19.6 R150 7030005000 S.RES ERJ2GEJ 471 X (470) 37.3/18.1 R160 7030000290 S.RES MCR10EZHJ 181 (180) 30.1/36.5 R161 7030005220 S.RES ERJ2GEJ 223 X (22 k)
- Page 18 [RF UNIT] [RF UNIT] ORDER ORDER DESCRIPTION DESCRIPTION LOCATION LOCATION 4030016790 S.CER ECJ0EB1C103K 17.1/37.9 C439 4030017340 S.CER ECJ0EC1H010B 24.4/14.1 4030007090 S.CER C1608 CH 1H 470J-T 25.7/36.2 C440 4030017600 S.CER ECJ0EC1H080C 27.8/16.1 4030017460 S.CER ECJ0EB1E102K 9.9/46.9 C441 4030017460 S.CER ECJ0EB1E102K 23.1/12.3 4030017460 S.CER ECJ0EB1E102K 25.4/32.5 C442...
- Page 19 SECTION 7 MECHANICAL PARTS AND DISASSEMBLY [CHASSIS PARTS] [RF UNIT] ORDER ORDER DESCRIPTION QTY. DESCRIPTION QTY. 6450000870 HEC2711-01-020 8010020620 2964 CHASSIS 6510023521 54104-3696 8210023390 2964 T-FRONT PANEL (incl. MP4, 5, 6, 7, 12, 14, 24) 6510025910 BNC-R169 Except [THA] 8210023470 2964 T-FRONT PANEL (A) (incl. MP4, 5, 6, 7, 12, 14, 24) MP1* 8510018120 2964 VCO CASE [THA]...
- Page 20 MP8(C) SP1(L) MP17(C) MP3(C) MP16(C) J3(R) MP2(C) MP15(C) MP10(C) MP2(R) MP23(C) MP19(C) MP20(C) MP11(C) MP29(C) MP28(C) MP22(C) MP9(R) MP8(R) MP9(C) MP5(C) MP4(C) MP28(C) MP26(C) MP18(C) MP28(C) MC1(L) MP28(C) MP28(C) MP29(C) MP28(C) W5(L) MP3(L) MP26(C) RF UNIT MP1(C) MP1(C) DS4(L) EP2(L) MP2(L) MP13(C) W6(L)
- Page 21 SECTION 8 SEMICONDUCTOR INFORMATION • TRANSISTERS AND FETs • DIODES • 2SA1576A • 2SA1588 • 2SB1132 • 2SB1201S • 2SC4116 • 1SV271 • 1SV286 • SB07-03C-TB-E • DA221 • HVC350BTRF (Marking: FQ) (Marking: ZY) (Marking: BA) (Marking: TP-FA) (Marking: LY) (Marking: TG) (Marking: T7) (Marking: J)
- Page 22 SECTION 9 BOARD LAYOUTS • LOGIC UNIT (TOP VIEW) SP+ 1 SP− 2 SP1 (CHASSIS) MICG CLOUT AFOUT • RF UNIT (TOP VIEW) C251 R162 HOUT C512 C243 CHGC CHGIH R210 NOIS R251 R503 DETO PSVCO C412 IC26 PLLSW R377 R378 LVIN PLLCK...
- Page 23 C486 C443 C445 C462 DASTB C509 R402 C446 R425 OPSD OPV3 C456 C457 DACK OPV2 R435 IC24 DADATA R427 C448 16 OPSCK OPV1 R440 R429 C447 C465 R505 R514 S-14315XH-P2 Printed in Japan © 2007 Icom Inc. 9 - 2...
- Page 24 SECTION 10 BLOCK DIAGRAM RF UNIT SW5V IC25:EW-460 D64:1SS400 D73:MA2S111 IC24:S-812C36AMC D71:1SS400 Q82:DTC144EU UNLK UNLOCK Q34:2SK1069 VCO5 VCO5 HOUT Rx:182.350-220.350MHz ANTENNA DC-AMP LVIN Tx;136.000-174.000MHz D3:1SV271 D1:HVU131 Tx/Rx:136.000-174.000MHz X4:CR-783 D4:MA2S077 D32:MA742 D2:MA77 MODOUT RD01MUS1 (15.3MHz) IC19:MB15E03SL Q83:2SC4617 2SC5085 RD12MVS1 D33:MA742 D8:MA77 LOOP TX/RX DRIVE...
- Page 25 SECTION 11 VOLTAGE DIAGRAMS 11-1 LOGIC UNIT R413 PS5V MMZ1608Y121BT IC23 TC38-108-01 R115 C153 EP 7 AFOUT POUT 220K 120K PWGND 15 0 R126 C212 PREGND EP 8 R131 PHASE 0.01 LMV324IPW 150K RIPPLE MMZ1005Y102CT R107 1.8K C213 C135 TA7368FG MMZ1608Y121BT R257 LMV324IPW...
- Page 26 11-2 RF UNIT 2SC461 7 R 0.00V R514 SW5V T 4.81 VCON 4.80V EXCCL3225U 0.001 4.02V R 0.00V T 3.94 V C509 CR-783 2.55V 3.01V 2964 XP4601 2.81V 4.91V 1.8K 100K C464 C460 4.20V R440 0.5P 0.001 0.001 1SV271 C446 R425 C444 C440...
- Page 27 • BOARD LAYOUTS SECTION 12 UT-108 (Optional Product) [TOP VIEW] • PARTS LIST [MAIN UNIT] [ACCESSORY] ORDER ORDER DESCRIPTION DESCRIPTION QTY. 1130007561 S.IC LC73881M-TLM-E 8930070290 SPONGE(JC) 1130007301 S.IC TC4W66FU (TE12L,F) 6050005090 XTL CR-245 (4.194304 MHz) 6200001260 S.COL MLF2012A 1R8M-T 7030005120 S.RES ERJ2GEJ 102 X (1 k) 7030005120 S.RES ERJ2GEJ 102 X (1 k) 7030005090 S.RES ERJ2GEJ 104 X (100 k) 7030005120 S.RES ERJ2GEJ 102 X (1 k)
- Page 29 S-14315XZ-C1 1-1-32, Kamiminami, Hirano-ku, Osaka 547-0003, Japan © 2007 Icom Inc.
Need help?
Do you have a question about the IC-V85 and is the answer not in the manual?
Questions and answers