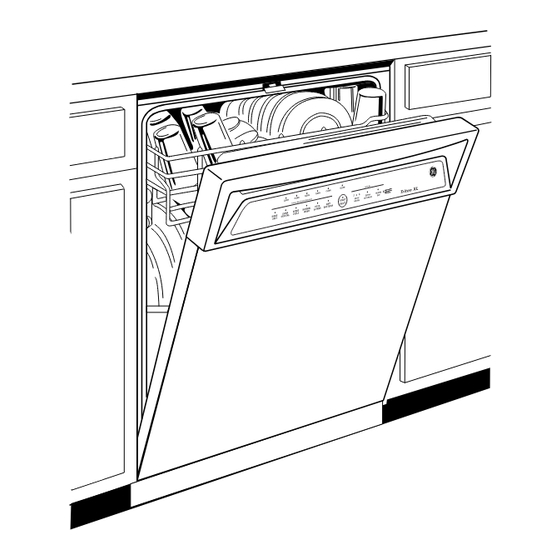
GE Built-In Dishwasher Installation Instructions Manual
Hide thumbs
Also See for Built-In Dishwasher:
- Installation instructions manual (49 pages) ,
- Owner's manual (32 pages) ,
- Installation instructions (4 pages)
Table of Contents
Advertisement
Quick Links
Installation
Instructions
If you have questions, call 800-GECARES or visit our website at: www.GEAppliances.com
BEFORE YOU BEGIN
Read these instructions completely and carefully.
IMPORTANT –
•
codes and ordinances.
Note to Installer
•
– Be sure to leave these instruc-
tions for the consumer's and local inspector's use.
Note to Consumer
•
your Owner's Manual for future reference.
Skill Level –
•
Installation of this dishwasher requires
basic mechanical and electrical skills. Proper installa-
tion is the responsibility of the installer. Product failure
due to improper installation is not covered under the
GE Appliance Warranty.
Completion Time –
•
require more time than replacement installations.
Observe all governing
– Keep these instructions with
1 to 3 Hours. New installations
Built-In
Dishwasher
IMPORTANT –
•
installed to allow for future removal from the enclo-
sure if service is required.
If you received a damaged dishwasher, you should
immediately contact your dealer or builder.
Optional Accessories –
for available custom panel kits.
FOR YOUR SAFETY
Read and observe all CAUTIONS and WARNINGS
shown throughout these instructions. While performing
installations described in this booklet, gloves, safety
glasses or goggles should be worn.
READ CAREFULLY.
KEEP THESE INSTRUCTIONS.
1
The dishwasher MUST be
See the Owner's Manual
Advertisement
Table of Contents

Summary of Contents for GE Built-In Dishwasher
-
Page 1: Installation Instructions
Installation Built-In Dishwasher Instructions If you have questions, call 800-GECARES or visit our website at: www.GEAppliances.com BEFORE YOU BEGIN IMPORTANT – • The dishwasher MUST be Read these instructions completely and carefully. installed to allow for future removal from the enclo- sure if service is required. -
Page 2: Parts Supplied
Installation Preparation Trim Pieces PARTS SUPPLIED: (some models) Two #8 Phillips flat head wood screws, 5/8" long to secure dishwasher to underside of countertop or to side of cabinetry. (Taped to top or side of dishwasher.) Side and top trim pieces 2 Wood Screws 4, #8 Pan head Phillips Screws Side Mounting Brackets 2 Side mounting brackets with 4 mounting screws... -
Page 3: Prepare Dishwasher Enclosure
Installation Preparation PREPARE DISHWASHER ENCLOSURE • The dishwasher must be installed so that drain hose is no more than 10 feet in length for proper drainage. • The dishwasher must be fully enclosed on the top, sides and back, and must not support any part of the This Wall Area enclosure. -
Page 4: Prepare Electrical Wiring
Installation Preparation PREPARE ELECTRICAL WIRING FOR PERSONAL SAFETY: Remove Alternate house fuse or open circuit breaker Receptacle before beginning installation. Do not Location use an extension cord or adapter plug 18" with this appliance. 1-1/2" Dia. Hole (Max.) Receptacle Location 18"... -
Page 5: Prepare Hot Water Line
Installation Instructions STEP 1 CHECK DOOR BALANCE PREPARE HOT WATER LINE • The line may enter from either side, rear or floor With dishwasher on wood skid, check the door balance within the shaded area shown in Figure F. by opening and closing the door. •... -
Page 6: Step 3 Remove Toekick
Installation Instructions STEP 3 REMOVE TOEKICK STEP 5 INSTALL 90° ELBOW • Remove the two toekick screws. • Wrap 90° elbow with thread seal tape. • Install a 90° elbow onto the water valve. Front of Dishwasher Remove 2 Toekick Screws Water Valve Bracket Figure I... -
Page 7: Step 7 Insert Drain Hose Through Cabinet
Installation Instructions STEP 9 INSTALL TRIM PIECES STEP 7 INSERT DRAIN HOSE THROUGH CABINET Skip this step if trim is not supplied with the dishwasher. • Locate trim strips inside dishwasher. • Upright the dishwasher and position in front of the •... -
Page 8: Step 12 Position Dishwasher, Secure To Cabinet
Installation Instructions STEP 11 LEVEL DISHWASHER • Level the dish- Access Hole washer by adjusting IMPORTANT – Dishwasher must be level for proper the four leveling dish rack operation and wash performance. legs individually. • If adjustment to the • Place level on right rear leveling door and rack leg is required,... -
Page 9: Step 13 Connect Water Supply
Installation Instructions STEP 13 CONNECT WATER SUPPLY Compression Nut Ferrule Connect water supply line to 90° elbow. • Slide compression nut, then ferrule over end of water line. Hot Water Supply Line 90° Elbow • Insert water line into 90° elbow. •... -
Page 10: Step 15 Connect Power Supply
Installation Instructions STEP 15 CONNECT POWER STEP 16 PRE-TEST CHECK LIST SUPPLY Review this list after installing your dishwasher to avoid charges for a service call that is not covered by Skip this step if equipped with power cord your warranty. Verify that power is turned off at the source. -
Page 11: Step 17 Dishwasher Wet Test
Installation Instructions STEP 17 DISHWASHER WET TEST STEP 18 REPLACE TOEKICK Turn on power supply (or plug power cord into • Place toekick against the legs of the dishwasher. outlet, if equipped). Latch door. Push “Rinse Only” button. Push start/reset pad once. Check to be sure that water enters the dishwasher. - Page 12 Pub. No. 31-30551 Dwg. No. 206C1559P090 SPECIFICATIONS SUBJECT TO CHANGE WITHOUT NOTICE (N.D. 489) 6/02...


Need help?
Do you have a question about the Built-In Dishwasher and is the answer not in the manual?
Questions and answers