Advertisement
Advertisement
Table of Contents

Subscribe to Our Youtube Channel
Summary of Contents for Rubine IA8
-
Page 1: Multifunction Oven
Multifunction Oven Instructions for installation and use... -
Page 2: Close-Up View
We recommend that you read the instructions in this owner’s manual carefully before use for the best performance and to extend the life of your appliance, as it will provide you with all the instructions you require to ensure its safe installation, use and maintenance. Always keep this owner’s manual close to hand since you may need to refer to it in the future. -
Page 3: Convection Mode
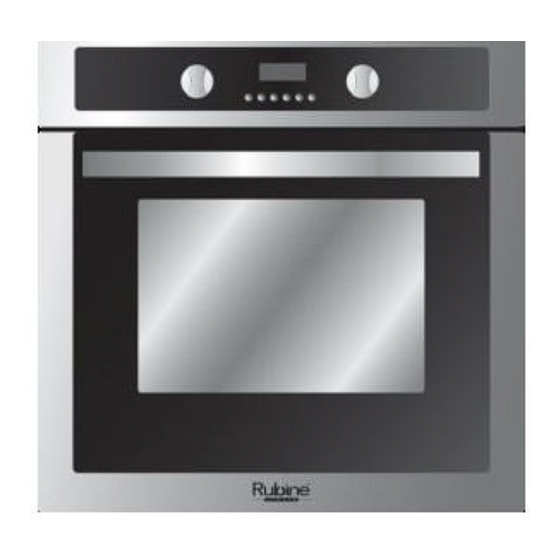
A. Control Panel B. Cooking mode selection knob C. Cooking temperature selection knob D. Electronic programmer-Allows you to programme the desired cooking by selecting the cooking time and the end cooking time. It can also be used as a timer (only available on certain models) E. - Page 4 Position of thermostat knob “C” :Between 60℃and Max.The top 、 circle and bottom heating elements, as well as the fan ,will come on alternately .Since the heat remains constant and uniform throughout the oven ,the air cooks and browns food uniformly over its entire surface. With this mode ,you can also cook various dishes at the same time ,as long as their respective cooking temperatures are the same .A maximum of 2 racks can be used at the same time ,following the instructions in the section entitled:“Cooking On More Than One Rack ”.
- Page 5 preparation of certain tartlets on 3 shelves at the same time. Here are a few examples: cream puffs, sweet and savory biscuits, savoury puffs, Swiss rolls and small portions of vegetables au gratin, etc. „. “Defrosting”Mode 45-55W Position of thermostat knob “C ”:Any The fan located on the bottom of the oven makes the air circulate at room temperature around the food .This is recommended for the defrosting of all types of food ,but in particular for delicate types of food which do not require heat ,such as for example :ice cream cakes ,cream or custard desserts ,fruit cakes .By using the fan ,the...
- Page 6 and set backward the time to “0” ,the set roast process will be cancelled. When button is pressed again, the oven will revert to the manual operation process. Timer 23 hours 59 minutes can be set as maximum. To set the time, press the button, and then + or - button, until the required time is shown on the screen.
-
Page 7: How To Keep Your Oven In Shape
button. Notice: press the relevant button, the setting must be carried out in 5 seconds; if electricity failure suddenly, all the set procedure and the proper clock time (hour, minute) will disappear. After electrical power is on again, “12:00” and the square symbol above “ ”... -
Page 8: Practical Cooking Advice
characteristics: Voltage: 220-240V Wattage: 25W Type: E 14 · Replace the glass cover and reconnect the oven to the mains power supply . Practical Cooking Advice The oven offers a wide range of alternatives which allow you to cook any type of food in the best possible way. With time you will learn to make the best use of this versatile cooking appliance and the following directions are only a guideline which may be varied according to your own personal experience. - Page 9 from forming, place a dripping-pan on the 1st oven rack from the bottom. Baking Cakes When baking cakes ,always place them in a preheated oven .Make sure you wait until the oven has been preheated thoroughly (the end light “E ”will turn off ).Do not open the oven door during baking to prevent the cake from dropping .In general: Pastry is too dry Increase the temperature by 10℃and reduce the cooking time .
- Page 10 3 Top Oven Browning food to perfect Cooking 4 Defrosting All frozen food 5 Grill Soles and cuttlefish 8-10 Squid and prawn kebabs Cod filet Grilled vegetables 10-15 Veal steak 15-20 Cutlets 15-20 Hamburgers 7-10 Mackerels 15-20 Toasted sandwiches With rotisserie (where prevent) Veal on the spit Chicken on the spit 80-90...
- Page 11 assisted grill ,the dripping pan must always be placed on the 1st oven rack from the bottom . Safety Is A Good Habit To Get Into To maintain the efficiency and safety of this appliance, we recommend that you do the following: ·...
- Page 12 ·The manufacturer may not be held responsible for any damage due to :Incorrect installation, improper, incorrect and irrational use. Installation Only a qualified person in compliance with the instructions provided must install the appliance. The manufacturer declines all responsibility for improper installation, which may harm persons and animals and damage property.
- Page 13 · Unscrew the bolt, pull open the cover of the terminal board . To install the cable, proceed as follows: · Remove the wire clamp screw and the three contact screws L-N - · Fasten the wires beneath the screw heads using the following color scheme :Blue (N) Brown (L) Yellow-Green ·...


Need help?
Do you have a question about the IA8 and is the answer not in the manual?
Questions and answers