Advertisement
Quick Links
Advertisement

Subscribe to Our Youtube Channel
Related Manuals for Rubine RSO-SERRA-50BL


Summary of Contents for Rubine RSO-SERRA-50BL
- Page 1 RSO-SERRA-50BL BUILT-IN STEAM OVEN...
-
Page 2: Specifications
If the apparatus is not maintained in a good state of cleanliness, its surface could be degraded and affect the lifespan of the apparatus and lead to a dangerous situation. Specifications RSO-SERRA-50BL Model Rated Voltage 220-240 V~ 50-60 Hz Frequency... - Page 3 WARNING o per tion ion or tion in a tenan 8 ear o t or or paper ontainer on t to t tion. tent per n to arr or repair operation.
- Page 5 . he water in the receiving tank, inside the oven and in the water tank should be cleaned up after each use. 19. Do not use the paper cups and plastic containers with temperature resistance below ceramic, stainless steel utensils can be used. on its temperatu n opening, do not stand too close to the appliance.
-
Page 6: Grounding Installation
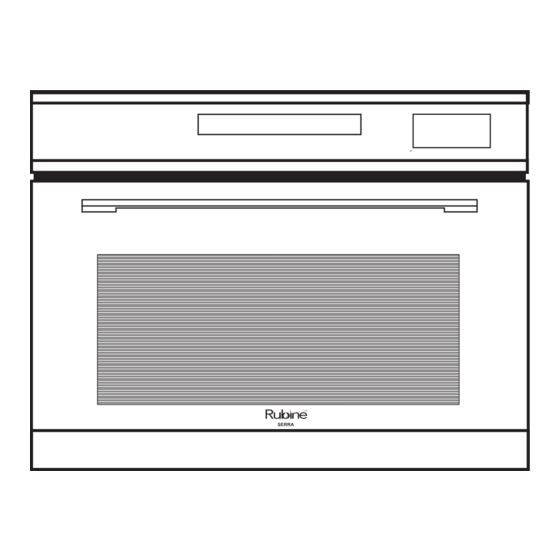
TO REDUCE THE RISk OF INjury to Persons Grounding Installation extension cord must be a grounding- lectric Shock d should be arranged so that Touching some of the internal components it will not drape over the counter top or can cause serious personal death. - Page 7 NAMES OF OVEN PARTS AND ACCESSORIES (In case of any differences between the appliance and the pictures in this manual, the product shall prevail.) Remove the oven and all materials from the carton and oven cavity Your oven comes with the following accessories: Instruction Manual 1.
- Page 8 IMPORTANT INFORMATION ABOUT INSTALLING • This appliance is NOT intended for use in a commercial environment. • Please observe the installation instructions provided and note that this appliance should only be installed by a quali fied technician. • The appliance is fitted with a plug and must only be connected to a properly installed earthed socket.
-
Page 9: Fitted Units
Fitted units • cabinet. • • cupboard • cupboard • • • • • Installation dimensions min 45 min 45 Ventilation grid Cupboard feet Note: There should be gap above the oven. And the dimensions in the figures are in mm. Building in •... - Page 10 Fully insert the appliance and center it. Do not kink the connecting cable. Screw the appliance into place. The gap between the worktop and the appliance must not be closed by additional battens.
- Page 11 Initial cleaning and heating Removing the steam oven all of the protection foil on the front. Before the first use of the appliance: Remove all accessories and wash out of the oven. Electric heating empty containers. New appliances typically smell when first used. Before using the electrical appliance to cook food faster to heat it helps to banish odors.
- Page 12 OPERATION INSTRUCTION Control Panel Preheat Power/Cancel Clock/Time/Temperature Oven lamp/Lock function Start/Pause Function Water box Auto menu Steam function Parameter adjustment 1. Setting the Clock When the steam oven is electrified, "00:00" will blink, the buzzer will ring once. 1) Touch " "...
- Page 13 2. Conventional cooking 1) Touch " " once to activate the Conventional function. The default temperature "180 °C " will display and the conventional icon will appear. Touch " " or " " or slide to select the temperature. The temperature can be selected from 50 to 230 °C.
- Page 14 5. Conventional + Fan cooking 1) Touch " " four times to activate the Conventional + Fan function. The default temperature "160 °C " will display and the Conventional + Fan icon will appear. to set the temperature. Touch " "...
- Page 15 8. Double Grilling cooking 1) Touch " " seven times to activate the Double Grilling function. The default °C temperature "180 " will display and the Double Grilling icon will appear. Touch " " or " " or slide to set the temperature. The temperature can be set from 100 to 235 °C Touch "...
- Page 16 12 . Fermentation function 1) Touch " " eleven times to activate the fermentation function. The default °C temperature “40 " will display and the fermentation icon will appear. Touch " " or " " or slide to set the temperature. The temperature can be set from 30 to 45°C.
- Page 17 13. Steam Function The steam icon and “100 °C ” will display. 1) In standby mode, press " " once, enter the steam mode. Touch " " or " " or slide to set the temperature. The temperature is from 35 to 100 °C Touch "...
- Page 18 15. Auto Cook 1) In standby mode, touch " " once to activate auto menu mode. Touch " " or " ", and you can choose different types of cooking menus. (A01 to A16) 3) Touch " " to start cooking. Notes: 1) After the steam auto menu, the water pump will withdraw the water back to the water tank, there will be some noise sound.
- Page 19 16. Water box use Adding water Cleaning water box Press to pop up the 1. Press to pop up the water box; water box; Method 1 After taking it out completely, open 2. Open the water box cover and the rubber ring and add pure water; clean it;...
- Page 20 Descaling function 1) Power up the system, remove the water tank, inject 1000ml of pure water into the water tank, and add a pack of descaling agents. 2) Push the water tank into the appropriate location of the appliance. 3) In standby mode, touch " "...
- Page 21 19. Lock Function for Children You can use this function to prevent children from accidentally turning the oven on. To activate the lock: Press and hold “ ” for two seconds. A beep sounds and the locked icon will display. To deactivate the lock: In the locked state, press and hold “...
-
Page 22: Troubleshooting
TROUBLE SHOOTING Normal Radio and TV reception may be interfered when Microwave oven interfering microwave oven operating. It is similar to the interference of small electrical appliances, like TV reception mixer, vacuum cleaner, and electric fan. It is normal. In low power microwave cooking, oven light may Dim oven light become dim. - Page 23 RSO-SERRA-50BL...
- Page 24 Online Registration 1-year 1.Log on to www.rubine.com.my 2.Click on ‘SUPPORT’, followed by ‘Warranty Registration’, then SELECT ‘Kitchen Appliances’. 3.It will link you to ‘www.e-quality.com.my’ (this is homepage for our service center) 4.Then click on ‘Register’, fill up necessary information and ‘SUBMIT’.
Need help?
Do you have a question about the RSO-SERRA-50BL and is the answer not in the manual?
Questions and answers