Advertisement
Quick Links
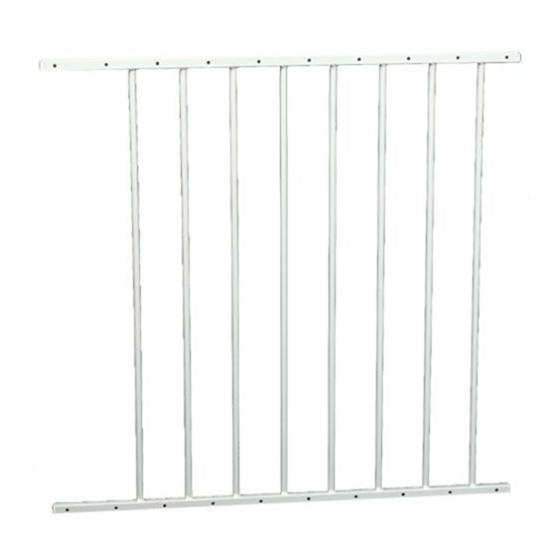
45"
Elongate Model G60 for openings
to 60" wide
Use 1 optional 24" extension (Model G24) when opening is 5' to 7' wide
Use 2 optional 24" extension (Model G24) when opening is 7' to 9' wide
Use 3 optional 24" extension (Model G24) when opening is 9' to 11' wide
Use 4 optional 24" extension (Model G24) when opening is 11' to 13' wide
Maximum 4 extensions per gate.
User Guide
Advertisement

Subscribe to Our Youtube Channel
Related Manuals for Kidco Elongate G24


Summary of Contents for Kidco Elongate G24
- Page 1 Elongate Model G60 for openings to 60” wide Use 1 optional 24” extension (Model G24) when opening is 5’ to 7’ wide Use 2 optional 24” extension (Model G24) when opening is 7’ to 9’ wide Use 3 optional 24” extension (Model G24) when opening is 9’ to 11' wide Use 4 optional 24”...
- Page 2 Do not use if any part of gate is broken or missing. This product will not neccessarily prevent all accidents. Never leave child unattended. Use only spare parts from KidCo. Never allow child to climb or swing on gate. Use only with the locking/latching mechanism securely engaged.
- Page 3 Hinge Side Hardware 2 Hinge bottoms (c) 2 Hinge spindles with locknuts (I) 2 Springs (k) 2 Hinge caps (d) General Wood screws (g) 1 Protective plastic cover (h) 4 Expansion screw sockets (i) 4 Expansion screws (j) 1 Stabilizing foot (p) 1 Wrench (q) Locking Side Hardware 2 Locking latches (e)
- Page 4 important: Gate must be installed in a struc- turally sound opening. Hinge side of gate must be mounted to a rigid surface. Ensure mounting surface (wall, stairpost etc.) is strong, rigid and has an even surface. If using gate on a stairway it must be placed either on top stair or on lowest stair at bot- tom.
- Page 5 Screw hinge spindles (I) into top and bottom rails of second section (o) until they are extended equally. These will be adjusted to correct length at a later stage so do not tighten. Mounting Locking Side Screws provided are for mounting directly into wood.
- Page 6 The correct width will be reached by adjus- ting gate sections and all four corner spind- les. Each spindle adjusts individually and may be extended to varying lengths to allow for molding, uneven walls, etc. Spindles may be extended a minimum af 1” but not more than 4”...
- Page 7 Center gate in opening. Gaps on each side should be equal. Place hinge spindles (I) over hinge bottom posts (c), dropping them into place. Adjust latch spindles out until they fit securely into the two locking brackets. Latch spindles must be adjusted so they click under locking latch when in closed position.
- Page 8 A protective plastic cover (h) is provided for the top latch spindle. Cut cover, remove latch spindle and put cover on. Return spindle and adjust to correct length.
- Page 9 Safety foot No part of gate needs lubrication. * Clean by sponging with warm water and mild detergent. To open walk through section, press down on top locking latch, lift walk through section so hinge is raised (a), and slide out of bracket. Note: The gate should always be in locked position.
- Page 10 This warranty extends only to the original retail purchaser and is only valid when suppli- ed with proof of purchase. KidCo will either repair, or at our option replace, free of charge, any parts necessary to correct defects in material or workmanship during the warranty period. This warranty is complete and exclusive.
Need help?
Do you have a question about the Elongate G24 and is the answer not in the manual?
Questions and answers