Table of Contents
Advertisement
Advertisement
Table of Contents

Related Manuals for Keys Fitness ALLIANCE 950HR-OB


Summary of Contents for Keys Fitness ALLIANCE 950HR-OB
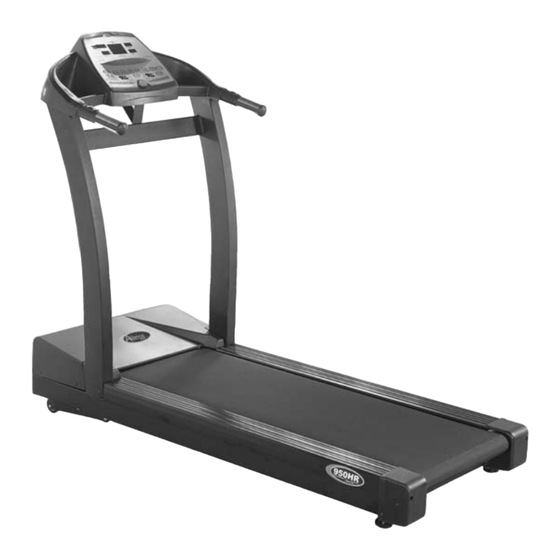
- Page 1 ALLIANCE 910HR/950HR-OB TREADMILL OWNER’S MANUAL Model Name ALL910HR/ALL950HR-OB Serial Number Purchase Date Write down for future reference. Keys Technical Service, (888) 340-0482 KEYS Fitness Products, LP P.O. Box 551239 Dallas, TX 75239-1239 Part# 15-0127...
-
Page 2: Table Of Contents
Information Table of Contents Specification Sheet Important Safety Information Before You Start Warm Up Exercises Assembly, Instructions Power Requirements Console Functions and Descriptions Program and Operating Instructions Program Descriptions and Profiles Belt Adjustments and Tension Change to MPH or Km/H Troubleshooting Guide Parts and Diagrams Warranty Registration (Mail In Form) -
Page 3: Specification Sheet
Specification Sheet Horsepower (Continuous) Display Type Electronics Speed & Incline Toggle Switches Pre-Set Programs Semi-Custom Programs User Programs Heart rate interactive program Heart Rate Function Power Incline Roller Diameter Cushioned Deck Speed Range Walking Belt Side Hand Rails Foot Print Folded Foot Print User Capacity Warranty Motor... -
Page 4: Important Safety Information
The treadmills have a user maximum capacity of 350 pounds/ALL910HR, and 400 pounds/ALL950HR-OB. The treadmill should only be used on a level surface and is intended for indoor use only. The treadmill should not be placed in a garage, patio, or near water and should never be used while you are wet. -
Page 5: Before You Start
Remember to take the time to perform the stretching exercises provided to avoid injury. Do not stand on the walking belt while pressing the Power button or Start/Stop button. Always adjust the speed of the treadmill in small increments as this treadmill is capable of high speeds. -
Page 6: Warm Up Exercises
Warm Up Exercises EXERCISE GUIDELINES WARNING! Before beginning this or any exercise program, you should consult your physician. This is especially important for individuals over the age of 35 or individuals with pre-existing health problems. Warming up prepares the body for the exercise by increasing circulation, supplying more oxygen to the muscles and raising body temperature. -
Page 7: Assembly Instructions
The ALLIANCE TREADMILL is shipped in four pieces, please see assembly instructions below. After opening the box, remove any packing materials from the treadmill. Do not throw away any packing materials until the unit is working properly. Place the base on a clean, level surface. Make sure the electrical cord will easily reach an elec- trical outlet. -
Page 8: Power Requirements
This treadmill can be seriously damaged by sudden voltage changes in your home’s electrical power. Voltage spikes, surges, and noise interference can result from weather conditions or from other appliances being turned on or off. To reduce the possibility of treadmill damage, always use a surge protector (not included) with your treadmill. -
Page 9: Console Functions And Descriptions
In Program mode, the treadmill will display the name of the program selected This is shown on the left hand side of the window. In Manual mode, the LAP counter will appear in the top center of the window, counting each 1/4 mile lap in sequence of completion (1, 2, 3, etc.) -
Page 10: Quick Start / Manual Mode
ENTER QUICK START / MANUAL MODE Plug into a surge protector outlet. Attach the Red Safety Key on to the treadmill console. Stand on the treadmill and straddle belt. Attach safety key clip to your clothes. Press POWER button. There will be an eight (8) second delay after pressing the POWER button before data can be entered. -
Page 11: Program Mode
INCLINE PROGRAM MODE Plug treadmill into a surge protector outlet. Attach the Red Safety Key on to the treadmill console. Stand on the treadmill and straddle belt. Attach safety key clip to your clothes. Press POWER button. There will be an eight (8) second delay before data can be entered. The TIME window will flash. -
Page 12: Heart Rate Program Operation
HEART RATE MONITOR MODE The treadmill may at any time be used in the Heart Rate Monitor Mode. If the signal from the chest strap is detected, heart rate BPM will be displayed in the INCLINE window. The incline will only be briefly displayed if manual or program changes are initiated. - Page 13 Program Instructions Heart rate Mode TARGET ARROWS WORKOUT TIME CALORIES/DISTANCE INCLINE WINDOW START/STOP ENTER PROGRAM TARGET DOWN POWER TARGET UP PAUSE...
-
Page 14: Program Descriptions And Profiles
1 2 3 4 5 6 7 8 9 1 0 The Warm Up Program is designed to gradually increase the treadmill Speed and Elevation in the first segment (warm up) and gradually decrease the treadmill Speed and Elevation in the last segment (cool down). -
Page 15: Belt Adjustments And Tension
Refer below to the “Walking Belt Slipping” instructions. WALKING BELT IS SHIFTING TO THE RIGHT (Diagram 2) First, turn the treadmill on to run at 1 mph. Using the hex key provided, turn the right rear roller adjustment bolt ¼ turn in the clockwise direction. -
Page 16: Change To Mph Or Km/H
All treadmills are calibrated at the factory for British Units (miles per hour). To change the display to read in kilometers, follow the steps described here: 1) Turn power OFF on the console. (Do not unplug treadmill) Attach the magnet safety key to the con- sole. -
Page 17: Troubleshooting Guide
(Refer to “Power Requirements” on page 8) 3 Check the circuit breaker located on the front of the treadmill. If the switch protrudes, it has tripped. Wait five minutes and then press the switch back in. -
Page 18: Parts And Diagrams
Left Side Extrusion Rail Right Side Extrusion Rail Treadmill Belt Front Roller Assembly Rear Roller Treadmill Deck End Cap (L/R) Elevation Motor (acuator) Bottom Motor Pan Small Fan Motor Poly V Belt Motor Hood Cover Top 15&16 Console Assembly Please review the following drawing below to familiarize yourself with the listed parts. This man- ual covers several treadmills, so the one pictured below may not be identical to your particular model. -
Page 19: Warranty Registration (Mail In Form)
Keys. Keys reserves the right to change manufacturers of any part to cover any existing warranty. To obtain warranty service, you must contact a Keys authorized service technician or Keys Fitness at our phone numbers located in this manual. Any parts determined to be defective must be returned to Keys to obtain warranty service.
Need help?
Do you have a question about the ALLIANCE 950HR-OB and is the answer not in the manual?
Questions and answers