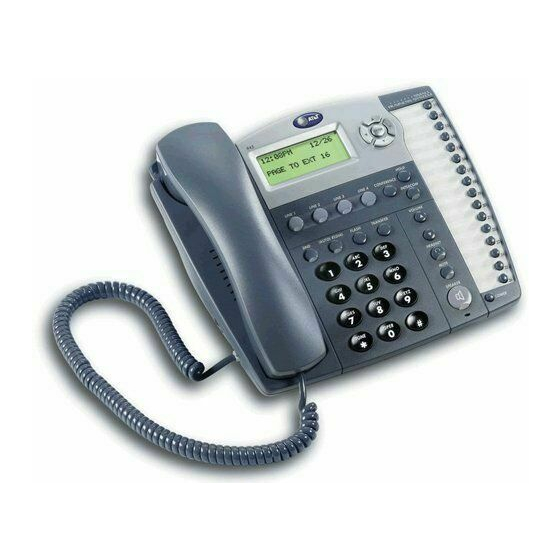
AT&T Speakerphone 945 Quick Start Manual
Four-line small business system speakerphone
Hide thumbs
Also See for Speakerphone 945:
- User manual (103 pages) ,
- User manual (83 pages) ,
- User manual (145 pages)
Table of Contents
Advertisement
Quick Links
See also:
User Manual
945QSG_(rev22)ml23.5.06
QUICK START GUIDE
Four-Line Small Business System
Speakerphone 945
This Quick Start Guide provides basic instructions. For additional
installation options and complete instructions which allow you
to use all features of this phone, refer to your AT&T Four-Line
Small Business System Speakerphone 945 User's Manual, Part 2.
Installation
Installation of a DSL splitter may be required to use the advanced
features of this telephone if you have DSL (digital subscriber line)
service. Please see DSL users starting on page 4 of your User's
Manual, Part 2 for details.
If you are installing multiple phones in your phone system,
you must install and program one set at a time. Each phone
MUST be assigned a unique extension number.
Battery installation
Install a 9V alkaline battery (purchased separately) in order to use some
features of this telephone in the event of a power failure. If power fails and
a working battery is installed, all four lines of this phone will work only to
answer calls with the handset or headset, and to dial calls using the dial pad
keys and the one touch or redial features. No other features will work until
power is restored.
1. Remove the wedge from the underside of the base unit.
Press on the tabs and pull the wedge away from the phone.
2. Remove the battery compartment screw with a small
Phillips head screwdriver.
3. Pull on the tab to remove the battery compartment cover.
5/23/06
11:29 AM
Page 1
continued on page 2
1
Advertisement
Table of Contents

Related Manuals for AT&T Speakerphone 945


Summary of Contents for AT&T Speakerphone 945
-
Page 1: Quick Start Guide
AT&T Four-Line Small Business System Speakerphone 945 User's Manual, Part 2. Installation Installation of a DSL splitter may be required to use the advanced features of this telephone if you have DSL (digital subscriber line) service. - Page 2 945QSG_(rev22)ml23.5.06 5/23/06 11:29 AM Page 2 Battery installation continued from page 1 4. Insert a 9V battery (purchased separately) following the polarity markings inside the battery compartment. 5. Replace the battery compartment cover and the screw. 6. Reattach the wedge to the base unit by sliding the tabs into the holes.
- Page 3 945QSG_(rev22)ml23.5.06 5/23/06 11:29 AM Page 3 • Four one-line jacks (To use this installation option, you’ll need to purchase two two-line adapters. Adapters are available 1 (800) 222–3111 at retail stores or by calling Modular telephone Modular jacks lines 3 and 4 telephone jacks lines 1 and 2 Two-line adapters...
- Page 4 945QSG_(rev22)ml23.5.06 5/23/06 11:29 AM Page 4 Table/desk installation continued from page 3 3. Connect the power adapter to the telephone. Use only the power adapter provided with this product. 1 (800) 222–3111 To obtain a replacement, call Plug one end of the power adapter into the jack labeled POWER on the back of the phone.
-
Page 5: Feature Setup
945QSG_(rev22)ml23.5.06 5/23/06 11:29 AM Page 5 Feature setup Feature setup, memory programming and some individual feature operations for the 945 use menus shown in the screen display. For detailed instructions for using the menus, see Menu operation beginning on page 19 of your User’s Manual, Part 2. -
Page 6: Turn Line Usage On Or Off For Each Line
945QSG_(rev22)ml23.5.06 5/23/06 11:29 AM Page 6 Turn line usage on or off for each line If you are not using all four phone lines at this extension, you need to turn off line usage for the unused lines. If you expand to a second, third or fourth line, turn line usage back on. -
Page 7: Telephone Operation
945QSG_(rev22)ml23.5.06 5/23/06 11:29 AM Page 7 Telephone operation NOTE: This phone comes programmed to use line 1 (default prime line) for calls if you do not press a LINE button. (To change the prime line, see Assign the prime line on page 31 of your User’s Manual, Part 2.) When you answer a call, the phone automatically selects the ringing line. -
Page 8: One Touch Operation
945QSG_(rev22)ml23.5.06 5/23/06 11:29 AM Page 8 One touch operation This telephone has 32 one touch locations where you can store phone numbers you wish to dial using fewer keys than usual. You can store up to 24 digits in each location. The steps used to dial numbers stored in one touch locations vary according to how you programmed the one touch preference. -
Page 9: Store A Number In A One Touch Location
945QSG_(rev22)ml23.5.06 5/23/06 11:29 AM Page 9 Store a number in a one touch location For information about using the display screen menus, see Menu operation beginning on page 19 of your User’s Manual, Part 2. 1. Press E to enter the feature menu. The screen displays ONE TOUCH. -
Page 10: Dial A One Touch Number
945QSG_(rev22)ml23.5.06 5/23/06 11:29 AM Page 10 Dial a one touch number This phone comes with One touch preference programmed to INTERCOM. These instructions apply only if you have not changed One touch preference. NOTE: To change One touch preference, see Set one touch preference on page 22 of your User’s Manual, Part 2. -
Page 11: Intercom Operation
945QSG_(rev22)ml23.5.06 5/23/06 11:29 AM Page 11 Intercom operation This 945 telephone is fully compatible with any AT&T Four-Line Small Business System Speakerphone 974 or 984 units you may have installed. You can use a total of 16 945/974/984 units together as extensions in your phone system. For details regarding this telephone’s compatibility with other AT&T phones, please refer to Before you begin starting on page 2 of your User’s Manual, Part 2. -
Page 12: Make An Intercom Call With The Handset
945QSG_(rev22)ml23.5.06 5/23/06 11:29 AM Page 12 Make an intercom call with the handset This phone comes with One touch preference programmed to INTERCOM. These instructions apply only if you have not changed the One touch preference. NOTE: To change One touch preference, see Set one touch preference on page 22 of your User’s Manual, Part 2. -
Page 13: Answer An Intercom Call
945QSG_(rev22)ml23.5.06 5/23/06 11:29 AM Page 13 Answer an intercom call NOTE: An intercom call can be answered at any extension in the phone system by pressing I. When you receive an intercom call, you will hear a repeating double-ring pattern and your screen displays INTERCOM FROM with the extension number of the caller. - Page 14 945QSG_(rev22)ml23.5.06 5/23/06 11:29 AM Page II In case of difficulty, visit our service center at www.telephones.att.com 1 (800) 222–3111. or call © 2006 Advanced American Telephones. All rights reserved. AT&T and the Globe Design are trademarks of AT&T Corp., licensed to Advanced American Telephones.
Need help?
Do you have a question about the Speakerphone 945 and is the answer not in the manual?
Questions and answers