Aztech WIPC409HD Easy Start Manual
Hide thumbs
Also See for WIPC409HD:
- User manual (44 pages) ,
- User manual (44 pages) ,
- Firmware upgrade instructions (3 pages)
Advertisement
This Easy Start Guide will help you setup your Aztech WIPC409HD to connect to your network for the first time.
Before you continue with the installation ensure that your modem's Internet connection is UP. This Easy Start
Guide, along with the User Manual which provides a more advanced guide to this product, is included in the
Resource CD and is also downloadable on our Aztech Support Website (www.aztech.com/support).
A
PAckAge contents
The following items below are included in your WIPC409HD package.
WIPC409HD
Ethernet Cable
Mounting Bracket
Resource CD
B
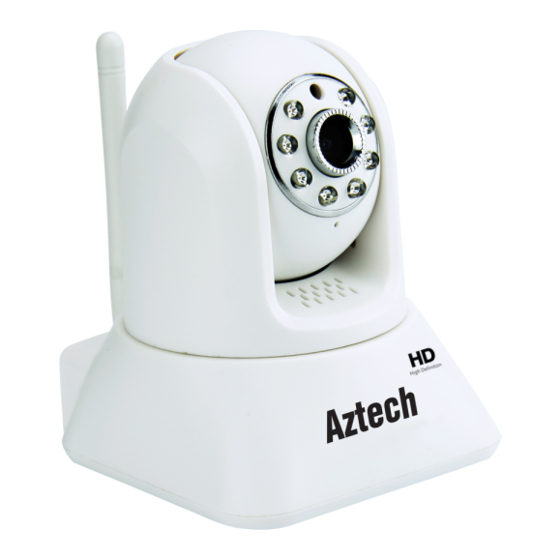
DevIce overvIew
3A
FOR ANDROID USERS
1
1
2
2
3
3
4
4
5
5
Power Adapter
Wireless Antenna
Easy Start Guide
Warranty Policy
Wireless Antenna
Photo Resistance
Infrared LEDs
Lens
Built-in Speaker
BACK PANEL
Micro SD Card Slot
External Mic
LAN Port
External Speaker
PAGE 1
Download and Install the Aztech IP Cam App on
Google Play. You may also scan the QR Code found
at the packaging box to automatically search for the
application.
Launch the Aztech IP Cam App then tap the Click
here to add camera button.
Scan or Search the UID*.
NOTE: This 20-digit information is found at the
bottom label of your Camera. The UID is unique for
every device.
*(Sample QR Code Only)
Enter your camera's Security Code (password).
NOTE: The Default Password for all Cameras is
admin.
Enter the camera's Name. (e.g. Cherry's Camera)
then press OK to apply changes.
You may now start viewing with your WIPC409HD.
PAGE 3
MODEL
WIPC409HD
c
InstAllAtIon stePs
4
Tablets / Smartphones
STEP 1
Connect your Aztech WIPC409HD to your router's Ethernet LAN port using an Ethernet
cable.
NOTE: Ensure that your router's internet connection is UP, for you to access your
WIPC409HD via the Internet.
STEP 2
Connect the power adapter to your WIPC409HD camera and plug it into a power outlet
to switch it ON.
STEP 3
Built-in Mic
3.
1
Connect your router to your computer's Ethernet LAN port using an Ethernet
WPS Button
cable.
3.
2
Connect the power adapter to your router and plug it into a power outlet and turn
DC Jack
it ON.
STEP 4
You can either set it up using your mobile phone or your Computer / Laptop. If you are
using a mobile phone, it is recommended to connect over the same Local Area Network
where your WIPC409HD is connected.
•
For Android Users, please go to 3A (see Page 3).
•
For Apple Users, please go to 3B (see on Page 5).
•
For Desktop / PC Users, please go to 3C (see Page 6).
connecting your camera to your wi-Fi
A. Using the Aztech IP Cam App
1
2
3
4
5
6
7
8
2
Power
Adapter
WIPC409HD
1
3.1
Computer / Desktop
To connect your camera via Wireless Settings simply follow
the instructions below:
1
Select your WIPC409HD Camera by clicking the arrow
key beside the camera that you wish to connect.
2
Tap Edit Camera.
3
On the Advance Setting section, tap the Advanced
button.
Wait for the Aztech IP Cam App to finish retrieving all
4
the Wireless Networks within range.
After retrieving the Wireless Networks, tap on the
5
Manage Wi-fi Networks button. A dropdown selection
list would appear.
On the dropdown selection list, tap on the dropdown
6
arrow to select an SSID (wireless network name).
NOTE: For a more detailed guide of the WIPC409HD IP
Camera, you may refer to the User Manual.
7
After selecting the correct SSID, enter the wireless
network's password.
Wait for the camera to successfully connect with your
8
router.
After the Camera successfully connects with your
router, simply tap the OK button to finish the setup.
Power Outlets
Power
Adapter
3.2
Router
PAGE 2
PAGE 4
Advertisement
Table of Contents

Subscribe to Our Youtube Channel
Related Manuals for Aztech WIPC409HD


Summary of Contents for Aztech WIPC409HD
-
Page 1: Package Contents
MODEL WIPC409HD This Easy Start Guide will help you setup your Aztech WIPC409HD to connect to your network for the first time. Before you continue with the installation ensure that your modem’s Internet connection is UP. This Easy Start Guide, along with the User Manual which provides a more advanced guide to this product, is included in the Resource CD and is also downloadable on our Aztech Support Website (www.aztech.com/support). - Page 2 MODEL WIPC409HD This Easy Start Guide will help you setup your Aztech WIPC409HD to connect to your network for the first time. Before you continue with the installation ensure that your modem’s Internet connection is UP. This Easy Start Guide, along with the User Manual which provides a more advanced guide to this product, is included in the Resource CD and is also downloadable on our Aztech Support Website (www.aztech.com/support).
Need help?
Do you have a question about the WIPC409HD and is the answer not in the manual?
Questions and answers