Advertisement
Quick Links
Avaya Solution & Interoperability Test Lab
Configuring the Avaya B179 SIP Conference Phone with
Avaya Aura® Communication Manager and Avaya Aura®
Session Manager – Issue 1.0
These Application Notes describe the steps to configure the Avaya B179 SIP Conference
Phone to work with Avaya Aura® Communication Manager and Avaya Aura® Session
Manager.
JPA; Reviewed:
SPOC 07/08/2011
Abstract
Solution & Interoperability Test Lab Application Notes
©2011 Avaya Inc. All Rights Reserved.
1 of 12
B179SIPCMSM
Advertisement

Subscribe to Our Youtube Channel
Related Manuals for Avaya B179 SIP


Summary of Contents for Avaya B179 SIP
- Page 1 Avaya Aura® Communication Manager and Avaya Aura® Session Manager – Issue 1.0 Abstract These Application Notes describe the steps to configure the Avaya B179 SIP Conference Phone to work with Avaya Aura® Communication Manager and Avaya Aura® Session Manager. JPA; Reviewed: Solution &...
- Page 2 1. Introduction These Application Notes describe a basic configuration of the Avaya B179 SIP Conference Phone to work with Avaya Aura® Communication Manager and Avaya Aura® Session Manager. Figure 1 shows the configuration used for testing. Figure 1: Network Diagram JPA;...
-
Page 3: Equipment And Software Validated
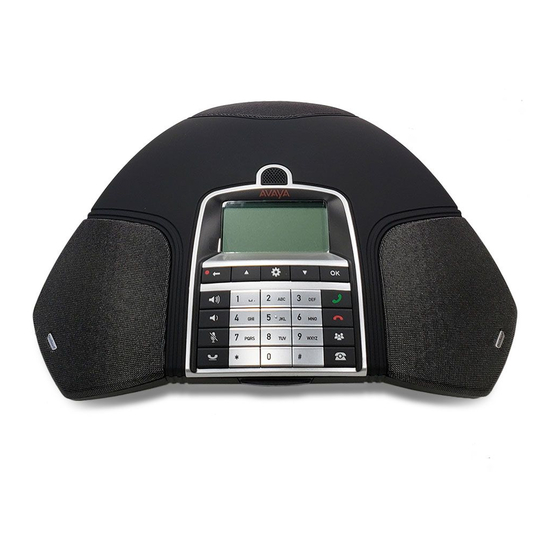
Telephone As shown in Figure 2 below, use the buttons on the B179 SIP Conference Phone to config the IP address settings. The B179 can be set with a static IP address or use DHCP. In this case a static IP Address was entered, and VLAN 7 was used. - Page 4 Figure 2: Menu Navigation Buttons Using an HTTP browser, enter the IP address of the B179 SIP Conference Phone in the browser URL field. The Login screen will appear as shown in Figure 3. Select Admin for the login and enter the appropriate password, then click Login.
- Page 5 VLAN assigned. In this section the user may also assign QoS tagging if the network the phone is connected to supports QoS. Figure 5: Network Settings Screen JPA; Reviewed: Solution & Interoperability Test Lab Application Notes 5 of 12 SPOC 07/08/2011 ©2011 Avaya Inc. All Rights Reserved. B179SIPCMSM...
- Page 6 G.711 codec be included, even if it’s the lowest priority on the list. Figure 6: Media Settings Screen JPA; Reviewed: Solution & Interoperability Test Lab Application Notes 6 of 12 SPOC 07/08/2011 ©2011 Avaya Inc. All Rights Reserved. B179SIPCMSM...
- Page 7 The rest of the configuration was left at default values. When complete, click Save. This will cause the phone to reboot. JPA; Reviewed: Solution & Interoperability Test Lab Application Notes 7 of 12 SPOC 07/08/2011 ©2011 Avaya Inc. All Rights Reserved. B179SIPCMSM...
- Page 8 4. Configuration of the Avaya Aura® Session Manager This section shows the Session Manager screens used to configure an endpoint with extension 36052, for the B179 SIP Conference Phone. For additional information on configuring Session Manager, see reference [3]. Login to System Manager and select User Management Manage Users. A list of users will appear.
- Page 9 Port: IP (this will change to a virtual port when form is submitted) Click Commit (not shown) when done. Figure 9: User Communication Profile JPA; Reviewed: Solution & Interoperability Test Lab Application Notes 9 of 12 SPOC 07/08/2011 ©2011 Avaya Inc. All Rights Reserved. B179SIPCMSM...
- Page 10 System Manager to add a User in Session Manager, as described in Section 4. If the native conference feature of the B179 SIP Conference phone is to be used, it’s necessary that the station in Communication Manager have at least 4 call appearances, as each call initiated by the B179 SIP Conference Phone will use a call apperance.
-
Page 11: Verification Steps
7. Verification Steps Look at the screen of the B179 SIP Conference Phone. A dark square next to the extension indicates the endpoint has succesfully registered. A clear/empty square indicates the endpoint is not registered. Figure 11: Registered Endpoint If the endpoint is not registered, verify that the configuration was entered correctly. When the endpoint registers verify it is working properly by placing calls to and from the enpoint. - Page 12 Application Notes. Please e-mail any questions or comments pertaining to these Application Notes along with the full title name and filename, located in the lower right corner, directly to the Avaya Solution & Interoperability Test Lab at interoplabnotes@list.avaya.com...
Need help?
Do you have a question about the B179 SIP and is the answer not in the manual?
Questions and answers