Avaya B159 Quick Setup Manual
Pa interface box
Hide thumbs
Also See for B159:
- User manual (48 pages) ,
- Quick reference manual (4 pages) ,
- Configuration manual (2 pages)

Related Manuals for Avaya B159


Summary of Contents for Avaya B159
- Page 1 PA Interface Box for Avaya B159/ B179 Conference Phones Quick Setup Guide 16-603919 Issue 1 February 2011...
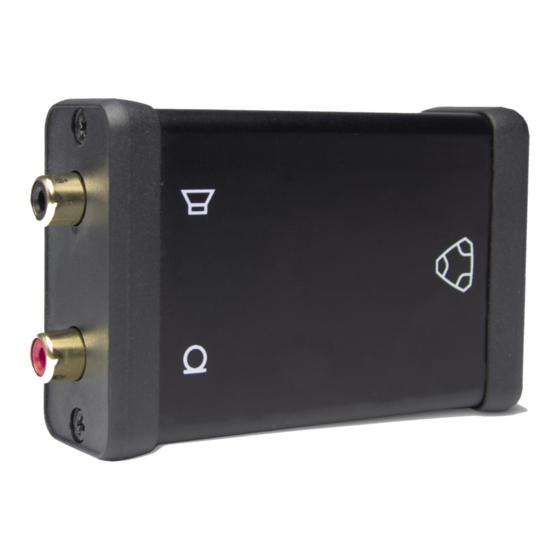
- Page 2 Always disconnect the power supply from the electrical outlet before disconnecting or connecting equipment to the Avaya B159/B179. Connect the PA interface box to the AUX port on Avaya B159/B179 with the included cable. Connect the external amplifier to the RCA connector marked with a speaker.
- Page 3 Avaya B179 SIP Conference Phone - User Guide (16-603918) Changing the auxiliary port setting Press MenU and select SettInGS > BASIC > AUX POrt (Avaya B159: SettInGS > AUX POrt ). Select the PA option to activate features for external microphone mixer and PA system.
- Page 4 CAlIBrAtIOn SettInGS Adjusting microphone volume from the PA system PA monitor can be used to adjust the microphone level from an external microphone mixer. Make a call. Press MenU and select PA > MOnItOr. Adjust the microphone level from the mixer so that this level value on the display screen is around 10–12 when speaking in a normal tone of voice.
Need help?
Do you have a question about the B159 and is the answer not in the manual?
Questions and answers