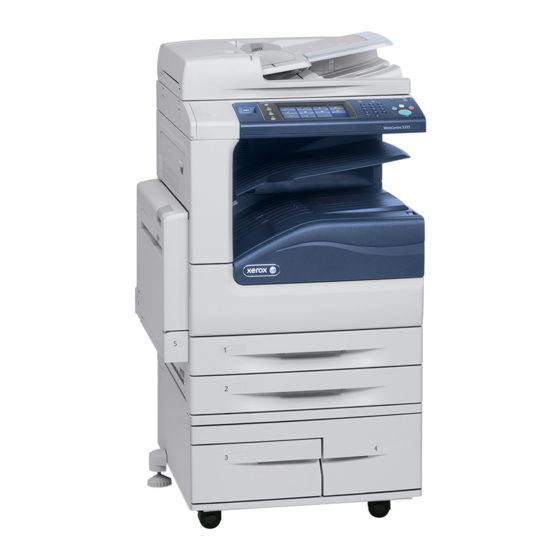
Xerox WorkCentre 5330 Function Manual
Make a copy using the duplex automatic document feeder
Hide thumbs
Also See for WorkCentre 5330:
- User manual (30 pages) ,
- User giude (222 pages) ,
- Evaluator manual (21 pages)
Advertisement
Table of Contents
- 1 Make a Copy Using the Duplex Automatic Document Feeder (DADF)
- 2 Make a Copy Using the Document Glass
- 3 Add an Individual Fax Entry to the Address Book (Fax Directory)
- 4 Add a Group Fax Entry to the Address Book (Fax Directory)
- 5 How to Send a Fax
- 6 How to Scan to E-Mail
- 7 Scan to a Network File Repository (Network Scanning)
- 8 How to Copy ID Cards
- Download this manual
Make a Copy Using the Duplex Automatic Document Feeder (DADF)
NOTE: Use the DADF for multiple or single pages. Use the Document Glass for single
copies or paper that cannot be fed using the DADF.
1. Load the original document in the DADF.
2. On the Control Panel, press the [Clear All] button to clear previous copy settings.
3. Select the [Copy] button on the Touch Screen.
4. Using the numeric keypad on the Control Panel, enter the required number of
copies.
5. Select other copy settings for the job if required.
6. Press the [Start] button on the Control Panel to begin copying.
Make a Copy Using the Document Glass
NOTE: The Document Glass accepts paper sizes from 15 x 15 mm (0.59 x 0.59 in.) to
A3 (297 x 432 mm / 11.6 x 17 in.). The Document Glass automatically detects standard
paper sizes.
1. Load the original document face-down on the Document Glass.
2. On the Control Panel, press the [Clear All] button to remove any previous copy
settings.
3. Select the [Copy] button on the Touch Screen.
4. Using the numeric keypad on the Control Panel, enter the required number of
copies. The number of copies will be displayed in the upper, right corner of the
Touch Screen.
1. To change the number of copies, press the [C] button, and then re-enter
the required number.
2. To stop a copy job, press the [Stop] button. To continue the job, select the
[Resume] button.
3. To cancel the job, select the [Cancel] button.
5. Select any other required copy settings.
6. Press the [Start] button on the Control Panel to begin copying.
Xerox WorkCentre 5330/5335 User Instructions
Advertisement
Table of Contents

Summary of Contents for Xerox WorkCentre 5330
- Page 1 Xerox WorkCentre 5330/5335 User Instructions Make a Copy Using the Duplex Automatic Document Feeder (DADF) NOTE: Use the DADF for multiple or single pages. Use the Document Glass for single copies or paper that cannot be fed using the DADF.
- Page 2 Add an Individual Fax Entry to the Address Book (Fax Directory) 1. Press the [Machine Status] button on the Control Panel. 2. Select the [Tools] tab on the Touch Screen. 3. Select [Setup & Calibration]. NOTE: If the Setup & Calibration option is not displayed, it is required to login as a System Administrator to complete this solution.
- Page 3 How to send a fax NOTE: Faxes can be sent using the Automatic Document Feeder (ADF) or the Document Glass. Multiple-page documents must be faxed using the ADF. 1. For the ADF, remove any staples and paper clips from the original, and then load the original face-up into the Feeder, typically in the portrait orientation.
- Page 4 3. Select the [Individuals] option from the pull-down menu. 4. Select the required speed dial from the list displayed, and then select the [Add to Recipients] option from the pop-up menu. 5. Repeat step 4 to enter additional individual fax. 6.
- Page 5 1. Load the original document in the Duplex Automatic Document Feeder (DADF), or face-down on the Document Glass. 2. Press the [Services Home] button on the Control Panel. 3. Select [Network Scanning]. 4. Select the required template. 5. To override the template scan settings: For scanning options, use the four menus at the bottom of the Touch Screen: ...


Need help?
Do you have a question about the WorkCentre 5330 and is the answer not in the manual?
Questions and answers