
Related Manuals for Kenmore 790.7937


Summary of Contents for Kenmore 790.7937
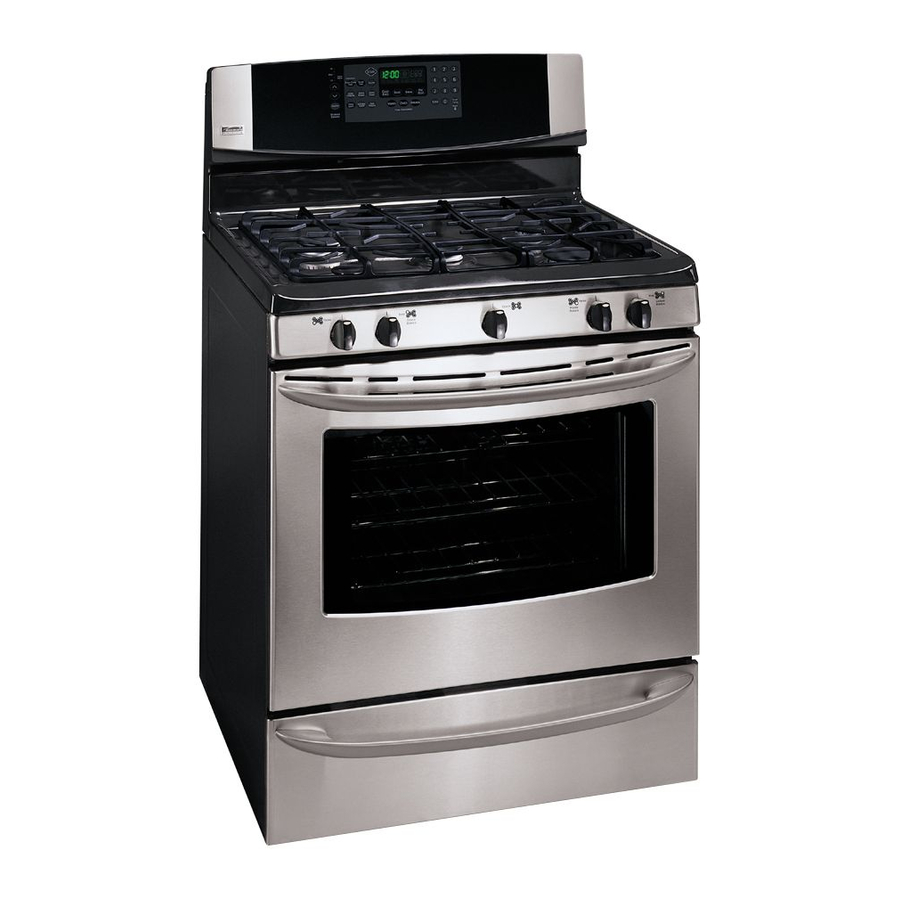
- Page 1 ® Gas Range __. _ f '_'_ ,,,+,,_ _ _ Estufa a gas 790.7936* 7937* Models, Modelos * = color number, nQmero de color _)_) _)_) www.sears.com Sears Roebuck and Co., Hoffman Estates, IL 60179 U.S.A. pin 316417309 (0408)
- Page 2 Failure of the product if it is abused, misused, or used for other than the intended purpose. • Damage to the cooktop glass caused by the use of cleaners or utensils other than the recommended cleaning cream and tools. •...
-
Page 3: Important Safety Instructions
Read all instructions before using this appliance. This manual contains important safety symbols This symbo! will help alert you to situations that may cause serious bodily harml death or property damage. This symbol Will help alert you to situations that may cause b0dily injury or property damagel If the information in this manual is not followed exactly, a fire or explosion may result... - Page 4 If the oven is not turned the power resumes, the oven will begin the power resumes, reset the clock and oven function. IMPORTANT INSTRUCTIONS YOUR COOKTOP Use Proper Flame Size--Adjust it does not extend beyond the edge of the utensil. undersized utensils...
- Page 5 FOR CERAMIC-GLASS COOK TOP MODELS • Do Not Cook on Broken Cook Top--If and create a risk of electric shock. Contact • Clean Cook Top with Caution--If a wet sponge Some cleaners can produce noxious Grounding type wall receptacle Do not, under circumstance, cut,...
- Page 6 Agreements Congratulations on making a smart purchase. Your new Kenmore ® product is designed and manufactured for years of dependable operation. But like all products, it may require preventive maintenance or repair from time to time. That's when having a Master Protection Agreement can save you money and aggravation.
-
Page 7: Before Using Your Range
Bridge Burner Head. 6. Unpack Burner Grates. NOTE: Do not force End Burner Grates down on cooktop. Be careful to line up the 2 Grate Pins located on each of the 2 End Burner Grates into the Pilot holes located on top of the Burner Caps (See Fig. -
Page 8: Range Features
Center Burner Valve & Knob (some models). Right Rear Burner Valve & Knob. Right Front Burner Valve & Knob. Easy to clean Deep Well Cooktop (some models) or Ceramic Gas through Glass Cooktop (some models). Dishwasher safe Burner Grates (colors vary). -
Page 9: Before Setting Oven Controls
Before Setting Oven Controls OVEN VENT Fig. 1 Fig. 2 Types of Oven Racks Flat Handle Oven Rack Fig. 3 Your range may be equipped with one or more of the oven rack types shown; a Porcelain coated Flat Handle Oven Rack (Fig. 3) or a Porcelain coated Flat Oven Half Rack (Fig. -
Page 10: Before Setting Surface Controls
Before Setting Surface Controls Control Locations of the Gas Surface (For Deep Well Cooktop-See models with Ther SIMMER Burner is best used... -
Page 11: Surface Cooking
Surface Cooking • Operating Gas Surface Burners • Setting Proper Burner Flame Size Do not place plastic items such as salt and pepper shakers, spoon holders or plastic wrappings on top of the range when it is in use. These items could melt or ignite. - Page 12 3 gas surface Burners located along the left-hand side of the glass cooktop.The left rear and left center Burners are controlled by the left rear surface Control Knob. In addition the left front Burner may be added to the Bridge Burner with the left front gas Control Knob (See Fig.
-
Page 13: Setting Warmer Drawer & Controls
Surface Cooking • Care & Seasoning of the Griddle • Using the Griddle Care & Seasoning of the Griddle Before first use: • Wash Griddle in hot soapy water. Rinse • Apply a thin coat of vegetable oil to the entire •... - Page 14 Setting Warmer Drawer Controls • Warmer Drawer & Bread Proofing Indicator Lights • Setting Warmer Drawer & Bread Proofing Controls • Warmer Drawer Food Temperature Settings Warmer (Warm & Ready The control and indicator lights for the Warmer Drawer and Bread Proofing features are located on the control panel. The indicator lights will turn ON when the control is set, and remain ON until the controls are turned OFF.
-
Page 15: Warmer Drawer Removal
Warmer Drawer Removal • Preparing Bread Dough fortheWarmer • Removing & Replacing Warmer Drawer Preparing Bread Dough for the Warmer The Warmer Drawer has a "Proof Bread" feature that can be used to help prepare bread dough. The recommended length of time to keep the bread dough in the Warmer Drawer is about 45-60 minutes. -
Page 16: Electronic Oven Control Pad Features
Electronic Oven Control Pad Features DELAY START-- with BAKE, COOK TIME, and CLEAN program a Delayed FLEX Timed Bake or Delay CLEAN--Use Self-Cleaning cycle to select start time. Self-Cleaning feature (See OVEN COOK TIME-- Use to page 33). enter the length the baking time. -
Page 17: Setting Oven Controls
Setting Oven Controls • Setting the Clock • Changing between 12 or24 hour display Setting the Clock The CLOCK _ pad is used to set the clock. The clock may be set for 12 or 24 hour time of day operation. preset at the factory for the 12 hour operation. - Page 18 Setting Oven Controls • Continuous Bake or Twelve Hour Energy Saving Mode • Kitchen Timer Setting Continuous Bake or 12 Hour Energy Saving The KITCHEN TIMER @ and FLEX CLEAN @ features. The oven control has a factory preset built-in 12 Hour Energy Saving feature that will shut off the oven if the oven control is left on for more than 11 hours and 59 minutes.
- Page 19 Setting Oven Controls • Oven Lockout • Temperature Display Setting Oven Lockout Feature The _ pad controls the Oven Lockout feature. The Oven Lockout feature automatically locks the oven door, prevents the Warmer Drawer and most oven controls from being turned ON. It does not disable the clock, Kitchen Timer or the interior oven lights.
-
Page 20: Recalling Recipe Settings
Setting Oven Controls • Silent Control Operation • Saving & Recalling Recipe Settings Setting Silent Control Operation The DELAY START @ and FLEX CLEAN @ operation feature allows the oven control to be operated without sounds or beeps whenever necessary. If desired the control can be programmed for silent operation and later returned to operating with all the normal sounds and beeps. -
Page 21: Preheat
Setting Oven Controls • Preheat for Gas Oven Setting Preheat For the best baking performance use the PREHEAT @ baking temperature and then indicate when to place the food in the oven. Use this feature in combination with the Bake pad when recipes call for preheating. -
Page 22: Bake
Setting Oven Controls • Bake Setting Bake The BAKE (_ pad controls normal baking. If preheating is necessary, refer to the PREHEAT @ instructions. The oven can be programmed to bake at any temperature from 170°F to 550°F (The sample shown below is for 350°F). -
Page 23: Timed Bake
Setting Oven Controls • Timed Bake Setting Timed Bake The BAKE and OVEN COOK TIME OVEN Bake feature will turn the oven OFF after cooking for the desired amount of time you select. INSTRUCTIONS To program the oven to begin baking immediately and to shut off automatically: bake at 350°F for 50 minutes): Be sure the clock is set for the correct time of day. -
Page 24: Delay Start (Delayed Timed Bake)
Setting Oven Controls • Setting Delay Start (Delayed Timed Bake) Setting Delay Start The BAKE , OVEN COOK TIME _ Bake) feature. The automatic timer of the Delayed Timed Bake will turn the oven ON and OFF at the times you select. INSTRUCTIONS To program the oven for a Delay Start (Delayed Timed Bake) and to shut off automatically... - Page 25 Setting Oven Controls • Setting Broil (Gas Oven) The _ pad controls the Broil feature. When broiling, heat radiates downward from the oven broiler for even coverage. The Broil feature is preset to start broiling at 550°F however, the Broil feature temperature may be set at any temperature between 400°F and 550°F.
-
Page 26: Food Categories (Meats, Cakes & Breads)
Setting Oven Controls • Food Categories (Meats/Cakes/Breads) • Roasting Instructions for Meat Pad The MEATS pad combines a cook cycle with the convection fan and element to roast meats and poultry. Preheating is not necessary for meats and poultry. Heated air circulates around the food from all sides, sealing in juices and flavors. Foods are crispy brown on the outside while staying moist on the inside. -
Page 27: Convection Bake
Setting Oven Controls • Setting Convection Bake Benefits of Convection Bake: --Some foods cook up to 25 to 30% faster, saving time and energy. --Multiple rack baking. --No special pans or bakeware needed. Setting Convection Bake The CONV BAKE @ pad controls the Convection Bake feature. -
Page 28: Convection Convert
Setting Oven Controls • Setting Convection Convert Feature • Setting Add 1 Minute Feature To set the Convection Convert The _ CONV CONVERT pad is used to automatically convert a standard baking recipe for convection baking. When set properly, this feature is designed to display the actual converted (reduced) temperature in the display. Convection Convert may ONLY be used with a Bake, Timed Bake or a Delay Start (Delayed Timed Bake) setting. -
Page 29: Slow Cook
Setting Oven Controls • Setting the Slow Cook Feature Setting the Slow Cook Feature The @ SLOW COOK pad is used to activate this feature. The Slow Cook feature may be used to cook foods more slowly, at lower oven temperatures and provides cooking results much the same way as a Slow Cooker or Crock-Pot. The Slow Cook feature is ideal for roasting beef, pork &... -
Page 30: The Sabbath Feature
Setting Oven Controls • Setting the Sabbath Day Feature To Set the Sabbath Feature OVEN COOK The _ OVEN COOK TIME and may only be used with the @ pad. The oven temperature (the oven temperature adjustment feature should be used only during Jewish show and no audible tones will be provided when a change Sabbath feature active, the oven will remain continuously... -
Page 31: Setting Oven Controls
Setting Oven Controls • Setting the Sabbath Day Feature (cont'd) • Setting the Warm & Hold TM Feature It is recommended that any oven temperature change with the Sabbath feature activated be followed with 2 presses of the START pad. This will insure the oven remains ON even if the attempt to set the oven temperature was lower or higher than the oven control can accept. -
Page 32: Self-Cleaning
Self-Cleaning • Preparing fora Self-Clean cycle During the Self-Cleaning cycle, the outside of the range can become very hot to the touch. DO NOT leave small children unattended near the appliance. The health of some birds is extremely sensitive to the fumes given off during the Self-Cleaning cycle of any range. - Page 33 Press _ . "CLEAN" will flash, "3:00" (hours) and the Cooktop locked icon will show in the display (See Fig. 1). 2-4 hours of Self-Cleaning time may be choosen by pressing any amountoftimefrom___ (4 hours) in one minute increments. You may also skip the time entry and accept the default cleaning time of 3 hours by pressing the Start key pad (See Step 3).
- Page 34 Self-Cleaning • Setting Flex Clean • Setting Delay Flex Clean INSTRUCTIONS When the Self-Clean cycle is done: The time of day,"DOOR LOCKED" and "CLEAN" icon will remain in the display. Once the oven has cooled down for approximately the "DOOR LOCKED" icon is no longer displayed, the oven door can then be opened.
-
Page 35: Adjusting Oven Temperature
Adjusting Oven Temperature • How to adjust the oven temperature higher or lower The temperature in the oven has been pre-set at the factory. When first using the oven, be sure to follow recipe times and temperatures. temperature in the oven can be adjusted. Before adjusting, test a recipe by using a temperature setting that is higher or lower than the recommended temperature. -
Page 36: Care & Cleaning
DO NOT use abrasive cleaners. This type of cleaner will permanently scratch the glass control panel. DO NOT place or leave cleaning supplies on the ceramic cooktop while cleaning the glass control panel. Move these items to a kitchen counter-top. To finish cleaning or for lighter soil use a typical household glass cleaner and paper towels. - Page 37 General Care & Cleaning • Removing & Replacing Lift-OffOven Door • Door Care Instructions • Care & Cleaning of Stainless Steel (some models) Door Hinge locations with oven door fully open Fig. 1 Fig. 2 Oven Door Hook Fig. 4 Removing &...
- Page 38 Cooktop, Burner The cooktop is designed to make cleaning easier. Because the gas Burners are sealed, cleanups are easy when spillovers are cleaned up immediately. The cooktop, Burner Heads and Caps should be routinely cleaned. Keeping the Burner Head Ports clean will prevent improper ignition and an uneven flame.
- Page 39 Do not use cookware with clean cookware before using. Do not use your cooktop as a cutting board or work surface in the kitchen. Do not cook foods directly on the cooktop surface without a pan. Do not drop heavy or hard objects on the ceramic glass cooktop, they may cause it to crack.
-
Page 40: Care & Cleaning
- The melting point of aluminum is much lower than that of other metals. Care must be taken when aluminum pots or pans are used on the ceramic cooktop. If allowed to boil dry, not only will the utensil be destroyed, but it may fuse to, break or mark the ceramic glass surface, permanently damaging the ceramic cooktop surface. -
Page 41: You Call For Service
Control knob to LITE until burner desired flame size. Burner ports are clogged. With the burners to clean ports. See Cleaning the Cooktop, the General Care & Cleaning section Range power cord is disconnected sure cord is securely plugged into the outlet. - Page 42 "Cooktop Cleaning and Maintenance" Cookware with rough bottom has been Sliding or scraping of metal utensils on cooktop on cooktop surface. Use a ceramic-glass See "Cooktop Cleaning and Maintenance" Boilovers cooked onto surface. "Cooktop Cleaning and Maintenance"...
-
Page 43: Recipes For Slow Cook
Recipes for Slow Cook Turkey Slow Cook Breast 1 turkey breast 2 cups chicken broth 1 medium onion, sliced 2 teaspoons minced garlic 1 teaspoon salt ½ teaspoon pepper In a roasting pan, place turkey breast and pepper under the skin, and inside broth around turkey... - Page 44 For repair-in your home-of lawn and garden equipment, no matter who made it, no matter who sold it! For the replacement owner's manuals that you need to do-it-yourself. For Sears professional and items like garage door openers and water heaters. 1-800-4-MY-HOME Call anytime, www.sears.com...
Need help?
Do you have a question about the 790.7937 and is the answer not in the manual?
Questions and answers
How to adjust air to top burner on Kenmore Model #790 7936 9505 gas range. L-R burner flame lifting off burner, Too much air.