
Related Manuals for Hoover 5650 Heritage


Summary of Contents for Hoover 5650 Heritage
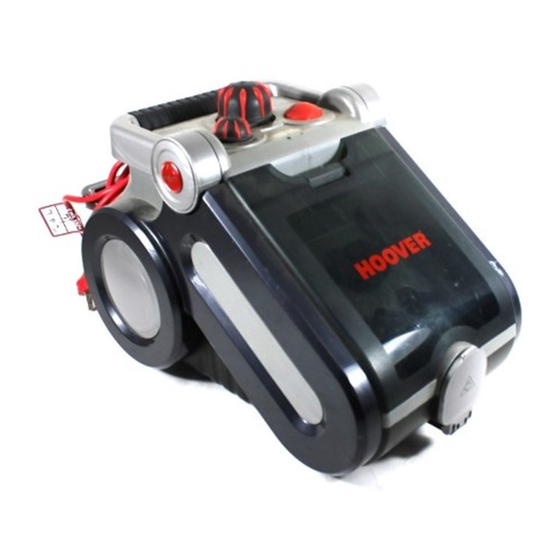
- Page 1 5650 HERITAGE Large Capacity Multi Purpose Steam Cleaner Chemical Free Cleaning Accessories Included Compact Heritage 11305_HV_Heritage_5650_MultiSteamer_Manual_FA.indd 1 25/08/11 4:49 PM...
- Page 2 20 21 22 23 11305_HV_Heritage_5650_MultiSteamer_Manual_FA.indd 2 25/08/11 4:49 PM...
- Page 3 5650 Heritage Congratulations on the purchase of your new HOOVER steam cleaner. There are many useful features built into your cleaner and we recommend that you carefully read this instruction manual so that you may take best advantage of them.
- Page 4 11305_HV_Heritage_5650_MultiSteamer_Manual_FA.indd 4 25/08/11 4:49 PM...
-
Page 5: Before You Begin
Before you begin This cleaner must be operated in accordance with these instructions and used only for domestic household cleaning to remove DRY dirt and dust from household carpets, flooring, walls and fabrics. This cleaner is not fit to be used as an industrial cleaner hence will void the manufacturer’ s warranty if used inappropriately. - Page 6 Warning Warning: the power and heat of the steam may have adverse consequences for certain materials. Always check, before putting the device into operation, whether a surface or material is actually suitable for treatment with steam. Do this by executing a test on a hidden surface of the material you wish to treat.
- Page 7 12. Do not handle or operate the steamer with wet hands and follow electrical safety precautions at all times, i.e., never operate without shoes. 13. Ensure that the cleaner does not operate on an empty tank. 14. Do not fill the steam water tank with more than 1,5 litres of water. Overfilling may result in a possible electrical shock.
-
Page 8: Instructions For Use
Instructions for Use Always switch the appliance off efore you attach or remove the hose and/or accessories, and make sure the attachments and inserts are cooled down completely before connecting or disconnecting. Connecting the hose 1. Pull the hose inlet flap down at the front of the cleaner. - Page 9 Connecting the steam mop head The steam mop head is used for cleaning large, washable walls and floor areas. The steam mop head can be used with or without the mop pad. Sensitive surfaces should be used with the mop pad attached.
- Page 10 Instructions for Use (continued) Always switch the appliance off efore you attach or remove the hose and/or accessories, and make sure the attachments and inserts are cooled down completely before connecting or disconnecting. Connecting the accessories to the user handle or extension tube 1.
- Page 11 4. Fit the brush attachments (large and small) onto the jet nozzle by pushing on and turning in a clockwise direction to lock into place. 5. Fit the window squeegee to the jet nozzle by pushing on and turning clockwise to lock into place. This nozzle can be used with or without the steam pad.
- Page 12 Instructions for Use (continued) Operating the cleaner Note: Ensure that the boiler has already been fill d and that all desired accessories are connected, before commencing. 1. Plug the power cable into the mains power. 2. Turn the cleaner on by pressing the on/ off button to on setting.
- Page 13 6. Keep the steam trigger pressed and direct the steam at the surface to be cleaned. Move the cleaner backwards and forwards over the area, do not hold the steam jet towards one area for too prolonged periods. 7. To stop the steam jet, release the steam trigger and wait until the cleaner has stopped emitting steam completely.
- Page 14 Instructions for Use (continued) Filling the boiler with water 1. Place the cleaner on a flat level surface. 2. Make sure the cleaner is switched off and disconnected from the mains power supply. 3. Unscrew the filler cap by pressing down and turning in an anti-clockwise direction 4.
- Page 15 Removing the filler ap 1. Pull the power cable from the mains power supply gently using the plug. 2. Keep the steam trigger pressed to allow steam to escape. 3. Allow the cleaner to cool down for 5 minutes. 4. Slowly turn the filler cap to loosen, and wait a few seconds before fully unscrewing the filler cap.
- Page 16 Maintenance & Handy Hints This appliance is equipped with a parking position on the side. To open the tool storage cover, pull the latch of the cover towards you and lift to remove the cover. Press downward with two tongue in front goes into place firstly and lock into place, a click can be heard. There is a cord storage facility on the backside of the cleaner.
- Page 17 Maintenance Cleaning the unit If necessary, the unit can be cleaned with a damp cloth. Place the cleaner on a flat level surface. 2. Make sure the cleaner is switched off and not connected to the mains power supply. 3. Clean the outside of the unit with a damp cloth. Rinsing the boiler To clean the boiler, fill it with clean water and shake carefully.
- Page 18 Storage & Disposal Storage Preparing the cleaner for storage is quick and simple. 1. Make sure the cleaner is switched off and disconnected from the mains power supply. 2. Allow to cool down for at least 30 minutes. 3. Remove all attachments from the cleaner. 4.
- Page 19 Customer Care Please contact Hoover Customer Care: 1300 360 845 to find your local spare parts provider. Part Part Number Switch, on/off 33200734 Replacement Pad 31400101 Water Tank 33151746 Rod Extension 31300535 Hose, Assembly 31220425 Assorted Tool Kit 31600038 Elbow Attachment & Steam Mop Head...
- Page 20 To find out mo e about our range, the cleaner is a t the sole discr etion of Hoover Floorcare. If a major failure. ” Hoover Floorcare decide to repair or replace the cleaner, it visit: www.hooverfl orcare.com.au...
Need help?
Do you have a question about the 5650 Heritage and is the answer not in the manual?
Questions and answers