
Related Manuals for WineEnthusiast N'Finity


Summary of Contents for WineEnthusiast N'Finity
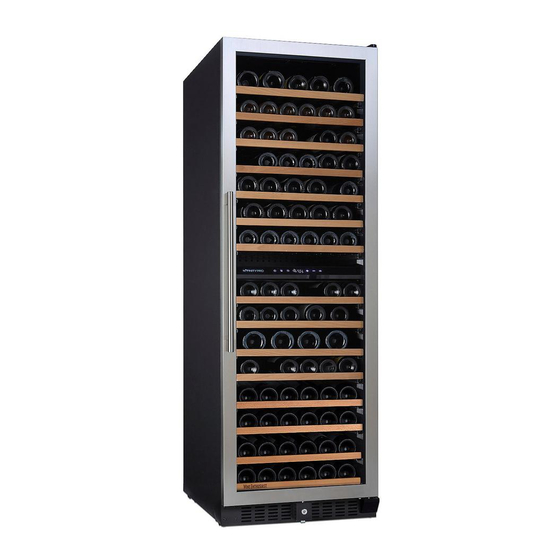
- Page 1 170-Bottle Dual Zone Wine Cellar INSTRUCTION MANUAL PLEASE READ THIS MANUAL CAREFULLY BEFORE INSTALLING AND OPERATING. Important Note: Upper zone must be set 4°F colder than lower zone.
-
Page 2: Table Of Contents
TABLE OF CONTENTS Contents ____Page # Diagram & Description of Wine Cellar Important Safety & Pre-Use Instructions Installation Instructions (a) General Installation Instructions (b) Installation of Built-In Unit (c) Reversing Door Swing (d) Installing Venting Grille Operating Your Wine Cellar Temperature Settings Layout &... -
Page 3: Diagram & Description Of Wine Cellar
DIAGRAM & DESCRIPTION OF WINE CELLAR Exterior Housing 6. Front Vent Grill Control Panel and Temperature Settings 7. Door Hinge Rolling Shelf 8. Interior Light Inner Cabinet 9. Door Adjustable Feet YOUR WINE CELLAR ALSO INCLUDES THE FOLLOWING: Instruction manual ... -
Page 4: Important Safety & Pre-Use Instructions
IMPORTANT SAFETY INSTRUCTIONS To reduce the risk of fire, electrical shock, or injury when WARNING using your appliance, follow these basic precautions: Read all instructions before using the wine cellar. DANGER: Risk of child becoming trapped in new cellar, old wine cellar/refrigeration unit, or large boxes. Junked or abandoned appliances, boxes and other containers are still dangerous, even if they will “just sit in the garage for a few days”. -
Page 5: (B) Installation Of Built-In Unit
(b) Installation of Unit as a Built-In Cellar The cutout dimension illustrated below allows for door clearance and access to the pull-out shelves when installed as a built-in appliance. If installing between frameless cabinets, a ½” wide filler strip or side panel may be needed on hinge side. The filler strip will act as a spacer between the appliance case and adjacent cabinet door swing. -
Page 6: (C) Reversing Door Swing
(c) Reversing the Door Swing of Your Appliance Before you begin: Tape down shelves to avoid movement during the process The unit may have been delivered to you with the door opening from the left side (hinges on the right). ... -
Page 7: (D) Installing Venting Grille
(d) Installing the Venting Grille Lift the panel into position in the grille frame over center mounts, positioning side mounts into the slots. Use a Phillips screwdriver to screw all six (6) screws into the corresponding holes. Note: Each center mount accommodates 1 screw. Each side mount accommodates 2 screws. OPERATING YOUR WINE CELLAR Each wine cellar includes an operating panel on the front of the unit. -
Page 8: Temperature Settings
IMPORTANT: IN ORDER FOR THIS UNIT TO FUNCTION AT OPTIMUM LEVEL, THE UPPER COMPARTMENT SHOULD BE SET AT LEAST 4-DEGREES (F) COLDER THAN THE LOWER COMPARTMENT. 1. Make sure power cord is connected to a properly grounded outlet. 2. Turn power ON. 3. -
Page 9: Layout & Storage
DOOR LOCK This unit comes with key lock. The keys are located inside the plastic bag that contains the user manual. To unlock the door, insert the key into the lock and turn counterclockwise. To lock the door, simply reverse the operation making sure the metal pin is engaged completely. Then remove the key and place it is a secure place for safekeeping. -
Page 10: Care & Maintenance
CARE AND MAINTENANCE Cleaning Your Wine Cellar. Turn off the power, unplug the appliance, and remove all items including all shelves. Wash the inside surfaces with a solution of warm water and baking soda (approximately 2 tablespoons of baking soda for each quart of water.) ... -
Page 11: Troubleshooting Guide
TROUBLESHOOTING GUIDE Many common issues with your wine cellar can be solved very easily. Try the troubleshooting tips below should you experience any problems. PROBLEM POSSIBLE CAUSE Wine cellar does not operate. Not plugged in. The appliance is turned off. The circuit breaker tripped or a fuse has blown out. -
Page 12: Technical Information
Enthusiast. Limited warranty – 90-day replacement plan with a free 9-month upgrade, totaling 1 year, on parts and labor from the date of shipment. For customer service, please contact Wine Enthusiast by e-mail (custserv@WineEnthusiast.net) or by phone (800.648.6058). The limited warranty does not cover: Damage due to such things as accident, misuse, abuse, mishandling, neglect, unauthorized repair or any other cause beyond the control of the seller whether similar or dissimilar to the foregoing.
Need help?
Do you have a question about the N'Finity and is the answer not in the manual?
Questions and answers
I have the 121 bottle dual zone n’finity. The display is sometimes showing “F1” …. What does this mean?