Marco QWIKBREW 2 Instructions For Use Manual
Hide thumbs
Also See for QWIKBREW 2:
- Service manual (28 pages) ,
- Service manual (37 pages) ,
- Service manual (26 pages)
Advertisement
Quick Links
Download this manual
See also:
Service Manual
MARCO BEVERAGE SYSTEMS LTD.
(P/N: 1000379#, 1000384#, 1000385#, 1000386#)
(where # is either blank or a suffix of one or more alphanumeric characters)
Marco Beverage Systems Limited.
63d Heather Road,
Sandyford Industrial Estate,
Dublin 18.
Ireland Tel: +353 (0)1 295 2674
Ireland Fax: +353 (0)1 295 3715
email: sales@marco.ie
www.marco.ie
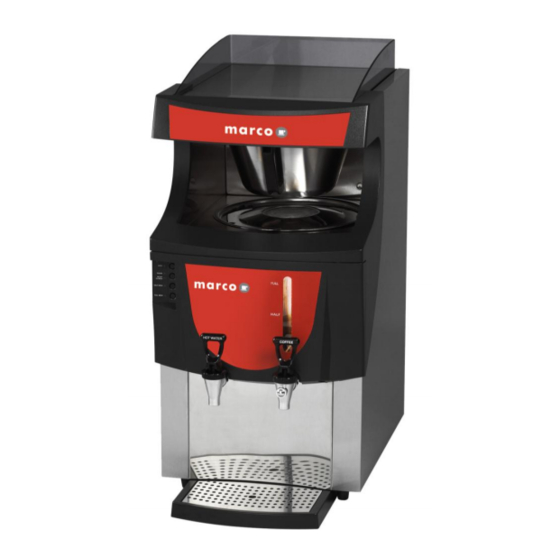
INSTRUCTIONS FOR MODELS
QWIKBREW 2
QWIKBREW 2 5.6KW
(P/N: 1000382#)
Marco Beverage Systems Limited.
Shire House, Strixton Manor,
Strixton, Wellingborough, Northants,
NN29 7PA
UK Tel: +44 (0)2072 744 577
UK Fax: +44 (0)2079 788 141
email: sales@marco-bev.co.uk
www.marco-bev.co.uk
Advertisement

Related Manuals for Marco QWIKBREW 2


Summary of Contents for Marco QWIKBREW 2
- Page 1 MARCO BEVERAGE SYSTEMS LTD. INSTRUCTIONS FOR MODELS QWIKBREW 2 (P/N: 1000379#, 1000384#, 1000385#, 1000386#) QWIKBREW 2 5.6KW (P/N: 1000382#) (where # is either blank or a suffix of one or more alphanumeric characters) Marco Beverage Systems Limited. Marco Beverage Systems Limited.
- Page 2 WARNINGS Warning. Live electrical voltages are present behind the cover(s) marked with this symbol. Covers shall only be removed by authorised personnel only. The appliance must be fully disconnected from mains (the switch on the front panel is a standby switch and does not switch mains voltage) ...
-
Page 3: Installation
INSTALLATION PLUMBING Water pressure: 5 - 50 psi (min.-max.)35 - 345 kPa (min.-max.) Fit a stop valve on a cold water line and attach a ¾” BSP male fitting Connect the straight tail-piece of the flexible hose to the stop valve fitting. Make sure that pre-attached sealing washer is secure. -
Page 4: First-Time Operation
FIRST TIME OPERATION 1. Check that all installation procedures have been carried out. 2. Switch on the power to the unit by pressing the Power Button (See below); all the LEDs on the control panel will flash momentarily. 3. The machine will automatically take in water. The ‘Power On’ LED will begin to flash until water has passed safely above the elements (~ 3 minutes). - Page 5 3. Put the desired amount of ground coffee into the filter paper. Your coffee supply company may have pack sizes to suit the brews of your Qwikbrew 2. Depending on the coffee grind and roast, and on water quality, you may have to adjust these quantities to obtain the optimum flavour.
- Page 6 When the desired time has passed press the corresponding brew button to select this volume for that brew. When all required brews are selected turn the brewer off using the power button to save your settings. (To disable a brew button select a water flow time of less than 10seconds.) Brew Water Volume * Calibration Time Estimate 1min 25 sec (85sec)
- Page 7 CLEANING Like any cooking utensils the coffee urn of your Qwikbrew 2 must be cleaned properly and regularly. Marco recommends cleaning after each days brewing using a suitable urn-cleansing compound. Marco’s own brand cleaner is available (Part Number 8000235), instructions are given on each tub.
-
Page 8: Troubleshooting
3 months if the unit is in a hard water area. In soft water environments every 6 months should suffice. TROUBLESHOOTING The Marco Qwikbrew 2 uses an electronic diagnostic system to help determine faults. If an error is detected a sequence of flashes is displayed through the POWER light. DIAGNOSTIC LIGHT GUIDE...