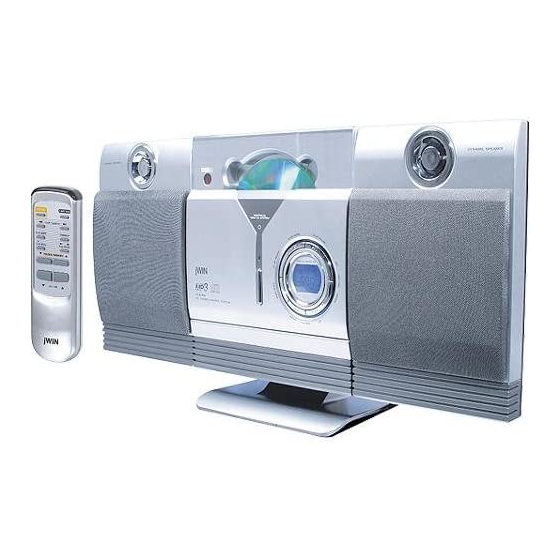
Summary of Contents for jWIN JX-CD5500
- Page 1 Visit our Web Site: http://www.jwin.com 77-20MS90M01520(English)
- Page 2 WARNING: TO PREVENT FIRE OR SHOCK HAZARD, DO NOT USE THIS PLUG WITH AN EXTENSION CORD, RECEPTACLE OR OTHER OUTLET UNLESS THE BLADES CAN BE FULLY INSERTED TO PRESENT BLADE EXPOSURE. TO PREVENT FIRE OR SHOCK HAZARD. DO NOT EXPOSE THIS APPLIANCE TO RAIN OR MOISTURE.
-
Page 3: Installation (Wall Mounting)
INSTALLATION PEDESTAL INSTALLATION 1. Set the unit on the pedestal (1). 2. To fix the insert, then fix it by 2 pcs screws as (2). PLACE AND FIX THE SPEAKER Insert the speaker stud into the hole of the main unit as (1). Push the speaker down to the end until click sound is heard to confirm fixed as (2). -
Page 4: Location Of Controls
LOCATION OF CONTROLS TOP VIEW 1. POWER Button 2. EQ Button 3. FUNCTION Button 4. CD Door Open/Close Button 5. FOLDER DOWN/MEM. DOWN Button 6. FOLDER UP/MEM. UP Button FRONT VIEW 7. REMOTE Sensor 8. CD Door 9. STANDBY Indicator 10. - Page 5 OPERATING INSTRUCTION POWER ON/OFF 1. Connect the AC cord, make sure the voltage is correct and then press the POWER button (1) or (31) to turn on the unit. 2. Press the FUNCTION button (3) or (32) to select your desired mode (CD/AUX/TUNER).
- Page 6 PLAYING COMPACT DISCS To play the disc Press the PLAY/PAUSE button (13) or (35) to play Press the POWER button (1) or (31) turn on the CD. the unit then press the FUNCTION button (3) or (32) to select CD mode. FUNCTION If there is no CD inside or disc damaged, a "- - -"...
-
Page 7: Programmed Playback
PROGRAMMED PLAYBACK This CD player enables you to program up to 20 tracks in the sequence of your choice. First select CD stop mode. 1. Press the PROGRAM button (16) or (34) one 4. To continue to program, repeat steps 2 and 3 time. - Page 8 Note: Once your desired mode selected, press the To stop the disc playing PLAY/PAUSE button (13) or (35) to start playback Press STOP button (11) or (29). from stop mode. Stop condition (TOC display) 5. Press the PLAY MODE button (10) or (30) five times to cancel above modes.
-
Page 9: Care And Maintenance
CARE AND MAINTENANCE COMPACT DISC CARE Treat the disc carefully. Handle the disc only by its edges. Never allow your fingers to come in contact with the shiny, unprinted side of the disc. Do not attach adhesive tape, stickers etc., to the disc label. Clean the disc periodically with soft, lint-free, dry cloth.


Need help?
Do you have a question about the JX-CD5500 and is the answer not in the manual?
Questions and answers