Jura Impressa C9 Quick Reference Quide
Hide thumbs
Also See for Impressa C9:
- Manual manual (104 pages) ,
- Manual (64 pages) ,
- Quick reference manual (13 pages)
Table of Contents
Advertisement
Quick Links
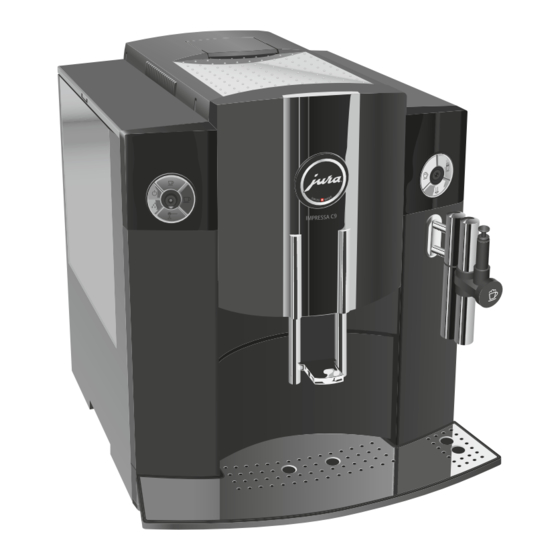
IMPRESSA C9 – Quick Reference Guide
The 'IMPRESSA Manual' together with these short instruc-
tions 'IMPRESSA C9 – Quick Reference Guide' has been
awarded the seal of approval by the independent German
Technical Inspection Agency, TÜV SÜD, due to its easy-to-
understand style, its thoroughness and coverage of safety
aspects.
Advertisement
Table of Contents

Related Manuals for Jura Impressa C9


Summary of Contents for Jura Impressa C9
- Page 1 IMPRESSA C9 – Quick Reference Guide The ‘IMPRESSA Manual’ together with these short instruc- tions ‘IMPRESSA C9 – Quick Reference Guide’ has been awarded the seal of approval by the independent German Technical Inspection Agency, TÜV SÜD, due to its easy-to- understand style, its thoroughness and coverage of safety aspects.
- Page 2 IMPRESSA C9 – Quick Reference Guide These short instructions do not replace the ‘IMPRESSA C9 Manual’. Make sure you read and observe the safety information and warn- ings first in order to avoid hazards. Switching on Precondition: Your IMPRESSA is switched on at the power switch and the indicator light is illuminated (standby).
-
Page 3: Filter Rinsing
IMPRESSA C9 – Quick Reference Guide T Lift the cartridge holder and insert the filter cartridge into the water tank, applying slight pressure. T Close the cartridge holder. It will click into place audibly. T Fill the water tank with fresh, cold water and reinsert. -
Page 4: Clean Machine
IMPRESSA C9 – Quick Reference Guide T Insert a new CLARIS filter cartridge into the water tank, pressing it slightly. T Close the cartridge holder. It will click into place audibly. T Fill the water tank with fresh, cold water and reinsert. - Page 5 The process is interrupted, ADD TABLET T Open the cover of the filler funnel for pre-ground coffee. T Insert a JURA cleaning tablet into the filler funnel. T Close the cover of the filler funnel. c T Press the maintenance button.
-
Page 6: Empty Tray
AGENT IN TANK T Remove the water tank and empty it. T Completely dissolve the contents of one blister (3 JURA des- caling tablets) in a container that holds 500 ml of water. This may take several minutes. -
Page 7: Fill Water Tank
IMPRESSA C9 – Quick Reference Guide T Empty the drip tray and coffee grounds container and put them back into the machine. FILL WATER TANK T Remove the water tank and rinse it thoroughly. T Fill the water tank with fresh, cold mains water and rein- sert. -
Page 8: Cappuccino Frother
If the wrong cleaning agent is used, the machine could be damaged CAUTION and/or traces of detergent could be left behind in the water. Use only original JURA care products. The JURA Cappuccino Cleaner is available from stockists. The IMPRESSA will not prompt you to clean the frother. Precondition: is displayed. -
Page 9: Disassembling And Rinsing The Easy Cappuccino Frother
IMPRESSA C9 – Quick Reference Guide Disassembling and rinsing the Easy T Carefully remove the frother from the Connector System © Cappuccino Frother by twisting slightly. T Dismantle the frother completely. T Rinse all the frother parts thoroughly under running water. - Page 10 If the wrong cleaning agent is used, the machine could be damaged CAUTION and/or traces of detergent could be left behind in the water. Use only original JURA care products. The JURA Cappuccino Cleaner is available from stockists. The IMPRESSA will not prompt you to clean the frother. Precondition: is displayed.
-
Page 11: Disassembling And Rinsing The Professional Cappuccino Frother
Art. 67620/C9/en/20100323 IMPRESSA C9 – Quick Reference Guide Disassembling and rinsing the Professional T Carefully remove the frother from the Connector System © Cappuccino Frother by twisting slightly. T Dismantle the frother completely. T Rinse all the frother parts thoroughly under running water.
Need help?
Do you have a question about the Impressa C9 and is the answer not in the manual?
Questions and answers