
Related Manuals for JVC TH-D7


Summary of Contents for JVC TH-D7
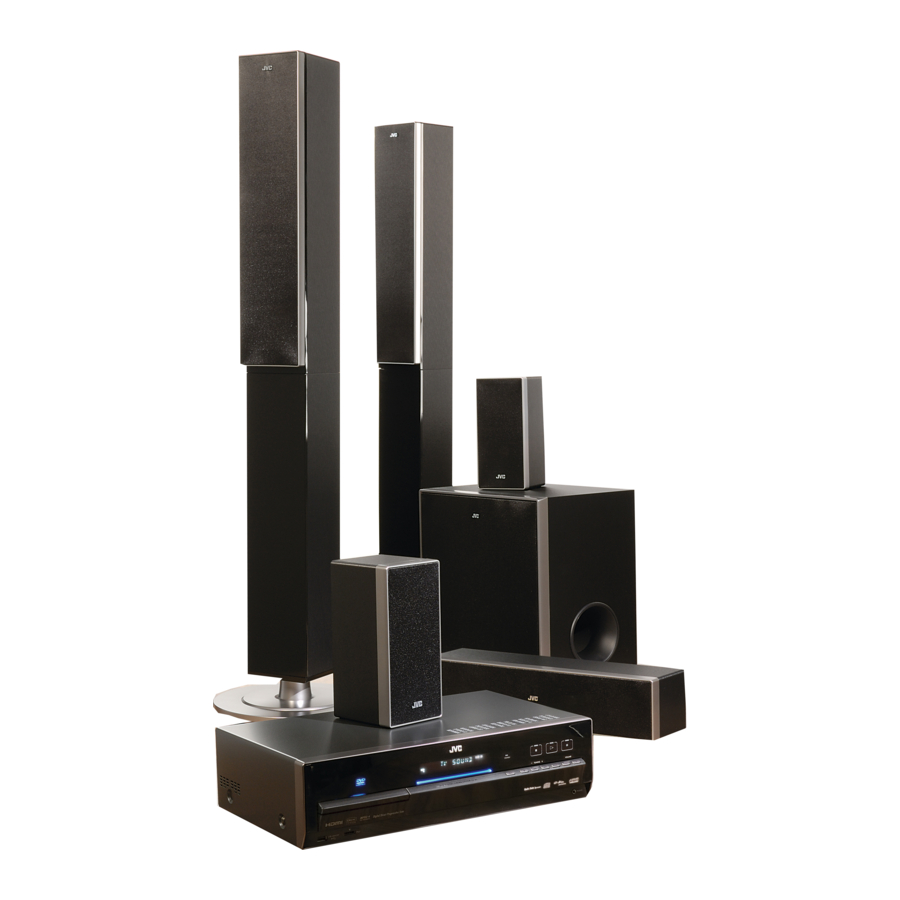
- Page 1 DVD DIGITAL CINEMA SYSTEM TH-D7 Consists of XV-THD7, SP-THD7W, SP-THD7F, SP-THD7C and SP-THD7S TH-D5 Consists of XV-THD5, SP-THD5W, SP-THD5F, SP-THD5C and SP-THD5S INSTRUCTIONS LVT1704-011B [US,UW,UG,UX,UA]...
-
Page 2: Warnings, Cautions And Others
Do not view directly with optical instruments. 4. REPRODUCTION OF LABEL: CAUTION LABEL, PLACED INSIDE THE UNIT. CAUTION! — TH-D7 only To avoid personal injury or accidentally dropping the unit, have two persons unpack, carry, and install the unit. - Page 3 Caution: Proper Ventilation To avoid risk of electric shock and fire and to protect from damage, place the apparatus on a level surface. The minimal clearances are shown below: Front view Wall or XV-THD7/ obstructions XV-THD5 15 cm 15 cm Front 15 cm No obstructions...
-
Page 4: Table Of Contents
How to read this manual • Illustrations and button names of the TH-D7 are mainly used for explanation. • The following icons and illustrations are used to make the explanations simple and easy-to-understand. Icons for System operations Operations from the center unit... -
Page 5: Before Using This System
Before using this System Precautions There are no user-serviceable parts inside. If anything goes wrong, unplug the power cord and consult your dealer. Notes on installing the System • Select a location which is level, dry and neither too hot nor too cold between 5°C and 35°C. -
Page 6: Playable Discs/Devices/Files
For the countries of Southeast Asia For the countries of Central and South America Playable digital devices JVC bears no responsibility for any loss of data in an iPod and/or USB mass storage class device while using this System. iPod... -
Page 7: Playable File Types
USB mass storage class device A USB flash memory device, hard disk drive, multimedia card reader, digital camera, etc. can be used with this System through a USB connection. This System is compatible with USB 2.0 Full Speed. This System cannot recognize a USB mass storage class device whose rating exceeds 5 V/500 mA. -
Page 8: Getting Started
• Feet – TH-D7: For surround speakers (x 8) – TH-D5: For front and surround speakers (x 16) • Screws (TH-D7 only): M5 x 115 mm (x 6), M4 x 25 mm (x 4) Putting batteries into the remote control... - Page 9 DO NOT connect more than one speaker to one speaker terminal. TH-D7 only: – You can install the front speakers on the wall. When installing them on the wall, do not attach the stands and base plates.
-
Page 10: Speaker Layout
Place the surround speakers close to the center speaker. It is recommended to place the surround speakers horizontally (see the right column). When placing the speakers horizontally Lay the speakers horizontally so that the JVC logos are positioned as illustrated below. Ex.: Front right (R) Subwoofer... -
Page 11: Connecting The Am And Fm Antennas
Connecting the AM and FM antennas Make sure the antenna conductors do not touch any other terminals, connecting cords or power cords. AM loop antenna (supplied) FM antenna (supplied) Turn it until the best reception is obtained. Extend it horizontally. For better FM reception FM outdoor antenna (not supplied) -
Page 12: Connecting External Components
Composite video cord (supplied) S-video cord (not supplied) A From Composite video input B From S-video input Connecting external components Connection for “VIDEO1”—TH-D7 Select “VIDEO1” as the source ( playing a component connected as follows. Video connection HDMI cable (not supplied) DVD player, etc. -
Page 13: Connecting The Ac Power Cord
12) for playing Composite video cord (supplied) S-video cord (not supplied) Align the marks. Digital optical cable (not supplied) RCA pin plug cord (not supplied) VIDEO2 (TH-D7) VIDEO1 VIDEO (TH-D5) (TH-D7 only) √ √ √... -
Page 14: Basic And Common Operations
Basic and common operations How to use the number buttons To select 3: Press 3. To select 10: Press 10. To select 14: Press h 10, 1, then 4. To select 24: Press h 10, 2, then 4. To select 40: Press h 10, 4, then 0. To select 114: Press h 10, h 10, 1, 1, then 4. -
Page 15: Adjusting The Volume
Listen to an FM or FM or AM AM station VIDEO1* Play back an external component • TH-D7: VIDEO1/ VIDEO2* VIDEO2 • TH-D5: VIDEO VIDEO* To select the source from the center unit Make sure that the appropriate audio input setting have been made for the source (VIDEO1/VIDEO2 or VIDEO). -
Page 16: Sound And Monitor Settings
Adjust the output level. Different output level settings can be stored for the following two groups of sources: – TH-D7: DVD, USB, IPod, VIDEO1* TH-D5: DVD, USB, IPod and VIDEO – TH-D7: FM, AM and VIDEO1* TH-D5: FM and AM... -
Page 17: Setting The Audio Input For External Components
Set the audio input of the external component for “VIDEO1/VIDEO2” (TH-D7) or “VIDEO” (TH-D5). Select “AIN. (audio input).” TH-D7 only: Select a source you want to set the audio input for. 29) is in use, the Selects an appropriate surround mode according to... -
Page 18: Selecting The Color System And Scanning Mode
TH-D7 only: When the speaker position mode is set to “S.SPK F,” “5.1CH” cannot be selected. TH-D7 only: It is not possible to select the same audio input setting for “VIDEO1” and “VIDEO2.” For example, when “COAX” is assigned to “VIDEO1,” it cannot be selected for “VIDEO2.”... -
Page 19: Ipod Playback
iPod playback Set the remote control mode before operation. Before selecting the video source to play Make the appropriate setting for video output on the iPod. Starting playback Be sure to reduce the volume on the System to the minimum level before connecting an iPod. Adjust the volume after playback has started. -
Page 20: Disc/File Playback
Disc/file playback The following icons show the available disc/file types for the target function: Initial settings Make the following settings before playing back discs/ files. • Color system and scanning mode ( • MONITOR TYPE ( • ON SCREEN LANGUAGE ( Set the remote control mode before operation. - Page 21 DO NOT connect or disconnect the device when the System is turned on. You cannot connect a computer to the USB MEMORY terminal of the System. DO NOT connect the device through a USB hub. iPod does not play through the USB MEMORY terminal.
-
Page 22: Using The Disc Menu
Disc/file playback Using the disc menu For DVD Video/DVD Audio For a DVD Video disc For a DVD Audio disc Select the desired item, then confirm the selection. Select Confirm For some discs, you can also select items by using the number buttons. -
Page 23: Changing The Playback Mode
Changing the playback mode Program play and random play cannot be used for a USB mass storage class device. Programing the playing order—program play Program window Select the desired chapters/ tracks. • For DVD Video, DVD Audio, MP3 and WMA: Enter a title/group number, then a chapter/track number.* •... -
Page 24: Advanced Operations
Disc/file playback Advanced operations Changing the language/sound/scene angle To do Select the subtitle language* • To show/hide the subtitle, press SUBTITLE. Select the audio language* /audio channel «Hold Select the view angle For DVD Audio, the functions take effect for the moving picture part only. -
Page 25: Special Playback For Dvd Audio
Adjusting the picture quality (VFP) You can adjust the picture mode. Select the desired preset, then finish the setting. Finish Select NORMAL Normally select this. CINEMA Suitable for movies USER1/ You can adjust parameters that affect USER2 picture appearance. (See below.) To adjust the picture tone Select “USER1”... -
Page 26: Operation From The Tv Screen
Disc/file playback Operation from the TV screen Using the on-screen bar You can use various functions from the on- screen bar. Basic operation procedure Ex.: Status bar Function bar Select the desired item (see the right column), then confirm the selection. Select Confirm After confirming the selection... -
Page 27: Using The File Control Display
Using the file control display The file control display appears in the following cases. – Audio files: Always appears. – Movie and picture files: When TOP MENU(/PG) or MENU(/PL) is pressed or playback is stopped. File control display Ex.: Elapsed playing time of Current group/total current track (except JPEG) group number... -
Page 28: Personal Settings
Personal settings Set the remote control mode before operation. For disc playback For playback of a file on a USB mass storage class device Language menu (LANGUAGE) MENU LANGUAGE Select the language for the DVD/DivX menu. AUDIO LANGUAGE Select the language for the audio language. SUBTITLE Select the language for the subtitle language. - Page 29 Picture menu (PICTURE) MONITOR TYPE Select 16:9 wide-screen playback to fit on your monitor. For wide TV: 16:9 NORMAL/16:9 MULTI NORMAL: For fixed 16:9 wide TV 16:9 AUTO/16:9 MULTI AUTO: For ordinary wide TV For conventional (4:3) TV: 4:3 LB/4:3 MULTI LB •...
-
Page 30: Speaker Setting Menu (Spk.setting)
Personal settings Speaker setting menu (SPK.SETTING) SPK.SETTING menu is available only when the speaker position mode is set to “S.SPK R” ( LEVEL Adjust the output level of each speaker while monitoring the test tone. FRONT LEFT/RIGHT SPEAKER, CENTER SPEAKER, SURROUND RIGHT/LEFT SPEAKER: Select the speaker, then adjust the output level. -
Page 31: Tuner Operations
Tuner operations Set the remote control mode before operation. • Select the desired band (“FM” or “AM”) you want to listen to. Setting the AM tuner interval spacing Some countries space AM stations 9 kHz apart, and some countries use 10 kHz spacing. You can only change the AM tuner interval spacing while selecting “AM”... -
Page 32: Karaoke Operations
(For TH-D7, the sound through the microphone will come out of the component connected through the AUDIO OUT jacks whether the disc is being played back or not.) -
Page 33: Selecting The Audio Channel
Selecting the audio channel The audio channel can be selectable with most of the Karaoke discs. Each time you press AUDIO, the audio channel changes as follows: • Example for a VCD: – ST: To listen to L (left) and R (right) audio channels. –... -
Page 34: Operating External Components
Operating external components Set the remote control mode before operation. For TV For DBS tuner or CATV converter For VCR Preparation Make the audio input setting before operation. ( Setting the manufacturer’s code Before operating external components from the remote control, set the manufacturer’s code. -
Page 35: References
References Manufacturer’s code list Samsung Hitachi Sanyo Magnavox Sharp Mitsubishi Sony Panasonic 04, 11 Toshiba Philips Zenith DBS tuner or CATV converter Echostar G.I. 01*, 02, 03, 04, 05, 06, 07, 08 Hamlin 15, 16, 17, 18 Jerrold 01, 02, 03, 04, 05, 06, 07, 08 Pioneer 13, 14 Scientific Atlanta... -
Page 36: Messages And Icons Shown On The Tv
References Messages and icons shown on the TV OPEN/CLOSE Opening or closing the disc tray NOW READING Reading the disc/file information READING Reading the DivX file INDEX... The Region Code of the DVD Video disc does not match the REGION CODE code the System supports. - Page 37 ZA VCR is connected between the center unit and the TV. Connect the center unit and TV directly. ( Unable to select the item you want when setting the audio input for “VIDEO1” or “VIDEO2” (TH-D7 only). ZThe setting is used to the other source. Change the setting of the other source to any other temporarily and use the setting to the target source.
-
Page 38: Specifications
Mass: 6.8 kg Corresponding to Linear PCM, Dolby Digital, and DTS Digital Surround (with sampling frequency — 32 kHz, 44.1 kHz, 48 kHz) Subwoofer For SP-THD7W (TH-D7) Type: Bass-Reflex Type Speaker: 20 cm cone Power Handling Capacity: 140 W 4 Ω... - Page 39 Satellite speakers (For TH-D7) Front speakers (SP-THD7F) Type: 2-Way 3-Speaker Bass-Reflex Type (Magnetically Shielded Type) Speaker: 8 cm cone 3 cm dome Power Handling Capacity: 140 W 4 Ω Impedance: Frequency Range: 75 Hz to 20 000 Hz Sound Pressure Level: 83 dB/W •...
- Page 40 Mains (AC) Line Instruction CAUTION for mains (AC) line BEFORE PLUGGING IN, do check that your mains (AC) line voltage corresponds with the position of the voltage selector switch provided on the outside of this equipment and, if different, reset the voltage selector switch, to prevent from a damage or risk of fire/electric shock.
Need help?
Do you have a question about the TH-D7 and is the answer not in the manual?
Questions and answers