Advertisement
Table of Contents
Advertisement
Chapters
Table of Contents

Related Manuals for Stanley AC6511


Summary of Contents for Stanley AC6511
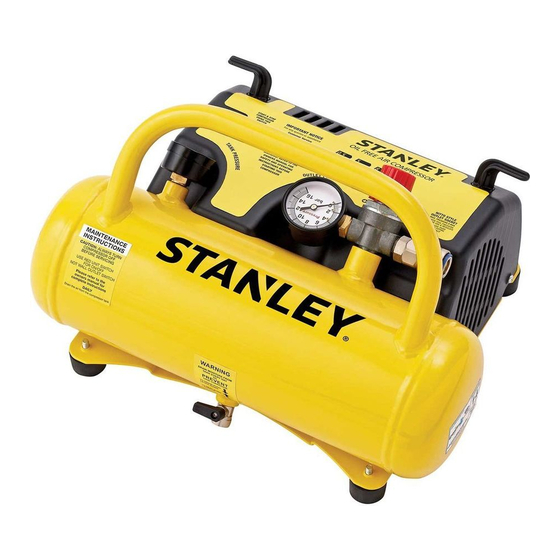
- Page 1 MODEL NO. AC6511 0.5HP 5L Oil Free Compressor For service, spare parts or product information, please contact Smart Marketing Group Pty. Ltd. AUST. 1300 660 457 N.Z. 0800 474 876 02785 05/11...
- Page 2 SUGGESTED APPLICATIONS CONTENTS You may use most light duty air tools with this compressor. Some Section Page examples of light duty tools are: Contents Guarantee 3 – 4 5 – 7 for use with a spray gun or medium duty air tools. Components and Controls 10 –...
- Page 3 INTRODUCTION What is not covered. Dear Customer, to ensure that it reaches you in perfect condition. However, in the incorrect voltage and wattage. any assistance please do not hesitate to contact us; If you have a problem, call customer service do not return this compressor to the place of purchase.
- Page 4 COMPLETE WARRANTY STATEMENT – COMPRESSOR GROUP Damage caused to attached equipment or third party accessories that you check to make sure it is intact and that you read the operating this warranty. right to replace or repair the appliance within the warranty period. replaced free of charge.
- Page 5 LUBRICATION OF COMPRESSOR WORK AREA ASSEMBLY when using tools designed for sanding or spraying liquids. WORK ENVIRONMENT Do not expose your air compressor to rain or use in damp or wet conditions. Keep the work area well lit. SAFETY GUARD AGAINST ELECTRIC SHOCK manual and to understand applications, limitations and potential DO NOT FORCE AIR COMPRESSORS BEWARE OF CHILDREN AND PETS...
- Page 6 DO NOT ABUSE THE POWER CORD DISCONNECT AIR COMPRESSOR Ensure that the air compressor is disconnected from the mains supply cord. Keep the power cord away from heat, oil, solvents and sharp changing any accessories. REMOVE ADJUSTING KEYS AND WRENCHES EXTENSION CORDS AND REELS socket.
-
Page 7: Personal Safety
CHECK DAMAGED PARTS PERSONAL SAFETY Clothing determine that it will operate properly and perform its intended function. in moving machinery. Check for the correct alignment of moving parts ensuring that they do Hair or repaired at an authorised service facility. Check any other condition Eye Protection indicated in this instruction manual. -
Page 8: Electrical Data
ELECTRICAL DATA IMPORTANT SPECIFIC SAFETY INSTRUCTIONS industrial / commercial applications. Warning! Do not use the air compressor in areas where there is a risk and its use. changing attachments such as air hoses / tools. • Do not attempt to modify the air compressor, guards or the supplied accessories in any way. -
Page 9: Components And Controls
PIC. 1 COMPONENTS AND CONTROLS Pic. 1 3. On / Off switch 5. Handle... -
Page 10: Operating Instructions
OPERATING INSTRUCTIONS PIC. 2 Unpacking Carefully unpack your air compressor. Dispose of all packing material in an Assembly initial use. ATTACHING BRACKET TO COMPRESSOR PIC. 3 Pic. 2 & 3 compressor. to the compressor. WARNING Do not attempt to operate this compressor until it is fully under warranty. - Page 11 ATTACHING COMPRESSOR TO WALL PIC. 4 mounting holes. to the wall, Pic. 4. local hardware store. 4. Clip the compressor into place and ensure that compressor is Screws PIC. 5 Compressor CAUTION...
- Page 12 STARTING AND STOPPING YOUR AIR PIC. 6 COMPRESSOR Pic. 6 can lead to a voltage drop which may cause power loss and over Switch area. To turn your air compressor ON; Push switch to for on. Switch will glow red. To turn your air compressor OFF;...
- Page 13 RUNNING IN YOUR NEW AIR COMPRESSOR USING THE AIR COMPRESSOR Your new air compressor does not require running in: Before starting run through this simple list: 1. Drain tap – open and drain tank 2. Drain tap – close fully an authorised service centre.
- Page 14 PIC. 7 When you have finished using your air compressor follow these simple steps: 3. Disconnect your air tools and air hose. 4. Clean your air hose and air tools. 5. Store your air hose and air tools in a secure well ventilated air and moisture, water, to vent.
-
Page 15: Safety Valve
ADJUSTING THE PRESSURE PIC. 8 and check the pressure on the outlet pressure gauge, Pic. 8. check with the tool manufacturer if unsure. Outlet pressure gauge SAFETY VALVE PIC. 9 Pic. 9 Pull to check full. operation Portable Wall Mounted compressor immediately and have the air compressor... - Page 16 AIR TAP PIC. 10 Pic. 10 To use: 1. Slide the outer collar down. female until it clicks. regulate the air pressure to match your air tool. Different air tools manufacturer if unsure. DRAIN TAP PIC. 11 Pic. 11 & 12 excess air will also help purge the moisture.
-
Page 17: Maintenance
MAINTENANCE Daily: Before Use 1. Seal the tank drain tap, see page 16, Pic. 11 & 12. 2. Check safety valve operation, see page 15, Pic. 9. After Use 1. Open the tank drain tap, see page 16, Pic. 11 & 12. 3. -
Page 18: Parts Diagram
PARTS DIAGRAM Part Description Outlet Pressure Gauge Motor Cover Storage Clip Part not shown Part not shown Part not shown... -
Page 19: For Use With A Spray Gun Or Medium Duty Air Tools
TECHNICAL INFORMATION SUGGESTED APPLICATIONS You may use most light duty air tools with this compressor. Specifications Some examples of light duty tools are; Motor Electric 0.5Hp Oil free 14 L per minute* for use with a spray gun or medium duty air tools. - Page 20 For any queries or assistance call Customer Service AUST. 1300 660 457 NZ 0800 474 876 Hours of operation: Do not return to place of purchase. make any claims under the 12 month warranty.
Need help?
Do you have a question about the AC6511 and is the answer not in the manual?
Questions and answers