Table of Contents
Advertisement
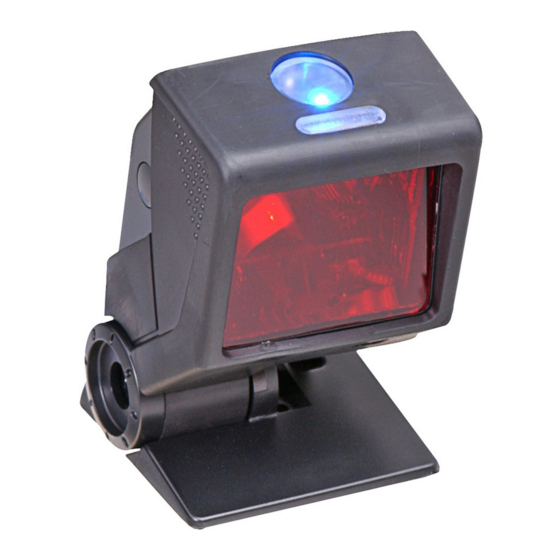
IS3480 QuantumE
QuantumT 3580
Fusion 3780
Orbit 7120/7180
Solaris 7820
Quick Start Guide
Aller à
www.honeywellaidc.com
Vai a
www.honeywellaidc.com
Gehe zu
www.honeywellaidc.com
Ir a
www.honeywellaidc.com
Para Português, acesse www.honeywellaidc.com.br.
Перейти на русскоязычный сайт www.honeywellaidc.com.
Pro češtinu jdi na www.honeywellaidc.com.
Pre slovenčinu choď na
日本語 :
www.honeywellaidc.com
如要到中国 www.honeywellaidc.com(简体) 。
한글
www.honeywellaidc.com
pour le français.
per l'italiano.
für Deutsch.
para español.
www.honeywellaidc.com
をご覧ください。
로 이동합니다
Advertisement
Table of Contents


Need help?
Do you have a question about the IS3480 QuantumE and is the answer not in the manual?
Questions and answers