Table of Contents
Advertisement
Quick Links
Advertisement
Table of Contents

Related Manuals for LevelOne WNC-0305USB


Summary of Contents for LevelOne WNC-0305USB
-
Page 1: User Manual
LevelOne WNC-0305USB 11g Wireless USB Adapter User Manual V1.0.0-0612... -
Page 2: Table Of Contents
Table of Contents CHAPTER 1 INTRODUCTION..................3 LED ..........................3 ........................3 PERATION CHAPTER 2 INITIAL INSTALLATION ................. 4 ......................4 EQUIREMENTS ......................... 4 ROCEDURE CHAPTER 3 USING THE WINDOWS UTILITY............7 ........................7 VERVIEW ...................... 7 YSTEM ......................8 ONNECT .................... -
Page 3: Chapter 1 Introduction
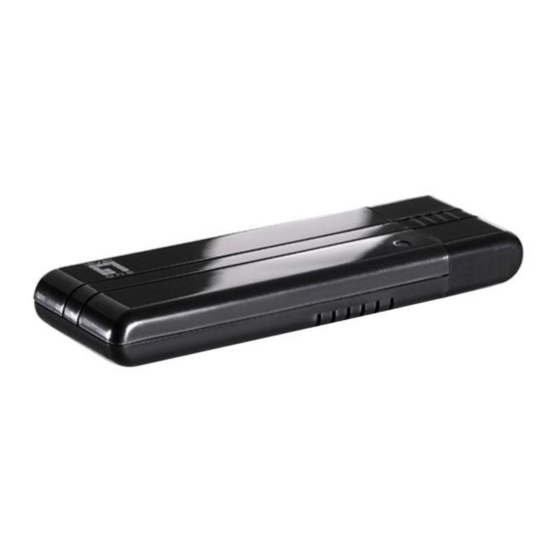
Chapter 1 Introduction This Chapter provides an overview of the Wireless Adapter's features and capabilities. Congratulations on the purchase of your new Wireless USB Adapter. The Wireless USB Adapter provides a wireless network interface for your Notebook or Desktop PC. USB Wireless Adapter The Wireless USB Adapter has a single Link/Activity LED. -
Page 4: Chapter 2 Initial Installation
Chapter 2 Initial Installation This Chapter covers the software installation of the Wireless USB Adapter. Requirements • Windows 2000 or XP. • Available USB port. • CD-ROM drive. • IEEE802.11b or IEEE802.11g wireless LAN. Procedure You should install the supplied software BEFORE inserting the USB Adapter. 1. - Page 5 Figure 2: Installation Screen 6. Click "Continue Anyway" on the screen above. Figure 3: Information 7. Insert the USB Adapter into your PC when above screen appears Figure 4: Installation Screen...
- Page 6 8. The Windows "New Hardware" wizard will then start. • Select No, not this time then click “Next” • Select Install the software automatically to allow it to complete the installation of the Windows driver • If using Windows XP, you may see a warning screen like the example below. If you do see this screen, just click "Continue Anyway"...
-
Page 7: Chapter 3 Using The Windows Utility
If the program is not running, you can start it using the option in the Start menu cre- ated by the installation. For the USB Adapter, this will be Start - Programs - LevelOne - 11g Wireless LAN Utility Status Information The menu options available from the System Tray icon are: •... -
Page 8: Auto Connect
Connecting to a Wireless Network Double-click the icon to open the Site Survey screen, when you can select the Wire- less network you wish to join. Auto Connect Normally, this option should be enabled. The adapter will then connect to an available network which was connected successfully last time. - Page 9 Data - Site Survey Screen Select this check box to display ad-hoc (computer-to-computer) Display PC To networks. PC (Ad-Hoc) Select this check box to display 802.11b (infrastructure) net- Display 802.11b works. Access Points Select this check box to display 802.11g (infrastructure) net- Display 802.11g works.
- Page 10 Figure 8: Site Survey Screen – Connected To Connect to a Wireless Network with Encryption • Double-click on the desired network. or • Click the name of the wireless network to which you want to connect, and then click Connect. •...
-
Page 11: Profile Manager Screen
Profile Manager Screen This screen is accessed by clicking the Profile Manager tab on the main screen. Figure 10: Profile Manager Screen Data - Profile Manager Screen Enter or select a suitable name for this profile. Each profile Profile Name must have a unique name. - Page 12 Select the desired wireless mode to which you want to Wireless Mode connect. This option only available under Ad-Hoc mode, it allows user to select the prefer channel. Prefer Channel Select the channel you would like to use under Ad-Hoc mode.
- Page 13 The available options depend on the Authentication method Encryption Method selected above. The possible options are: • Security Off - No data encryption is used. • WEP - If selected, you must enter the WEP data shown below. This WEP data must match the Access Point or other Wireless stations.
- Page 14 To edit a profile 1. On the Profile Manager tab, select the profile that you want to edit. 2. Change the profile settings as necessary. 3. Click Save Profile. To enable a profile 1. In the list of available profiles, click the profile that you want to enable. 2.
- Page 15 Data - Advanced Settings Screen Enable this check box if you don’t want to modify the settings Do not change in this screen. settings Normally, this should be left at "Auto". Preamble (2.4GHz) Use this to manually set the speed, if desired. The default is Transmit Rate "Auto".
-
Page 16: Network Status Screen
Network Status Screen This screen displays the status of the current wireless link. Clicking the Network Status tab will display a screen like the following. Figure 10: Network Status Screen You may have to wait a few seconds for the screen to be populated. Data - Network Status Screen Link Information Current Status... -
Page 17: About Screen
Internet Protocol DHCP Option It shows if the IP address was automatically obtained from a DHCP server. It shows the current IP address on the wireless interface. IP Address Subnet mask for the current IP address. Subnet Mask Default Gateway Gateway IP address associated with the current IP ad- dress. - Page 18 This tab shows the following information: Wireless Adapter Information • Regional Domain • Firmware Version • Driver Version • MAC Address Utility Information • Wireless DLL Version • Wireless Utility Version...
-
Page 19: Appendix A Specifications
Appendix A Specifications USB Adapter Bus Type: USB 2.0 54, 48, 36, 24, 18, 12, 9, and 6 Mbps (802.11g) Data Rates: 11, 5.5, 2, 1 Mbps (802.11b) Frequency Band: 2.4GHz Wireless Medium: DSSS and OFDM Media Access Protocol: CSMA/CA 1-14(FCC:1-11 、... - Page 20 Operating temperature: 0 to 40 C (32 to 104 Operating humidity: 0 to 90% non-condensing Notebook or desktop PC with USB port; USB 2.0 required for System Requirements 54 Mbps data rate Notebook or desktop PC must be running Windows XP/2000...
-
Page 21: Appendix B About Wireless Lans
Appendix B About Wireless LANs This Appendix provides some background information about using Wireless LAN (WLAN). Modes Wireless LANs can work in either of two (2) modes: • Ad-hoc • Infrastructure Ad-hoc Mode Ad-hoc mode does not require an Access Point or a wired (Ethernet) LAN. Wire- less Stations (e.g. -
Page 22: Channels
Different Access Points within an ESS can use different Channels. In fact, to reduce interference, it is recommended that adjacent Access Points SHOULD use different channels. As Wireless Stations are physically moved through the area covered by an ESS, they will automatically change to the Access Point which has the least interference or best performance. - Page 23 CE Marking Warning Hereby, Digital Data Communications, declares that this (Model-no. WNC-0305USB) is in compliance with the essential requirements and other relevant provisions of Directive 1999/5/EC. The CE-Declaration of Conformity can be downloaded at: http://www.levelone.eu/support.php...
Need help?
Do you have a question about the WNC-0305USB and is the answer not in the manual?
Questions and answers