Advertisement
Advertisement
Table of Contents

Subscribe to Our Youtube Channel
Related Manuals for Danby DDW1802


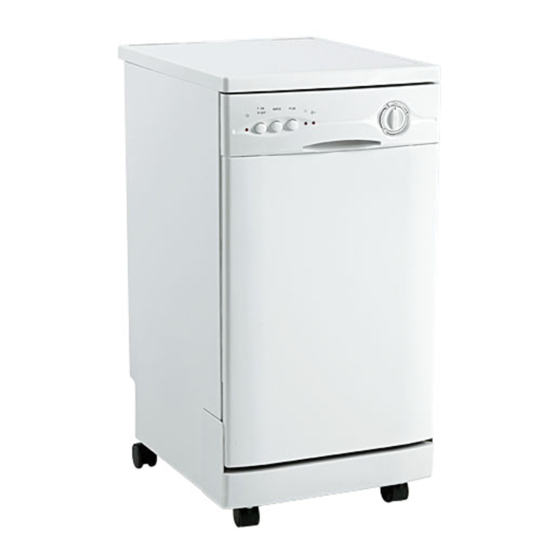
Summary of Contents for Danby DDW1802
- Page 1 Danby Products Ltd. DDW1802 DDW1805 SERVICE MANUAL...
- Page 2 INDEX 1. PRODUCT SPECIFICATIONS 2. SCHEMATIC DIAGRAM 3. WIRING DIAGRAM 4. TIMER CYCLE CHART 5. COMPONENT OPERATION AND REPAIR 6. TROUBLE SHOOTING 7. PARTS LIST AND DIAGRAM...
-
Page 3: Specification
SPECIFICATION MODEL DDW1802 DDW1805 ELECTRICAL Rating 120V 60Hz Motor (HP) Motor (Amps) Heater Wattage 1000W Wash Total Amps (Load Rated) 9.2A Thermostat Contacts ±5 °F °F Close at 58 ±3 WATER SUPPLY Suggested Min. Incoming Water to 150 °F °F... -
Page 6: Timer Cycle Chart
TIMER CYCLE CHART... -
Page 7: Component Operation And Repair
COMPONENT OPERATION AND REPAIR SAFETY PRECATIONS Always turn off the electric power supply before servicing any electrical component, making ohmmeter checks, or replacing any parts. All voltage checks should be made with a voltmeter having a full scale range of 130 volts or higher. -
Page 8: Door Latch And Switch Assembly
Figure 1 Figure 2 3. Remove the screws which locking the control panel (See figure1). Remove the knob and unscrew the two screws which locking the timer on the control panel. (See Figure 2.) 4. Take down the damaged timer and install a new timer, reverse procedures to complete repairs. -
Page 9: Float Switch Assembly
SCREW FLOAT SWITCH WIRE LEAD SWITCH DOOR LATCH WIRE LEAD Figure 5 Figure 6 4. Install new door latch assembly and reverse procedures to complete repairs. FLOAT SWITCH ASSEMBLY The water float assembly is located in the right lower side of the dishwasher (the portable located behind the lower front crosspiece). -
Page 10: Troubleshooting
TROUBLESHOOTING The troubleshooting cheek list is common for all dishwasher models. They use different parts to accomplish the same thing and diagnosis will remain similar. When a problem arises, and a possible cause is listed, follow the test, remove or replace procedures as outline in this service manual. The wiring diagram, shematic and timer cycle chat is a necessity when making electrical checks. - Page 11 Repeated dishwasher ●Timer (contacts open or burnt) Replace timer. cycles ●Motor (inoperative, check Replace timer. resistances). Timer does not advance ●Timer motor (stalled or open). Replace timer. automatically. ●Check timer for power to timer Replace timer. motor. ●Timer shaft binding or knob Repair or adjust.
- Page 12 Poor drying of dishes ●Improper loading of dishes, pots Instruct customer/user and other. proper loading per owner’ s ●Heating element (open). guide. ●Incoming water temperature too Replace heating element. low. Incoming water temperature of ●Wiring or terminal (broken or 140°F for best drying results. burnt).
- Page 13 ext ernal hose O -ri ng gui de casi ng w at er hose f or f eedi ng di spenser upper sprayer assem bl y t op sprayi ng nozzl e O -ri ng f i l t er assem bl y upper sprayer connect or f or t op sprayer nozzl e...
- Page 14 handl e assem bl y bi -pol ar cont rol m onopol ar pow er sw i t ch but t on i nner door pi l ot l am p sw i t ch cont rl sw i t ch t i m er cont rol panel knob...
Need help?
Do you have a question about the DDW1802 and is the answer not in the manual?
Questions and answers