Phoenix Contact RAD-80211-XD Quick Start Manual
802.11a/b/g transceiver with serial link
Hide thumbs
Also See for RAD-80211-XD:
- User manual (90 pages) ,
- User manual (154 pages) ,
- User manual (132 pages)

Related Manuals for Phoenix Contact RAD-80211-XD


Summary of Contents for Phoenix Contact RAD-80211-XD
- Page 1 RAD-80211-XD and RAD-80211-XD-WM 802.11a/b/g Transceiver with Serial Link Quick Start Guide...
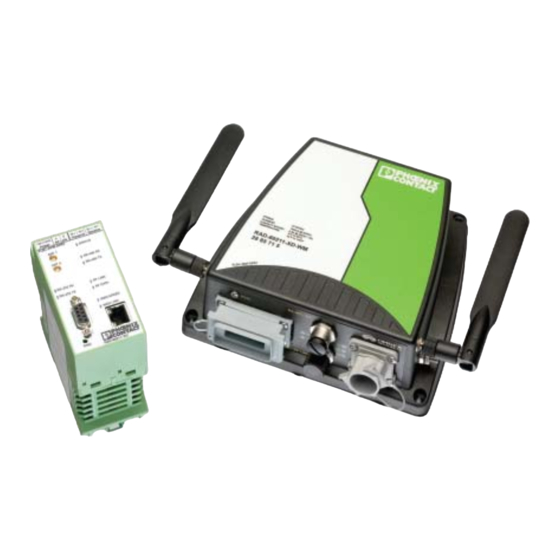
- Page 2 For more detailed information, please consult the User Manual. The RAD-80211-XD and RAD-80211-XD-WM are wireless transceivers that can function as an Access Point, Bridge or Client. They can send Ethernet data with the option of adding serial data over the wireless link. These products conform to IEEE 802.11a, b, and g standards.
-
Page 3: Antenna Connections
Figure 3. Power wiring diagram Antenna Connections There are two antenna connectors on the transceiver. This is for the purpose of antenna diversity. The transceiver may be operated using a single antenna; however, in some environments you may experience multi-path problems (null spots). If using a single antenna, connect it to ANT 1. - Page 4 Ethernet Connections for Transceiver Configuration Connect an RJ-45 Ethernet cable to the transceiver and your computer. Either a line or crossover cable may be used as the radio has autocross capabilities. Configuring your PC to Communicate with the Transceiver Note: The instructions below are for Windows 2000. Other versions of Windows will be similar but not identical.
-
Page 5: Access Point Configuration
Access Point Configuration 1) Apply power to the transceiver and run a web browser program such as Internet Explorer on your computer. 2) Enter the following IP address into the Address field of your browser: https://192.168.254.254 3) Enter the default case-sensitive credentials: Username: Admin Password: admin 4) Agree to the terms and conditions and click Sign In. - Page 6 6) You have the option to enter a Device Name/Location, Host Name, Domain Name, and Contact. These are not necessary for proper operation, but make troubleshooting large networks easier. 7) Select a method for the radio to keep time. It can be done with the manual setting, by using the connected PC clock, or by connecting to an NTP server (requires an Internet connection).
- Page 7 12) Change the SSID (System Security Identity) to some value other than the factory default. All Client transceivers in the same network must have the same SSID. 13) Select a Wireless Mode. All transceivers in the same network must have the same Wireless Mode. Modes b and g can be mixed if 802.11b and 802.11g clients will exist in the network.
- Page 8 Figure 10. Wireless Access Point - Security screen a) Select either WPA, WPA2 (802.11i) or both to allow clients using either method to connect to the Access Point. b) To use 802.1x authentication, a RADIUS server must exist in the network. If a RADIUS server does not exist in the network, select Pre-Shared Key and enter up to 63 characters in the Passphrase field.
-
Page 9: Client Configuration
21) Click on LAN, IP Configuration to set how the Access Point interfaces with the LAN. Figure 11 LAN - IP Configuration screen 22) Enter the speed of the LAN or select Auto to have the Access Point determine network speed automatically. 23) If the network does not support DHCP (Dynamic Host Configuration Protocol), specify a static IP Address, Subnet Mask and Default Gateway. - Page 10 4) Agree to the terms and conditions and click Sign In. Figure 12. Configuration Sign-in screen 5) Click Expand All in the menu to open all of the folders. Under the Configuration folder, select General. Figure 13. General Configuration screen...
- Page 11 6) You have the option to enter a Device Name/Location, Host Name, Domain Name, and Contact. These are not necessary for proper operation, but make troubleshooting large networks easier. 7) Select a method for the radio to keep time. It can be done with the manual setting, by using the connected PC clock, or by connecting to an NTP server (requires an Internet connection).
- Page 12 11) Click on Security in the left-hand column. Note: The following security settings of the client must exactly match those of the Access Point. 12) If using WEP, select Shared. Then select how many bits of encryption and enter the Key(s). If using WPA or WPA2 (802.11i), select the correct one and enter the Passphrase and Encryption Method.
-
Page 13: Bridge Configuration
18) Click on LAN, IP Configuration to set how the Client interfaces with the LAN. Figure 17. LAN - IP Configuration screen 19) Enter the speed of the LAN or select Auto to have the Client determine network speed automatically. 20) If the network does not support DHCP (Dynamic Host Configuration Protocol), specify a static IP Address, Subnet Mask and Default Gateway. - Page 14 Figure 18. Configuration Sign-in screen 5) Click Expand All in the menu to open all of the folders. Under the Configuration folder, select General. 6) You have the option to enter a Device Name/Location, Host Name, Domain Name, and Contact. These are not necessary for proper operation, but make troubleshooting large networks easier.
- Page 15 10) Select Wireless Bridging as the operating mode. Click Submit. The radio will reboot. This may take up to one minute. You will have to log in again. 11) Select Bridge Radio, General. Figure 20. Bridge Radio screen 12) Enable Spanning Tree Protocol if three or more Bridge mode transceivers will be arranged in a ring.
- Page 16 14) Select a Wireless Mode – 802.11a, 802.11b, 802.11g, or 802.11b/g mixed. All transceivers in a network need to have the same Wireless Mode. 15) Select a Channel No. All transceivers in a network need to use the same Channel No. For 802.11b/g., Channels 1, 6 and 11 have the least channel overlap.
- Page 17 22) Select from None, Static AES. To utilize AES security, all Bridges in the network must have this capability. 23) Select the length of the encryption key – 128-, 192-, or 256-bit. 24) You may have the software automatically generate a key by selecting Key Generator, or you may manually enter a key.
- Page 18 Serial Port Use: There is an RS-232 port and an RS-485/422 port for the transmission of serial data. When enabled, any data sent to a Client’s serial port will appear at the Access Point serial port, and any data sent into the Access Point appears at all Client serial ports.
- Page 19 3) Select the Baud Rate, Data Bits, Parity, Stop Bits and Flow Control such that the transceiver’s settings are the same as the serial device connected to it. 4) Under Connect to Stream, select which of the serial channels you wish the transceiver to use.
- Page 20 Division 2 wiring methods as described in the National Electric Code, Article 501-4(b) or the authority having jurisdiction. Transmitter unit is to be used with a purely resistive antenna when installed in Class I, Division 2 areas. Find the complete manual at www.phoenixcon.com/wireless © 2006 PHOENIX CONTACT L002171B:07.06...
Need help?
Do you have a question about the RAD-80211-XD and is the answer not in the manual?
Questions and answers