Dogtra RR Deluxe Owner's Manual
Remote release bird launcher systems
Hide thumbs
Also See for RR Deluxe:
- Owner's manual (56 pages) ,
- Settings manual (2 pages) ,
- Code setting manual (2 pages)
Advertisement
Table of Contents
- 1 Table of Contents
- 2 Overview
- 3 Main Features
- 4 Package Contents
- 5 Important Safeguards
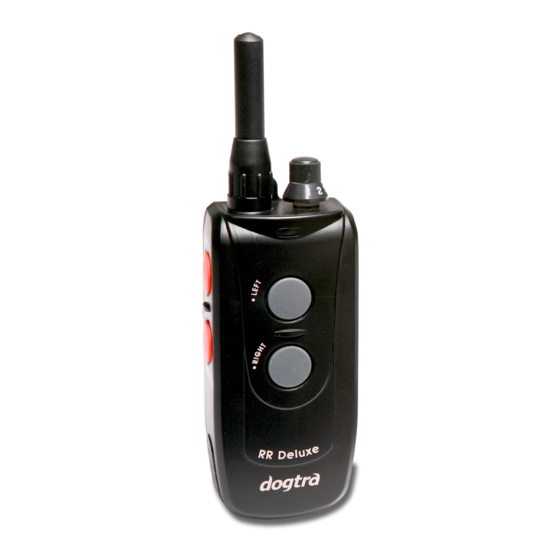
- 6 Description of Transmitter Parts
- 7 Description of Receiver Parts
- 8 Description of Launcher Parts(Ql, Pl)
- 9 Charging the Batteries
- 10 Reception
- 11 Accessories
- 12 Basic Maintenance
- 13 Warranty and Repair Information
- Download this manual
Advertisement
Table of Contents

Subscribe to Our Youtube Channel
Related Manuals for Dogtra RR Deluxe


Summary of Contents for Dogtra RR Deluxe
-
Page 2: Table Of Contents
CONTENTS OVERVIEW MAIN FEATURES PACKAGE CONTENTS IMPORTANT SAFEGUARDS DESCRIPTION OF TRANSMITTER PARTS DESCRIPTION OF RECEIVER PARTS DESCRIPTION OF LAUNCHER PARTS(QL, PL) 11 ASSEMBLY AND OPERATION ADJUSTING SPRING STRENGTH SETTINGS CHARGING THE BATTERIES RECEPTION ACCESSORIES BASIC MAINTENANCE WARRANTY AND REPAIR INFORMATION... -
Page 3: Overview
Thank you for purchasing Multilple releasers : up to 16 launchers controlled from one transmitter Dogtra remote release bird launcher systems Multiple sound modes : a receiver emits a duck Dogtra remote release bird launcher system call and beep sound... -
Page 4: Important Safeguards
DESCRIPTION OF TRANSMITTER PARTS IMPORTANT SAFEGUARDS DESCRIPTION OF IMPORTANT SAFEGUARDS TRANSMITTER PARTS DO NOT use the bird launcher until you have read this manual. Transmitter Transport the launcher in a safe position. It should either have the bird cradle open or if it is closed, the safety pin must be inserted to lock 1. - Page 5 DESCRIPTION OF TRANSMITTER PARTS 1. Antenna : A 2 Antenna is supplied with 6. Right launcher button : Right launcher Dogtra RR Deluxe transmitter. The button releases the launcher connected to antenna must be fastened to the the right jack of the receiver.
-
Page 6: Description Of Receiver Parts
DESCRIPTION OF RECEIVER PARTS DESCRIPTION OF RECEIVER PARTS DESCRIPTION OF RECEIVER PARTS 1. Flexible antenna : Flexible antenna is located on the top of the receiver. Please do Receiver not bend the antenna forcibly for it can cause serious reduction in range. 2. -
Page 7: Description Of Launcher Parts(Ql, Pl)
DESCRIPTION OF LAUNCHER PARTS (QL, PL) DESCRIPTION OF RECEIVER PARTS DESCRIPTION OF LAUNCHER charging, make sure the rubber cover is fully PARTS (QL, PL) seated so that dirt will not enter the receptacle. 6. Left jack : Jack located on the left side where a launcher can be plugged. - Page 8 DESCRIPTION OF LAUNCHER PARTS (QL, PL) DESCRIPTION OF LAUNCHER PARTS (QL, PL) Launcher size 1. Bird cradle : Bird cradle holds a dummy or (Launcher) - for quail bird for launching. - 8.6 2. Cradle bar : Cradle bar supports a bird cradle. - Excellent choice for quail and pigeons 3.
-
Page 9: Assembly And Operation
ASSEMBLY AND OPERATION ASSEMBLY AND OPERATION ASSEMBLY AND OPERATION Assembly Figure 2. Plugging solenoid cord into the receiver. 2) Plug the solenoid cord into the receiver’s left jack Figure 1. Mounting the receiver 1) To mount the receiver, attach the receiver to the launcher box and push down gently so that it locks in place. - Page 10 ASSEMBLY AND OPERATION ASSEMBLY AND OPERATION How to launch the Dogtra remote release bird launchers Assembly for two launchers First, test the launcher without any dummy or bird inside. WARNING Keep your head away from the top of the launcher when it is loaded.
- Page 11 ASSEMBLY AND OPERATION ASSEMBLY AND OPERATION Figure 6. Remote launcher released. Figure 5. Setting the latch. 2) Place the release lever under the latch roller 4) Press the transmitter’s left or right launcher bearing. button depending on which jack (left or right) it’s connected to.
-
Page 12: Adjusting Spring Strength Settings
ADJUSTING SPRING STRENGTH SETTINGS ASSEMBLY AND OPERATION ADJUSTING SPRING STRENGTH SETTINGS Figure 7. Using the external loud speaker (optional) 6) Plug the external speaker cable to the external speaker jack located on the bottom right side Figure 8. Positioned for high launch of a receiver. -
Page 13: Charging The Batteries
ADJUSTING SPRING STRENGTH SETTINGS CHARGING THE BATTERIES CHARGING THE BATTERIES Figure 9. Positioned for low launch 1. Charge the unit about 10 hours before using the unit for the first time. 2. Do not charge the batteries near any 2) Turning counter-clockwise will move flammable substances. - Page 14 NOTE : Only use Dogtra-approved batteries, chargers, and accessories for your Dogtra 1. Attach the charging cables to both the RR Deluxe System. When a charger is not in transmitter and receiver(s), as shown on use, disconnect it from the power source.
-
Page 15: Reception
(888) 811-9111. You may also browse the selection at shop.dogtra.com. Hold the transmitter away from your body and avoid touching the antenna, to get the Extension Cable greatest range. -
Page 16: Basic Maintenance
If your product is not registered and a proof of purchase is not available at the time of service, Dogtra will estimate the age of the unit by the serial number. Serial number estimates can differ When traveling, try to store your units in from the actual purchase date. - Page 17 Dogtra. Dogtra is not responsible for loss of training United States. time or inconvenience while the unit is in for repair work. Dogtra does not provide loaner units or any form of compensation during the repair period.
Need help?
Do you have a question about the RR Deluxe and is the answer not in the manual?
Questions and answers