Table of Contents
Advertisement
DIGITAL VIDEO CAMERA
GR-DVL867
GR-DVL865
GR-DVL767
GR-DVL765
GR-DVL567
GR-DVL367
GR-DVL365
GR-DVL167
GR-DVL160
Please visit our Homepage on the World Wide Web and
answer our Consumer Survey (in English only):
http://www.jvc-victor.co.jp/english/index-e.html
For Accessories:
http://www.jvc-victor.co.jp/english/accessory/
INSTRUCTIONS
CONTENTS
AUTOMATIC DEMONSTRATION
GETTING STARTED
TAPE
RECORDING & PLAYBACK
TAPE RECORDING ........................ 16 – 20
TAPE PLAYBACK .......................... 21 – 24
MEMORY CARD
RECORDING & PLAYBACK
MEMORY CARD RECORDING ......... 26 – 27
MEMORY CARD PLAYBACK ............ 28 – 29
ADVANCED FEATURES .................... 30 – 36
ADVANCED FEATURES
FOR RECORDING ........................... 38 – 45
USING MENUS FOR
DETAILED ADJUSTMENT .............. 46 – 51
DUBBING ..................................... 52 – 53
USING THE REMOTE CONTROL UNIT ... 54 – 64
SYSTEM CONNECTIONS .................. 65 – 66
REFERENCES
DETAILS ............................................. 68
TROUBLESHOOTING ...................... 69 – 73
USER MAINTENANCE ............................ 74
CAUTIONS .................................... 75 – 77
SPECIFICATIONS ........................... 78 – 79
INDEX ......................................... 80 – 86
TERMS ............................... 87 – Back Cover
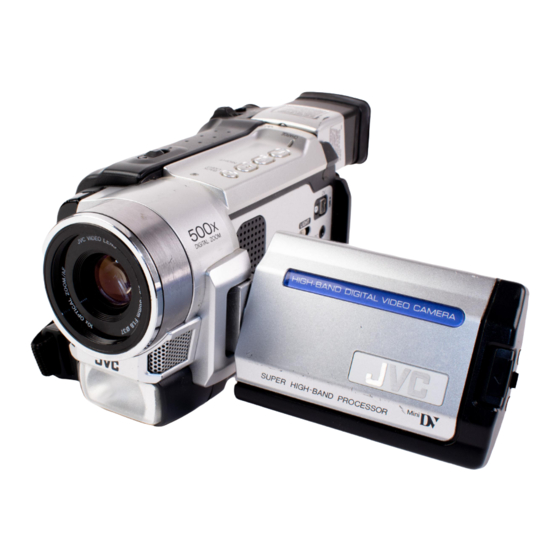
The camcorder illustrations
appearing in this instruction
manual are of the
GR-DVL867.
Memory card recording
features are available on
GR-DVL867, GR-DVL865,
GR-DVL767, GR-DVL765,
GR-DVL567, GR-DVL367
and GR-DVL365
LYT0909-001B
ENGLISH
6
7 – 14
15 – 24
25 – 36
37 – 66
67 – Back Cover
EN
Advertisement
Chapters
Table of Contents


Need help?
Do you have a question about the GR-DVL567 and is the answer not in the manual?
Questions and answers