Sign In
Upload
Download
Table of Contents
Contents
Add to my manuals
Delete from my manuals
Share
URL of this page:
HTML Link:
Bookmark this page
Add
Manual will be automatically added to "My Manuals"
Print this page
×
Bookmark added
×
Added to my manuals
Manuals
Brands
Jura Manuals
Coffee Maker
IMPRESSA E50
Instructions for use manual
Jura IMPRESSA E50 Instructions For Use Manual
Jura instructions for use coffeemaker impressa e50, impressa e55
Hide thumbs
1
2
3
4
Table Of Contents
5
6
7
8
9
10
11
12
13
14
15
16
17
page
of
17
Go
/
17
Contents
Table of Contents
Bookmarks
Table of Contents
Table of Contents
1 Description
Meaning of Symbols in the Display
2 Safety Instructions
Warnings
Safety Precautions
3 Check before Use
Checking Mains Voltage
Checking Fuse
Filling Water Tank
Adding Coffee Beans
Adjusting Grinder
Adjusting for Water Hardness
Adjustable Automatic Close-Down
4 Preparing Machine
Filling the System with Water
5 Rinsing the Machine
6 Adjusting Water Volume
7 Drawing off Espresso/Normal Coffee
Drawing off Espresso/Strong Coffee
Drawing off Espresso/Extra-Strong Coffee
Using Pre-Ground Powder Coffee
8 Using Steam
Resetting to Stand-By Status
9 Drawing off Hot-Water
10 Switching off Machine
11 Care and Maintenance
Fill Water
Empty Ground Container
Drip Tray Is Missing
Clean Machine
Machine Furred
Use of Claris Filter Cartridges
General Cleaning Instructions
Regular Servicing
Empty System
12 Cleaning
13 Decalcifying
14 Disposal
15 Tips of a Perfect Coffee
16 Messages
17 Problems
18 Legal Information
19 Technical Specifications
Advertisement
Quick Links
1
Meaning of Symbols in the Display
2
Cleaning
3
Decalcifying
4
Problems
Download this manual
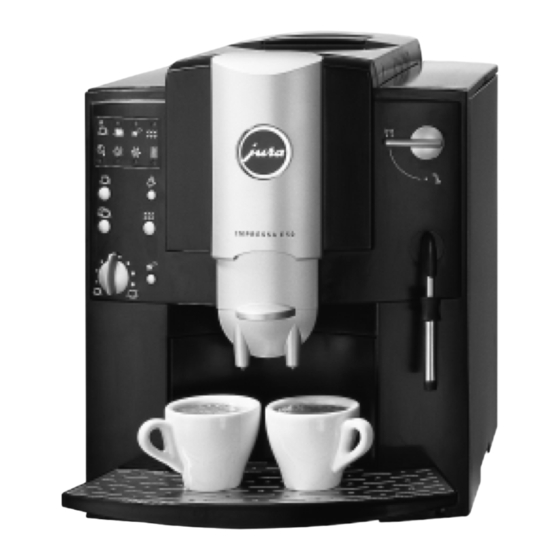
IMPRESSA E50
IMPRESSA E55
Instructions for use
03/01
Table of
Contents
Previous
Page
Next
Page
1
2
3
4
5
Advertisement
Table of Contents
Need help?
Do you have a question about the IMPRESSA E50 and is the answer not in the manual?
Ask a question
Questions and answers
Related Manuals for Jura IMPRESSA E50
Coffee Maker Jura IMPRESSA E55 Instructions For Use Manual
Jura instructions for use coffeemaker impressa e50, impressa e55 (17 pages)
Coffee Maker Jura E6 Quick Reference Manual
(8 pages)
Coffee Maker JURA E8 Instructions For Use Manual
(44 pages)
Coffee Maker Jura E8 Quick Reference Manual
(10 pages)
Coffee Maker Jura E6 Instructions For Use Manual
(36 pages)
Coffee Maker Jura ENA 5 Instructions For Use Manual
Coffee maker (40 pages)
Coffee Maker Jura ENA 5 Instructions For Use Manual
(19 pages)
Coffee Maker Jura E8 Instructions For Use Manual
(24 pages)
Coffee Maker Jura E8 Instructions For Use Manual
(112 pages)
Coffee Maker JURA ENA 9 One Touch Instructions For Use Manual
Coffee machine (32 pages)
Coffee Maker Jura ENA 7 Instruction Manual
(28 pages)
Coffee Maker Jura ENA 8 Instructions For Use Manual
With touchscreen (33 pages)
Coffee Maker Jura ENA 8 Quick Reference Manual
(9 pages)
Coffee Maker Jura ENA Micro Series Disassembling Manual
(26 pages)
Coffee Maker Jura E4 Instructions For Use Manual
(32 pages)
Coffee Maker Jura E4 Instructions For Use Manual
(32 pages)
This manual is also suitable for:
Impressa e55
Table of Contents
Print
Rename the bookmark
Delete bookmark?
Delete from my manuals?
Login
Sign In
OR
Sign in with Facebook
Sign in with Google
Upload manual
Upload from disk
Upload from URL


Need help?
Do you have a question about the IMPRESSA E50 and is the answer not in the manual?
Questions and answers