
Related Manuals for Excalibur RS-260-EDP


Summary of Contents for Excalibur RS-260-EDP
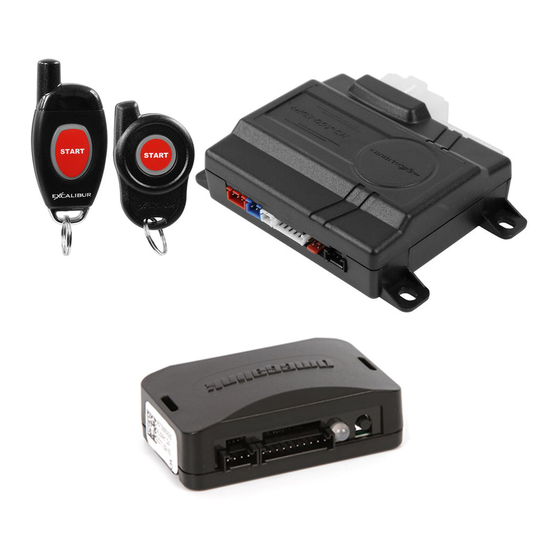
- Page 1 RS-260-EDP / RS-265-EDP+ Deluxe 1-Button Keyless Entry & Remote Start July 9, 2014 Operation Guide Temporary cover. Color cover is in a separate file.
-
Page 2: Table Of Contents
table Of contents Transmitter Overview ....................2 Transmitter Functions ....................3 Other Remote Start Features ..................4 Low Battery/Low Temp Automatic Starting ............... 4 Turbo Timer Feature ....................4 Pit-Stop Feature ....................... 4 Manual Transmission Starting .................. 4 2-Way Controller Options (RS-265-EDP+ Only) ............4 Selecting Mute &... -
Page 3: Transmitter Functions
transmitter Functions LOcK / aRm: While the system is unlocked / disarmed, Press and hold the “START” button for 1 second. • THE SIREN / HORN WILL CHIRP & THE PARKING LIGHTS WILL FLASH ONCE. • 2-way RESPOnSE: CONTROLLER WILL BEEP ONCE AND THE BUTTON WILL FLASH ONCE. -
Page 4: Other Remote Start Features
Other Remote Start Features LOw BattERy/LOw tEmP autOmatic StaRtinG nOtE: temperature Related Features are Only available On EDP+ models. This feature will automatically start the engine if the vehicle battery drops below 11 volts or the interior temperature drops to 15 (or 32) degrees fahrenheit. You must activate these features each time you park your car to use them. -
Page 5: Security System Features (Optional)
Security System Features (OPtiOnaL) This system is equipped with our exclusive VIRTUAL ALARM technology. The se- curity functions described in this section are available as a simple upgrade from your dealer. It may require a plug-in module and some additional configuration, but will greatly enhance your system’s capabilities and add theft deterrence to your vehicle. -
Page 6: Using The Valet Switch
using the Valet Switch EmERGEncy OVERRiDE If your controller isn’t usable and your alarm is armed, you’ll need to perform an emergency override to disarm the system and use your vehicle. To do so, use the following steps: StEP 1 - Enter the vehicle (the alarm should sound) StEP 2 - Turn the ignition key to the “ON” position (do not crank the engine). StEP 3 - Press the valet switch (located in the window-mount antenna) once. -
Page 7: Anti-Carjacking Protection
the Status Light (cont’d) 1 FLaSh: Run time expired. 2 FLaShES: Brake pedal was pressed or the hood was opened. 3 FLaShES: Engine stalled or a bad tach signal. 4 FLaShES: Received transmitter command to stop. 5 FLaShES: The neutral safety circuit was triggered. 6 FLaShES: The alarm was triggered or low battery voltage. -
Page 8: Programming Features
Programming Features A matrix of all programmable features and their options are on the last page of this guide. For detailed information on each feature, please refer to the next section. Use the procedure below to make any necessary changes. tO manuaLLy chanGE FEatuRES: Step 1 Turn the ignition key “ON”, then “OFF”... - Page 9 user Programmable Features (cont’d) Feature #4 - BROwn wire audible Output Pulsed horn Low (press “start” 1 time to program) - DEFauLt Pulsed horn medium (press “start” 2 times to program) Pulsed horn high (press “start” 3 times to program) Steady Siren (press “start”...
-
Page 10: Installer Programmable Features
user Programmable Features (cont’d) Feature #11 - Confirmation Chirps Siren + horn (press “start” 1 time to program) Siren Only (press “start” 2 times to program) - DEFauLt On Demand (siren+horn) (press “start” 3 times to program) (press “start” 4 times to program) This feature selects whether the siren and/or horn give confirmation chirps. - Page 11 installer Programmable Features (cont’d) “Data tach” mode operates just like the “Tach Wire” setting except it takes its reading from the D2D data port instead of using the Violet/White wire. Before using, make sure this function is sup- ported by the Databus Interface module. “crank Only”...
- Page 12 installer Programmable Features (cont’d) Feature #8 - Door Lock/unlock Outputs 0.8 Second Outputs (press “start” 1 time to program) - DEFauLt 3 Second Outputs (press “start” 2 times to program) Double Pulse unlock Output (press “start” 3 times to program) total closure Lock Output (press “start”...
- Page 13 installer Programmable Features (cont’d) Feature #15 Lock On Prewarn (press “start” 1 time to program) - DEFauLt (press “start” 2 times to program) This feature will automatically lock the doors to combat unauthorized entry from lock picking when the prewarn zone is triggered. Feature #16 - Starter interrupt Output Functions (EDP+ models Only) alarm Only (press “start”...
- Page 14 This device complies with FCC Rules part 15. Operation is subject to the following two conditions, (1) This device may not cause harmful interference and, (2) This device must accept any interference that may be received, including interference that may cause undesired operation. The manufacturer is not responsible for any radio or TV interference caused by unauthorized modifications to this equipment. Such modifications could void the user’s authority to operate the equipment.
-
Page 15: Programmable Features Matrix
Programmable Features matrix User Feature Programming: Ignition on, off, press valet 5 times Start Button Start button Start button Start button Start Button # Feature 1 time 2 times 3 times 4 times 5 times 1 Remote Start Run Time 10 min 5 min 15 min... - Page 16 Back cover color cover is in a separate file.
Need help?
Do you have a question about the RS-260-EDP and is the answer not in the manual?
Questions and answers